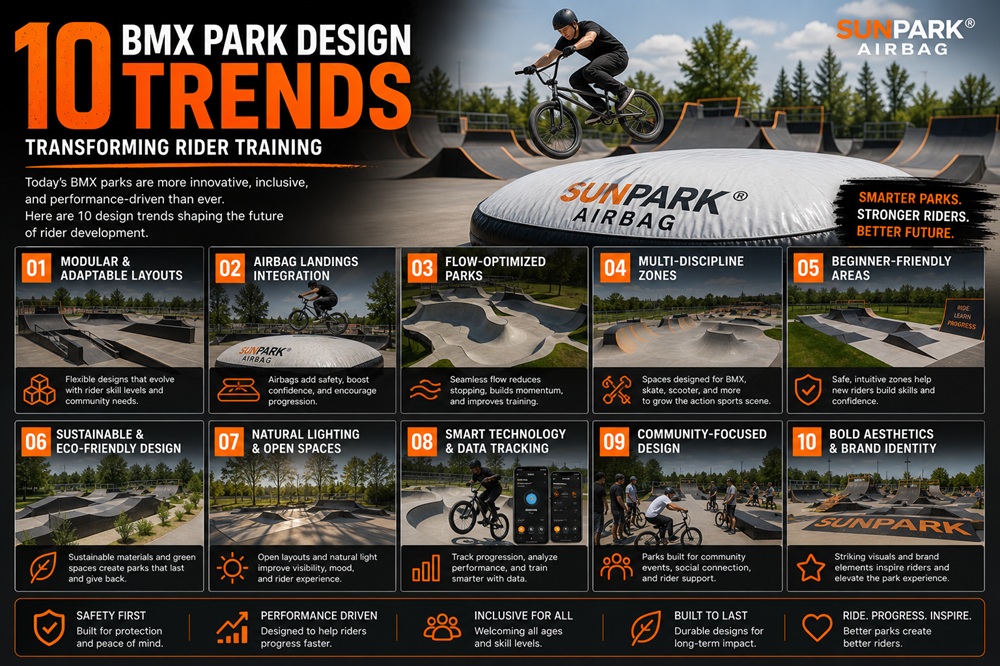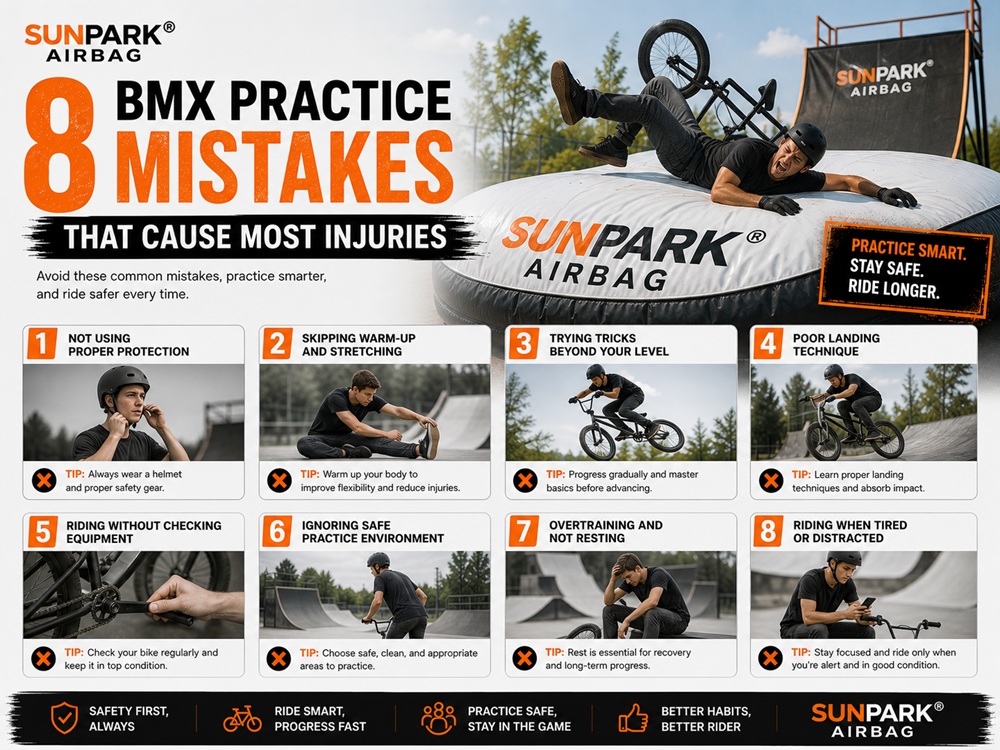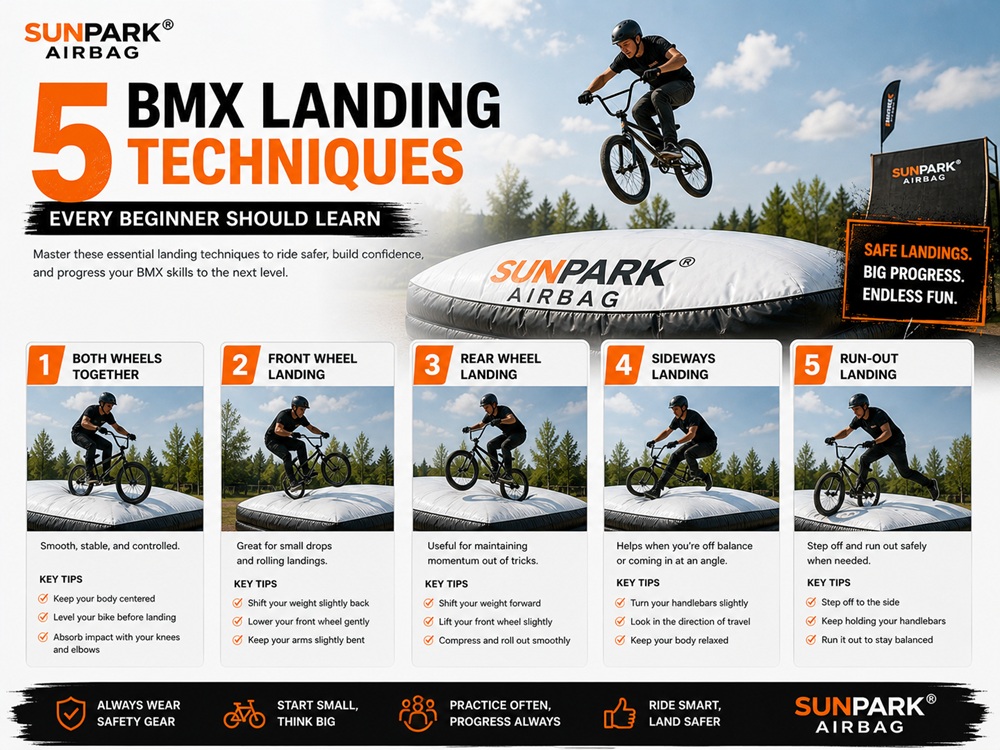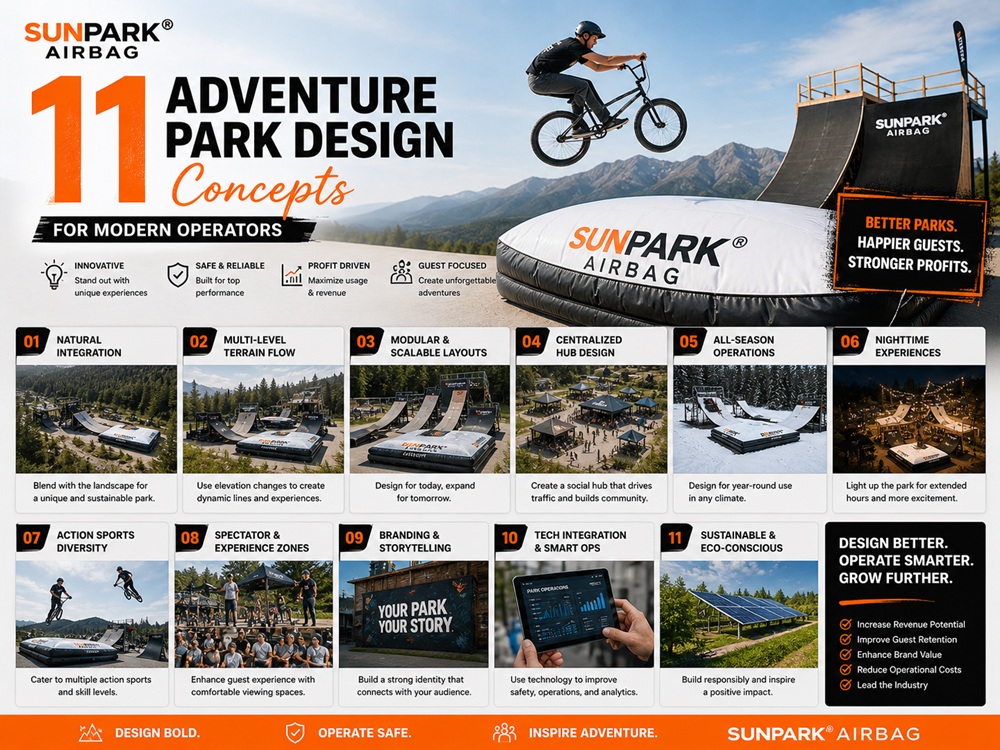
Mountain biking progression is entirely dictated by psychology. A rider can possess the physical strength and bike handling skills required to clear a 20-foot gap, but if the trail architecture induces panic, defensive riding takes over. Defensive riding leads to dead-sailors, casing, and catastrophic injuries. Building a jump line is not simply piling dirt in a field; it is a highly calculated exercise in physics and behavioral engineering. A poorly built jump forces the rider to survive; a perfectly engineered jump line teaches the rider how to fly.
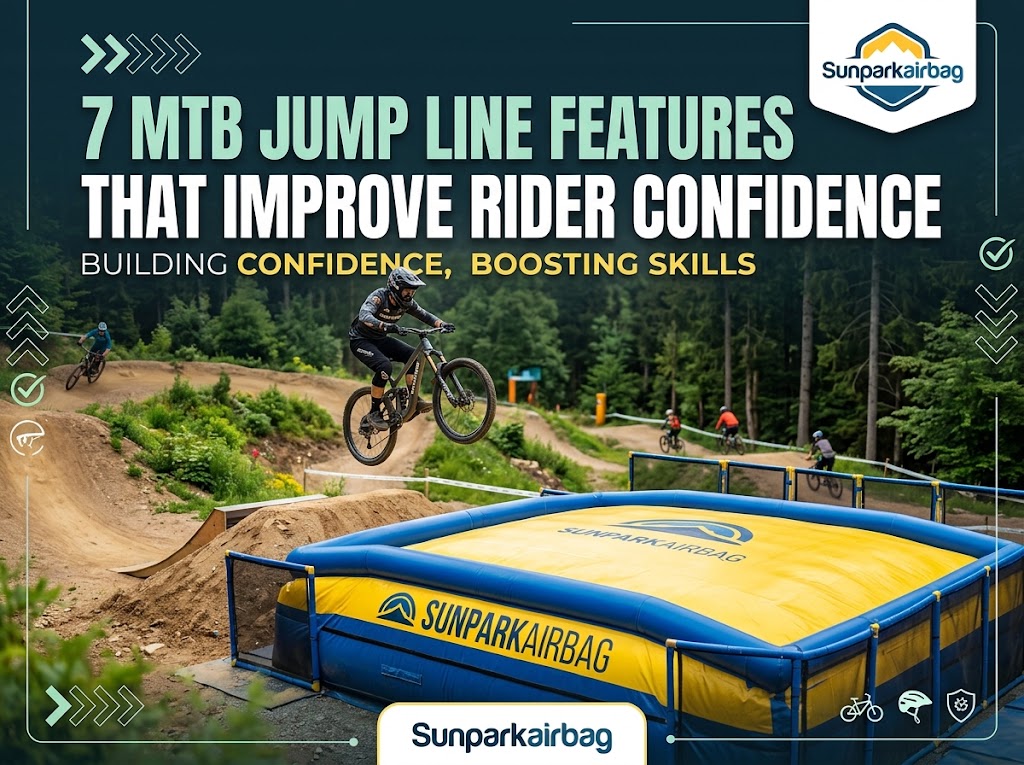
From our experience consulting with commercial bike parks and professional training facilities at Sunparkairbag, we have identified the exact geometric and structural elements that separate dangerous, amateur trails from world-class progression zones. Understanding and implementing these specific MTB Jump Line Features is not just about building better trails—it is about dramatically reducing liability, maximizing park throughput, and giving riders the ultimate environment to safely push their limits.
Quick Answer: The Foundation of Confidence
The most effective MTB Jump Line Features designed to build rider confidence eliminate the fear of severe penalty while providing predictable aerial trajectories. The 7 critical features include:
- Mellow, Predictable Transition Radii: Lips that loft the rider smoothly rather than bucking the rear wheel.
- Elongated Tabletop Architecture: Removing the psychological terror of a deep gap.
- Speed Control Rollers: Berms and rollers that naturally dictate the correct entry speed without braking.
- Oversized, Wide Landing Zones: Providing a massive margin of error for lateral drift in the air.
- Step-Up Designs: Lowering the physical height of the landing impact.
- Clear Visual Sightlines: Eliminating blind takeoffs and hidden landings.
- Inflatable Airbag Landings: The ultimate progression tool that completely removes the penalty of crashing while learning new aerial maneuvers.
What Are MTB Jump Line Features?
MTB Jump Line Features encompass the physical terrain shaping, structural ramps, safety modifications, and environmental cues designed into a mountain bike trail specifically to facilitate jumping. Rather than relying on natural, unpredictable trail anomalies (like a raw rock drop or a root-riddled kicker), these features are mathematically shaped. They include the takeoff (lip), the gap (or deck), the landing (transition), and the run-out. When these features are designed with progression in mind, they systematically remove variables, allowing the rider to focus entirely on technique.
How Progression Architecture Works
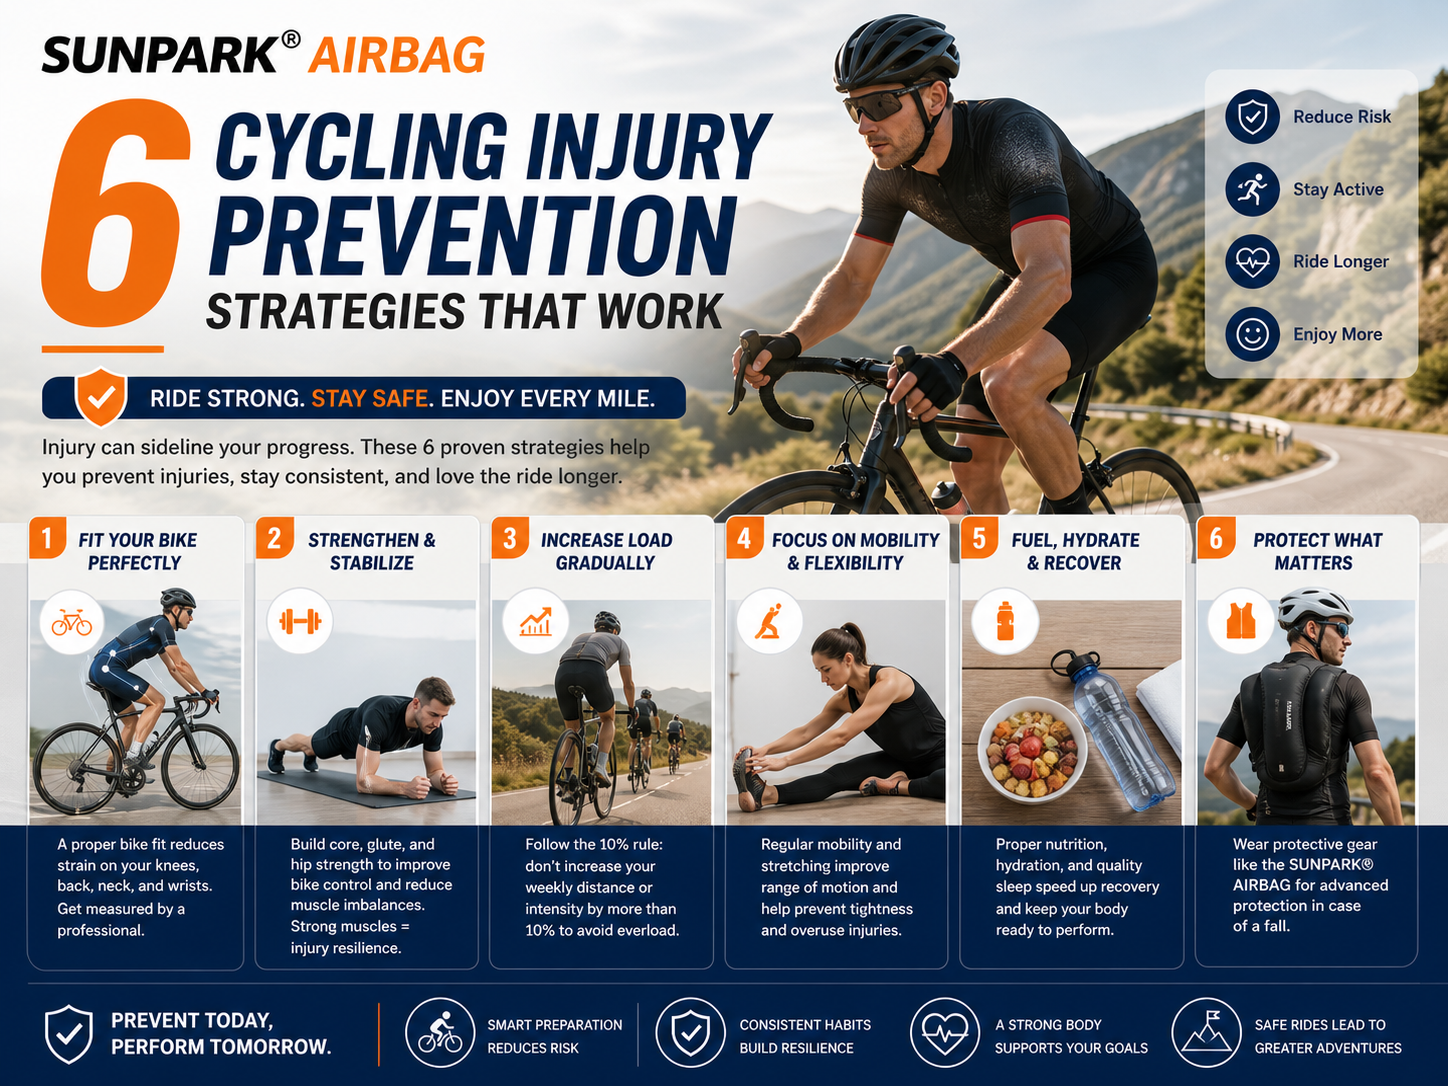
Confidence in mountain biking is a byproduct of predictability. When a rider approaches a jump, they are executing rapid subconscious calculations regarding speed, compression, and trajectory. If a lip is built with an abrupt, tightening radius (a “kicker”), it violently compresses the bike’s suspension, often resulting in the rear shock rebounding too quickly. This throws the rider over the handlebars—the dreaded “dead sailor” or “bucking” effect.
Conversely, progression architecture works by elongating the transition. A long, smooth curve allows the suspension to compress and rebound predictably. By pairing this with MTB airbag landing system integrations for advanced tricks, or wide dirt tabletops for beginners, the park designer mathematically guarantees that if a rider enters at the correct speed, the physics of the ramp will safely place them on the landing.
The 7 Critical MTB Jump Line Features
1. Mellow, Predictable Transition Radii
The takeoff is the most important element of any jump. For building confidence, the radius of the lip must match the wheelbase and speed of a modern mountain bike. BMX-style steep lips belong on 20-inch bikes. For mountain bikes, an elongated, sweeping radius ensures the entire bike is supported through the compression phase, delivering a smooth, floating sensation rather than a violent kick.
2. Elongated Tabletop Architecture
A double jump (a takeoff and a landing separated by an empty hole) is psychologically terrifying for a progressing rider because coming up short (casing) means slamming into a vertical wall of dirt. Tabletops fill that gap with a flat deck. If a rider misjudges their speed, they simply land safely on the flat top and roll away. It is the ultimate confidence-building shape.
3. Speed Control Rollers and Berms
In most professional situations, a rider should not have to guess their speed or drag their brakes before a lip. High-quality jump lines use perfectly pitched berms and rollers leading into the jump. If the rider pumps the rollers and flows through the berm without braking, the trail naturally generates the exact velocity required to clear the subsequent jump.
4. Oversized, Wide Landing Zones
When learning to whip, scrub, or spin, riders rarely land in a perfectly straight line. Traditional narrow singletrack landings are unforgiving. By constructing massive, wide landings (often twice the width of the takeoff), riders have a massive margin of error to correct lateral drift upon touchdown.
5. Step-Up Designs
A step-up jump features a landing that is physically higher in elevation than the takeoff lip. This is an incredible confidence booster because it minimizes the vertical distance a rider falls from the apex of their trajectory. The impact forces are vastly reduced, making it the safest dirt architecture for learning to catch serious air.
6. Clear Visual Sightlines
A blind crest—where a rider cannot see the landing until they are already airborne—destroys confidence. Premium jump lines carve away foliage and adjust trail grading so the rider can visually lock onto the landing zone long before their front tire ever touches the lip.
7. Inflatable Airbag Landings
When riders graduate from straight airs to backflips, tailwhips, and 360s, dirt becomes the enemy. The single most transformative feature a bike park or training facility can install is an airbag. By replacing the dirt transition with premium inflatable MTB airbag solutions, riders can attempt complex, high-consequence maneuvers with zero fear of injury. The airbag mimics the downhill slope of a dirt landing but absorbs the kinetic energy of a crash.
Commercial and Rider Benefits
For commercial users, integrating these features—especially airbag systems—transforms a local trail into a destination training facility. When you remove the fear of injury, riders stay at the park longer, buy more lift tickets, and generate massive social media marketing as they post their newly learned tricks. Furthermore, replacing dangerous gap jumps with wide tabletops or bike airbag landing systems drastically reduces emergency medical interventions and associated liability risks for park owners.
Limitations and Maintenance
We recommend acknowledging the harsh realities of trail building. Dirt tabletops require massive amounts of raw material; filling a 15-foot gap requires heavy machinery and hundreds of cubic yards of soil. Furthermore, dirt lips degrade rapidly. Ruts form, lips get “cased” and rounded off, and rain creates braking bumps. Perfect jump lines require daily watering and shaping by a dedicated trail crew to maintain that predictability.
Pros and Cons of Engineered Progression Lines
| Pros (Advantages) | Cons (Limitations) |
|---|---|
| Dramatically reduces severe injuries by eliminating “case pads” and blind gaps. | High initial construction cost requiring heavy machinery and expert shapers. |
| Accelerates rider skill acquisition by removing psychological barriers. | Requires constant daily maintenance (watering, packing, lip repair). |
| Attracts a wider demographic of riders, boosting commercial park revenue. | Takes up a massive physical footprint compared to raw singletrack. |
| Provides a safe environment for coaching and high-level trick clinics. | Can feel “too sterile” for purist freeriders seeking rugged, natural terrain. |
Comparison: Dirt Landings vs. Mulch vs. Airbags
When selecting the ultimate progression feature for advanced tricks, facility managers must compare landing mediums.
| Feature | Dirt Landing (Tabletop) | Mulch/Bark Pit | Inflatable Airbag Landing |
|---|---|---|---|
| Safety / Forgiveness | Low (Hard impact on crashes) | Medium (Messy, inconsistent density) | Ultra-High (Absorbs impact, prevents injury) |
| Ride-Away Capability | Excellent | Terrible (Rider gets stuck) | Excellent (Modern airbags allow riding out) |
| Maintenance Requirements | High (Daily watering and packing) | High (Rotting, requires frequent turning) | Low (Keep clean, check blower pressure) |
| Setup Cost | Moderate (Earthmoving) | Moderate | High (Capital investment, low long-term cost) |
Who Should Implement These Features
Who Should Use It: We strictly advise commercial bike parks, municipal pump tracks, professional training compounds, and freestyle coaching businesses to implement these progression features. If you are operating a facility where skill acquisition is the product, integrating a proper mountain bike airbag landing guide methodology is non-negotiable for client safety.
Who Does Not Need It: If you are building a raw, backcountry enduro trail designed to test technical rock-garden navigation and natural terrain adaptation, perfectly manicured jump lines are out of place. Natural trail riding is about reading the raw terrain, not utilizing mathematically perfect skatepark-style geometry.
Common Mistakes in Jump Construction
If the landing transition does not match the trajectory of the lip, the rider will either over-shoot to flat (destroying ankles and bike frames) or case the knuckle. A proper landing should be long, wide, and pitched to match the exact downward arc of the bike. Another frequent error is building “kickers” out of rotting wood or poorly supported pallets, which can collapse under the immense compression forces of a full-suspension mountain bike.
Buying Considerations for Commercial Parks
If you are upgrading a facility from dirt to an advanced progression setup, navigating the equipment can be daunting. Before you search for buy used airbag landing tips to save a few dollars, recognize that this is life-saving safety equipment. You must prioritize durability and functionality.
Look for airbags constructed from a minimum of 0.55mm PVC Tarpaulin for the base chambers and a heavier 0.9mm PVC for the top landing sheet. Ensure the system utilizes internal air pillars that allow a rider to land and literally ride off the bag, rather than sinking into a marshmallow. For operators managing multi-sport facilities, verify if the bag can double as an FMX landing airbag for sale or a gym airbag for training to maximize your Return on Investment (ROI).
Expert Recommendation
In our testing and decades of industry experience, the absolute fastest way to improve rider confidence and unlock high-level tricks is by removing the physical consequence of failure. While shaping perfect dirt tabletops is foundational, the ultimate tool for professional and commercial progression is an engineered airbag landing.
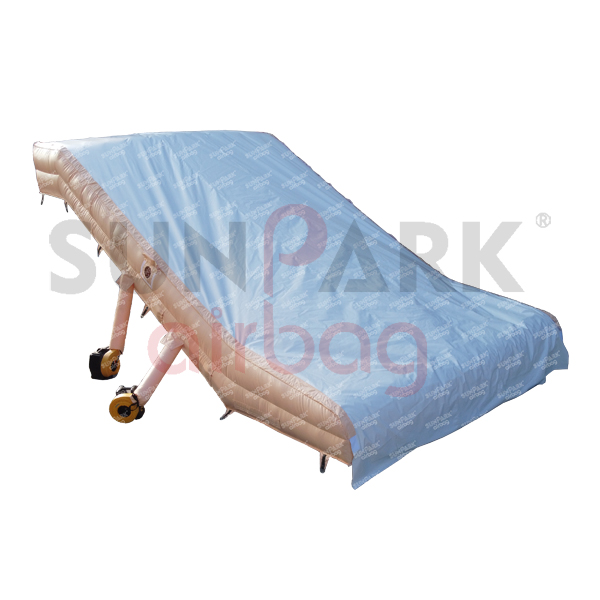
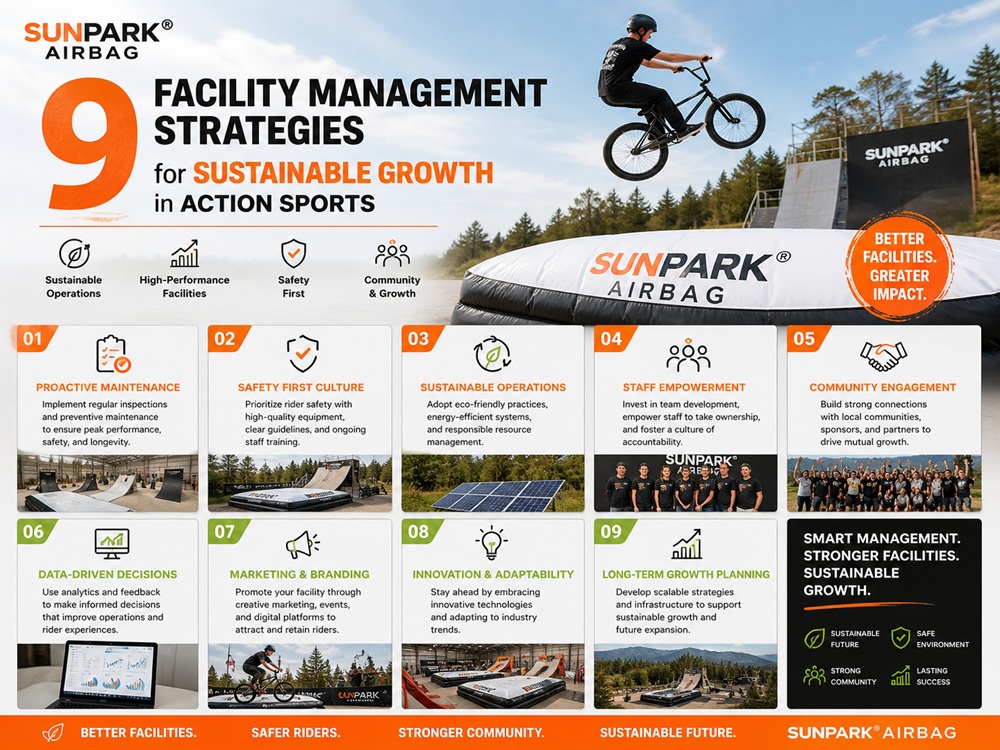
MTB Jump Airbag Landing
Designed for elite progression, the Sunparkairbag MTB Jump Airbag replaces terrifying dirt gaps with a highly engineered, shock-absorbing transition. It allows riders to practice flips, spins, and massive airs, absorb the crash if it goes wrong, or ride out smoothly if they stomp the landing.
- Material: 0.55mm PVC Tarpaulin (Base) / 0.9mm (Top Sheet)
- Safety Rating: Flame-retardant, UV-protected, lead/phthalate-free
- Customization: Fully customizable sizes and digital/silk-screen printing
- Accessories Included: Blower, repair kit, heavy-duty carrying bag
- Production Time: Approx. 15 working days
By implementing a true freestyle airbag guide protocol, your park will not only see a dramatic decrease in injuries but a massive spike in rider loyalty. Progression is addictive, and providing the safest possible environment to achieve it is the ultimate competitive advantage.
Frequently Asked Questions (FAQ)
What is the difference between a tabletop and a gap jump?
A gap jump consists of a takeoff lip and a landing transition separated by an empty space (the gap). If you fall short, you crash into the face of the landing. A tabletop fills that empty space with a flat deck of dirt. If you fall short on a tabletop, you simply land on the flat top and roll away safely, making it the superior feature for building rider confidence.
Why do some jump lips kick my back wheel up?
This is commonly known as getting “bucked.” It happens when the transition radius of the jump is too tight or abrupt for the speed and wheelbase of your bike. The rear suspension compresses deeply into the face of the jump and rebounds violently just as the front wheel leaves the lip, pitching the rider forward.
Are airbag landings only for professionals?
Not at all. While professionals use them to learn triple backflips, beginners use them to conquer the basic fear of leaving the ground. An inflatable jump airbag allows novice riders to practice basic straight airs and master their in-air balance without the paralyzing fear of landing on hard packed dirt.
How do speed rollers improve jump safety?
Speed rollers naturally dictate the pace of the trail. If a rider pumps through the rollers efficiently, they will arrive at the jump lip at the exact speed required to clear the gap. This removes the dangerous guesswork of braking or pedaling aggressively right before the takeoff, allowing the rider to focus purely on jumping technique.
Authoritative Industry References
To ensure our trail building and safety methodologies align with global standards, we reference the following authoritative organizations:
- International Mountain Bicycling Association (IMBA): The global authority on sustainable trail building, jump architecture, and risk management in mountain biking. Visit IMBA
- RoSPA (The Royal Society for the Prevention of Accidents): Providing critical data on action sports safety, facility liability, and the necessity of impact-absorbing zones in high-risk sports. Visit RoSPA
- Whistler Mountain Bike Park / Gravity Logic: Pioneers in commercial bike park design, setting the industry standards for progression-based jump line construction and flow trail geometry. Visit Gravity Logic