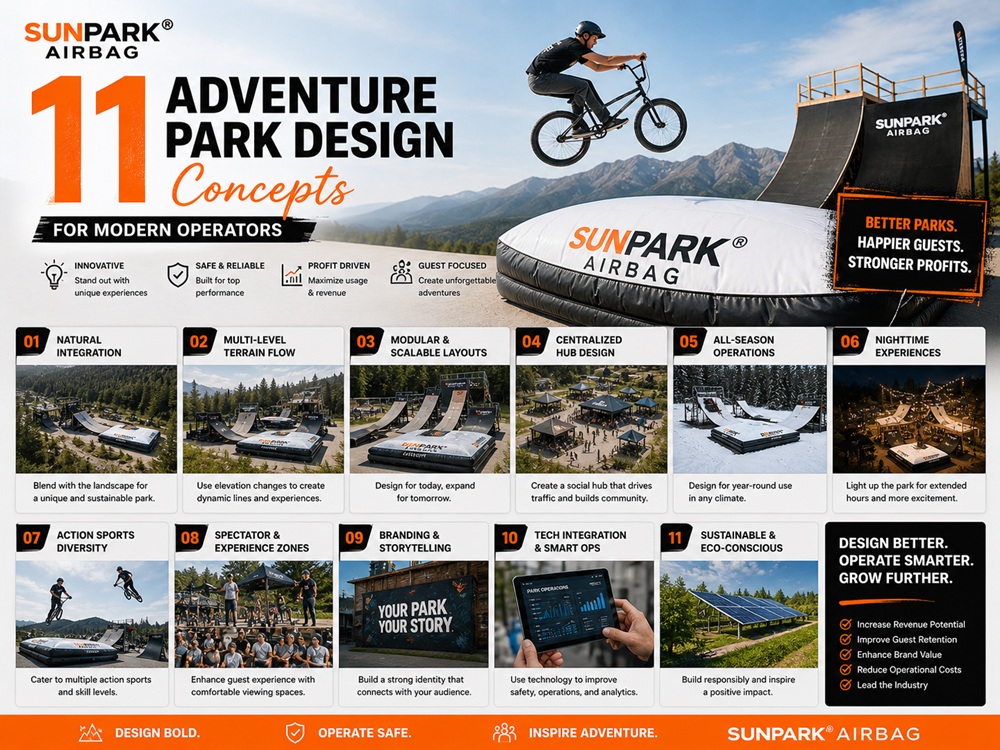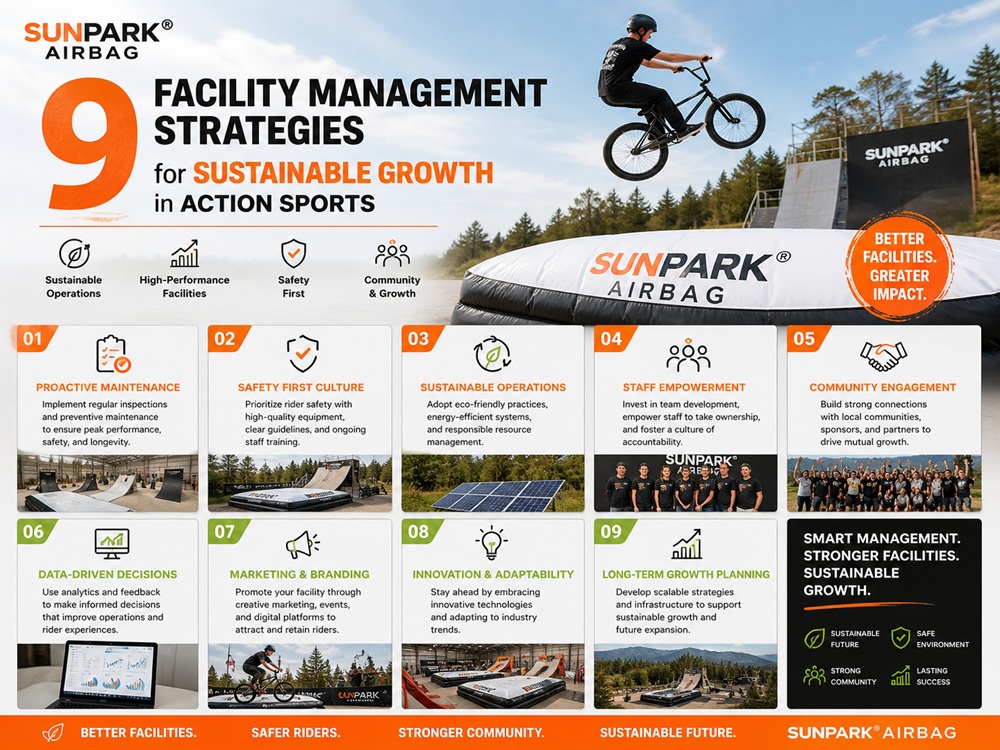
The days of relying on filthy, hazardous foam pits or risking catastrophic injuries on unforgiving dirt mulch landings are over. In the modern era of extreme sports, progression requires calculated risk mitigation. Whether you are a commercial bike park operator trying to reduce liability, or an elite athlete pushing the boundaries of freestyle geometry, the necessity for a professional-grade landing surface is non-negotiable. From our experience at SunparkAirbag, engineering advanced pneumatic crash systems globally, attempting to buld Mtb airbag landing system infrastructure without a strict technical blueprint leads to dangerous bottom-outs, misaligned trajectories, and blown seams.
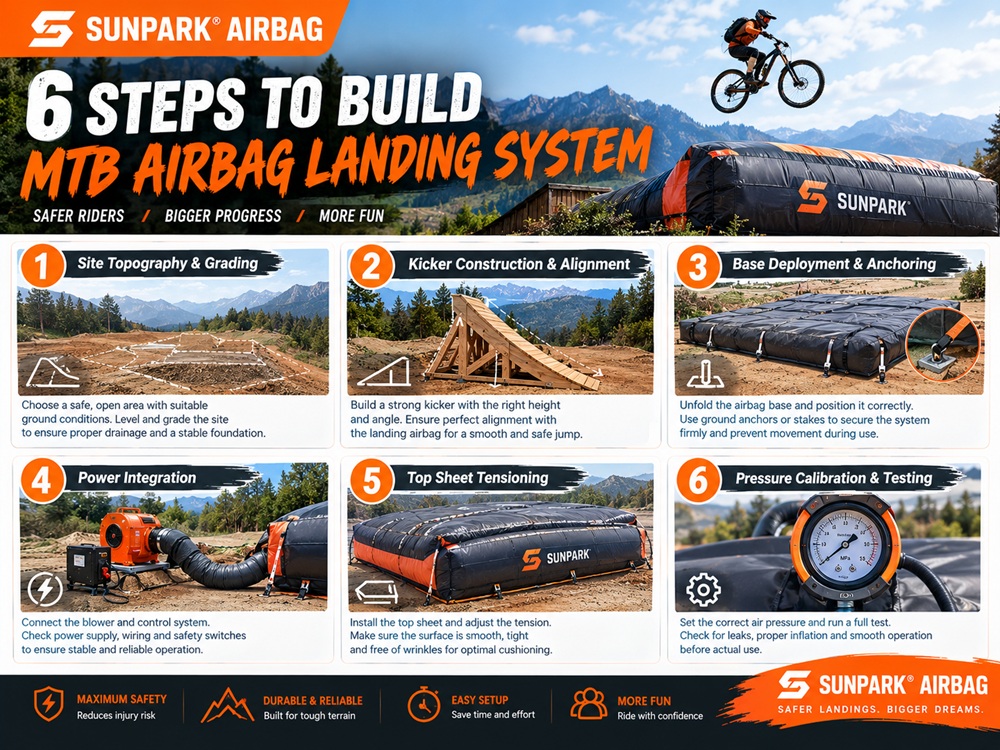
In most professional situations, purchasing the bag is only 30% of the operation; the engineering of the site dictates the safety of the rider. We routinely see facilities invest heavily in premium landing airbag solutions only to place them on poorly graded ground with inadequate kicker transitions. You must use commercial and practical judgment. In this definitive guide, we take an uncompromising, expert stance on the exact 6 steps required to safely and effectively buld Mtb airbag landing system frameworks. We will dissect the material science behind the PVC, explain the critical transition alignments, and ensure your facility operates at peak safety standards.
Quick Answer: How to Deploy Your Airbag System
If you are preparing to buld Mtb airbag landing system setups, you must execute these 6 mandatory phases:
- Site Topography & Grading: Ensure a flat or precisely declined dirt/scaffold base to match the bag’s operational pitch.
- Kicker Construction & Alignment: Calculate the trajectory to ensure riders impact the sweet spot (middle third) of the airbag.
- Base Deployment & Anchoring: Unroll the 0.55mm PVC base and secure all heavy-duty D-rings to ground anchors or concrete blocks.
- Power Integration: Connect dedicated, weather-proofed electrical circuits for the continuous-flow blowers.
- Top Sheet Tensioning: Secure the 0.9mm PVC top sheet, balancing the tension to allow for impact absorption while remaining firm enough to ride away.
- Pressure Calibration & Testing: Adjust the air vents based on rider weight and jump height before opening the feature.
We recommend entirely abandoning single-chamber inflatable designs. For heavy-duty applications, you must specify a dual-chamber system to prevent riders from bottoming out on the ground.
What It Is: The Engineering of MTB Airbags
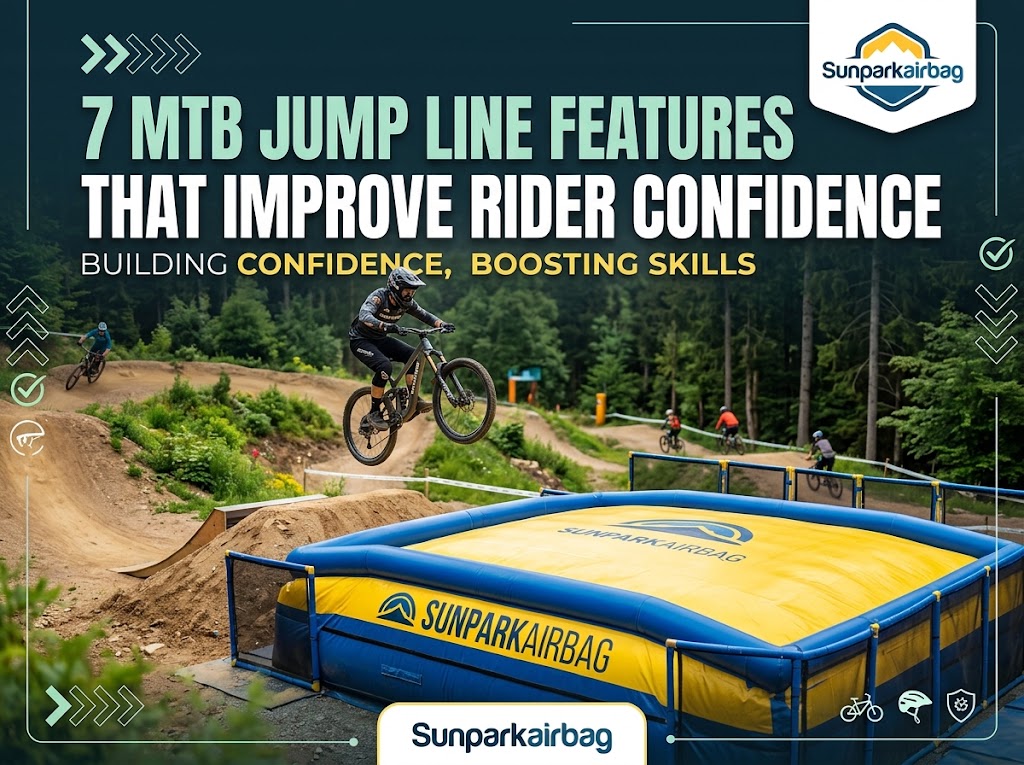
A professional MTB airbag landing system is a heavily engineered pneumatic structure designed to replicate the contour of a standard dirt landing transition (the “tranny”). Unlike a stunt bag where you land flat on your back and sink, an MTB airbag features a firm, pitched top layer that allows the tires to grip. This enables the rider to land their trick and ride down the ramp smoothly, rather than coming to a dead, sinking halt.
The materials are critical. You are repeatedly dropping a 35-pound bicycle with sharp metal pedals and a 180-pound rider onto a fabric surface. Standard nylon will shred instantly. Commercial bags utilize 0.55mm PVC Tarpaulin for the internal pillars and a massive 0.9mm PVC Tarpaulin for the replaceable top sheet. This material must be flame-retardant, UV-protected, and lead-free.
How It Works: Dual-Chamber Mechanics
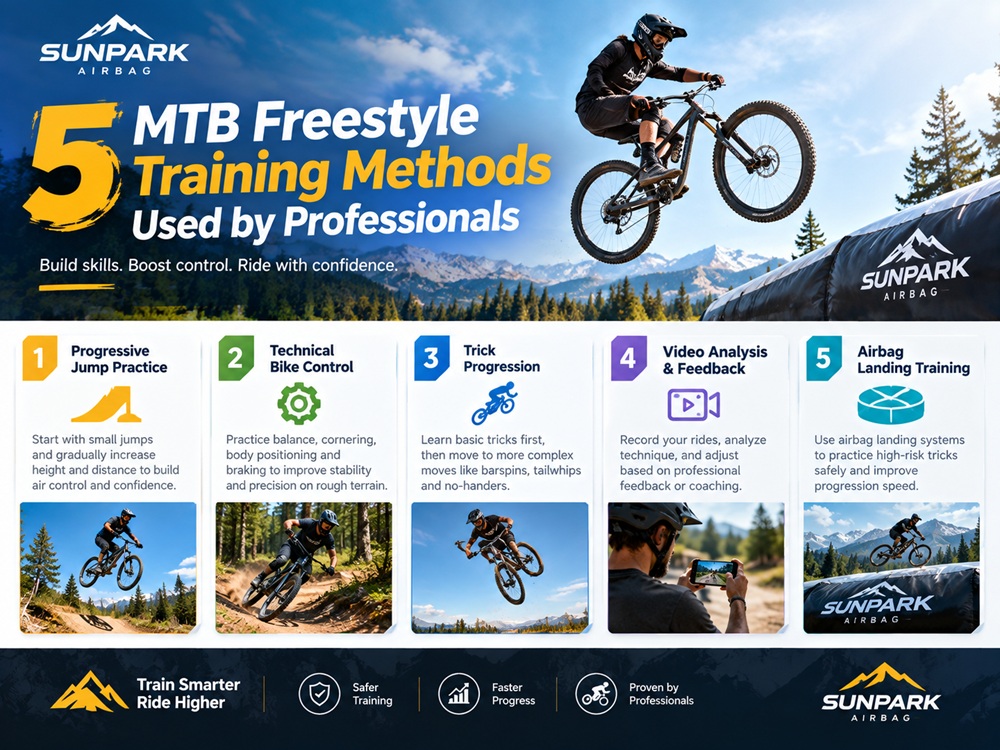
How it works dictates whether a rider walks away from a crash or visits the hospital. High-end inflatable MTB airbag solutions utilize dual-chamber technology. The bottom chamber acts as a highly pressurized foundation; it prevents the rider from ever striking the hard earth, even during a catastrophic free-fall. The upper chamber contains internal fabric pillars (baffles) and operates at a lower pressure. It features adjustable exhaust vents. When the rider impacts the top sheet, the air is rapidly expelled through these vents, absorbing the kinetic energy softly before the bottom chamber catches the residual weight.
The 6 Steps to Buld MTB Airbag Landing System
From our experience equipping the best snowboard airbag parks and elite cycling compounds, executing these 6 steps flawlessly is the difference between a premier training facility and a dangerous liability.
Step 1: Site Topography and Grading
You cannot simply drop an airbag on uneven grass. You must grade a specific landing pitch. While some airbags are designed to be freestanding wedges, the safest and most realistic setups utilize a sculpted dirt mound or a wooden scaffold framework shaped to a 30 to 40-degree decline. The airbag drapes over this framework, creating a flawless, rideable transition.
Step 2: Kicker Construction and Gap Calibration
The launch ramp (kicker) dictates the trajectory. A common mistake is building the kicker too close to the bag. You must calculate the parabolic arc of a standard jump. The gap between the lip of the kicker and the front edge of the airbag should allow the rider to comfortably clear the knuckle and land in the middle third (the “sweet spot”) of the airbag. Standard gaps range from 8 to 15 feet depending on the kicker’s radius and speed.
Step 3: Base Deployment and Rigorous Anchoring
Roll out the heavy PVC base. In high-wind environments, an unsecured airbag becomes a massive sail. You must utilize the heavy-duty D-rings installed along the base perimeter. Anchor these using deep ground stakes for dirt setups, or heavy concrete ballast blocks/ratchet straps for concrete or gym floor deployments like a gym airbag for training.
Step 4: Blower and Power Integration
Connect the industrial blowers to the inflation tubes. Because these are continuous-flow systems (air is constantly escaping to absorb impact), the blowers must run without interruption. You must ensure you have a dedicated, non-GFI tripping electrical circuit. Protect the blowers from rain and dust enclosures, ensuring the air intake is never obstructed by debris or leaves.
Step 5: Top Sheet Tensioning
The 0.9mm top sheet is the impact zone. It is attached via heavy-duty Velcro or bungee systems. If you tension it too tightly, the bag will act like a trampoline, bouncing the rider dangerously back into the air. If it is too loose, the tires will sink, and the rider will go over the handlebars. In our testing, finding the perfect medium tension allows the bike to track straight while still absorbing off-axis landings.
Step 6: Pressure Calibration and Vent Adjustment
Before any rider drops in, perform a weighted drop test. Adjust the side ventilation flaps. Opening the flaps makes the landing softer (air escapes faster); closing the flaps makes the landing firmer. Calibrate this pressure based on the average weight of the riders and the height of the kicker. Start firmer and gradually soften the bag based on rider feedback.
Commercial and Athletic Benefits
The primary benefit of utilizing an airbag landing ramp system is the exponential acceleration of athletic progression. Fear of injury paralyzes progression. When riders know they can attempt a double backflip and walk away completely unharmed from a botched landing, they push their limits. For commercial operators researching trampoline park owner income or outdoor bike park revenues, an airbag is a massive draw that justifies premium entry fees and mitigates severe liability claims.
Limitations and Hidden Risks
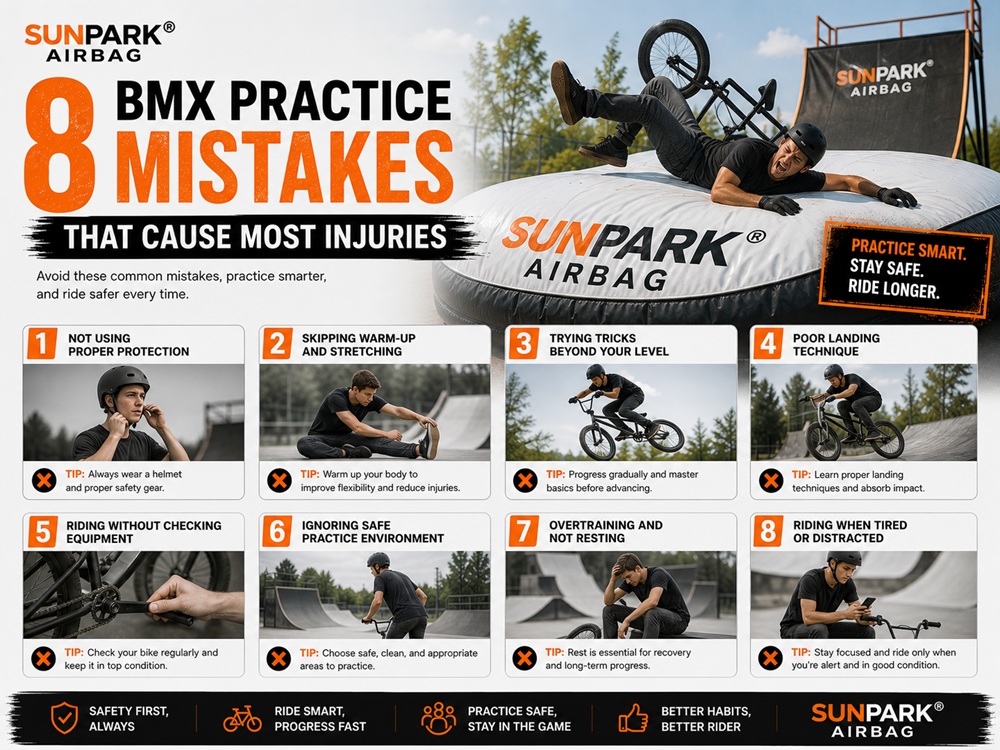
We must use commercial and practical judgment: these systems have physical limitations. They require constant electricity. If the power grid fails mid-jump, the bag deflates rapidly. Furthermore, the 0.9mm PVC is incredibly tough, but it is not immune to vandalism or extreme negligence. A rider dropping in with a razor-sharp exposed pedal pin or a broken brake lever can tear the top sheet. Strict rules regarding bike condition must be enforced.
Who Should Install These Systems
For Commercial Users and Pro Athletes: Professional freestyle compounds, commercial mountain bike parks, BMX training facilities, and event organizers must deploy these systems. They drastically reduce common BMX injuries and prevention liabilities while providing a spectacle for audiences.
Who Does Not Need One
For Casual Trail Riders: If you strictly ride cross-country trails and keep your tires on the dirt, the significant capital expenditure of an airbag system is unnecessary. Stick to natural terrain.
Common Procurement Mistakes
From our experience, the most catastrophic mistake park builders make is purchasing a flat “stunt bag” (used for falling out of windows in movies) instead of a pitched, rideable landing bag. A flat bag will snap a bike frame upon impact because it does not match the downward trajectory of a landing. You must purchase a model explicitly designed for wheeled sports, featuring a designated downward transition.
Expert Buying Considerations
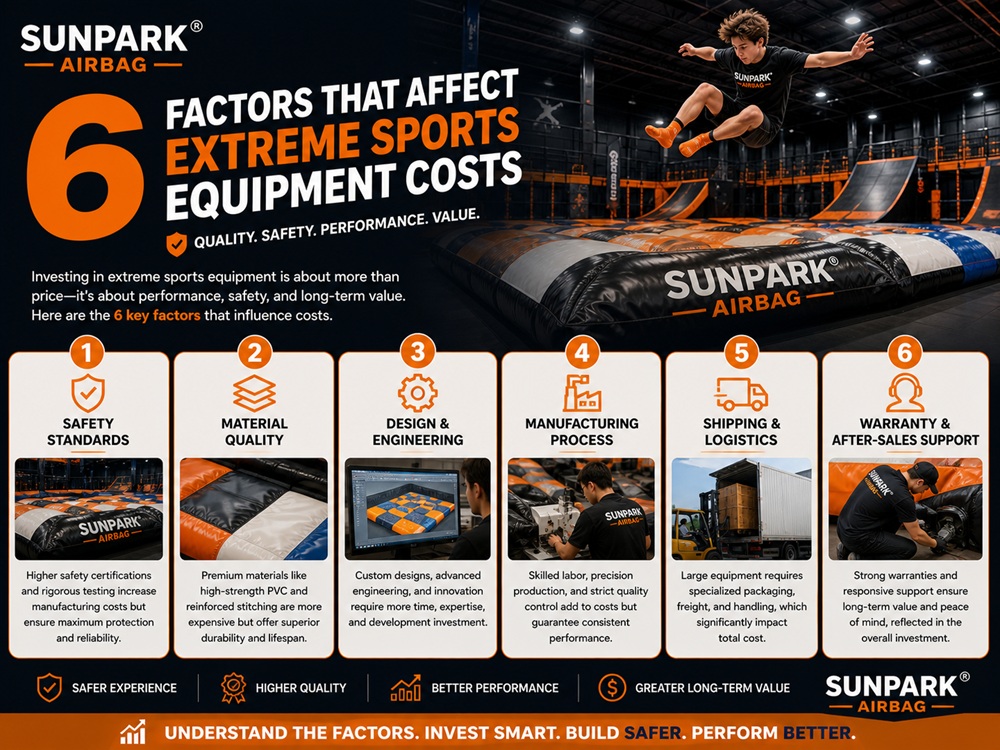
When reviewing quotes to buld Mtb airbag landing system structures, demand the material specifications. If a supplier cannot prove they use a minimum of 0.55mm PVC for the base and 0.9mm for the top sheet, walk away. Ask about the replacement cost of the top sheet—it is a consumable wear item that you will need to replace every few years depending on traffic. Ensure the blowers are included and certified for your country’s electrical grid (CE/UL approved).
Summary and Comparison Tables
Comparison Table: Airbag vs. Foam Pit vs. Mulch
| Metric | MTB Airbag System | Foam Pit | Mulch / Bark Landing |
|---|---|---|---|
| Ride-Away Capability | Excellent (Allows continuous riding) | Zero (Rider sinks, requires extraction) | Moderate (Can be ridden out if landed perfectly) |
| Safety / Injury Risk | Extremely Safe (Absorbs off-axis impacts) | Safe, but high risk of bikes landing on riders | High Risk (Severe impact if crashed) |
| Hygiene & Maintenance | High (Wipe clean PVC, zero dust) | Very Poor (Collects sweat, dust, fire hazard) | Poor (Rots, requires constant raking) |
| Throughput (Jumps per Hour) | High (Clear the landing in seconds) | Low (Takes 5 minutes to climb out) | High |
Pros and Cons of Inflatable Airbag Landings
| Pros (Why you must upgrade) | Cons (The operational reality) |
|---|---|
| Drastically reduces medical liabilities and severe injuries. | High initial capital expenditure. |
| Accelerates rider progression and confidence. | Requires continuous, reliable electrical power. |
| Massive visual marketing draw for commercial bike parks. | Top sheet is a wear-item requiring eventual replacement. |
| Fully portable; can be deflated and moved to new events. | Vulnerable to sharp objects or malicious vandalism. |
Expert Recommendation & Hardware Spotlight
Is the financial investment required to buld Mtb airbag landing system setups actually worth it compared to a pile of cheap mulch? Emphatically, yes. The return on investment for commercial parks is realized through increased ticket sales, prolonged season passes, and the elimination of severe injury claims. We recommend that buyers strictly avoid generic, unbranded inflatables imported blindly. Partner with a dedicated extreme sports manufacturer that understands the geometry of flight.
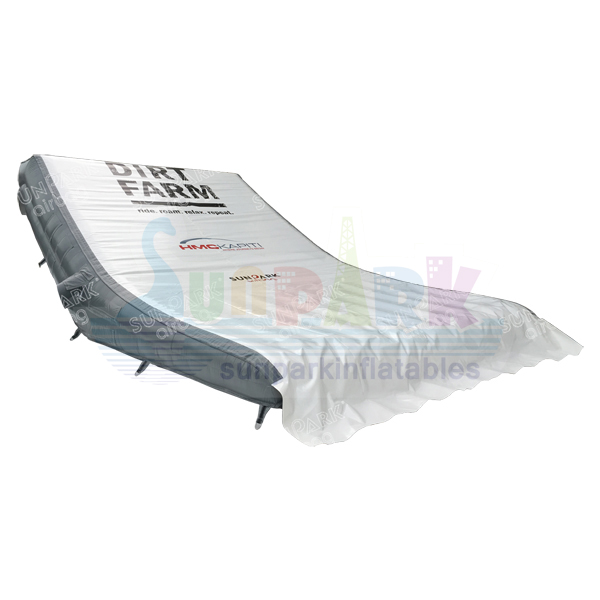
For operations looking to diversify their facility, integrating a Halfpipe Airbag or a flat inflatable jump airbag for gymnastics creates a multi-discipline training compound that maximizes revenue per square foot.
Frequently Asked Questions
How much space is required to buld Mtb airbag landing system setups?
In most professional situations, you need a minimum linear footprint of 15 to 20 meters in length and 6 meters in width to safely buld Mtb airbag landing system infrastructure. This footprint accounts for the drop-in, the run-in, the kicker ramp, the gap, the 8.5-meter bag itself, and a safe dirt run-out area to slow down after landing.
Can I leave my MTB airbag outside all year?
While premium models like those from SunparkAirbag use UV-protected, 0.9mm PVC tarpaulin that heavily resists weathering, we strictly recommend covering the deflated bag with a heavy-duty tarp during extreme winter freezes or severe prolonged rainstorms to prolong its operational lifespan and prevent mold accumulation in the vents.
Why is an airbag better than a foam pit?
Foam pits are highly unsanitary, pose severe fire hazards, and require massive manual labor (or cranes) to extract a rider and bike after every single jump. An inflatable MTB airbag landing system allows the rider to land the trick and ride away continuously, drastically increasing the number of practice repetitions per hour without the filthy cleanup.
What happens if the power goes out while someone is jumping?
High-quality dual-chamber airbags are designed with a baseline structural integrity that allows them to hold residual air for a short period. If the power cuts mid-jump, the bag will not instantly vanish; it will deflate slowly, providing enough cushion to absorb the immediate impact of the airborne rider. However, riding must cease immediately until power is restored.
Industry References & Authoritative Safety Guidelines
To ensure our engineering advice aligns with the strictest global safety and structural standards, SunparkAirbag references the protocols established by the following authoritative organizations:
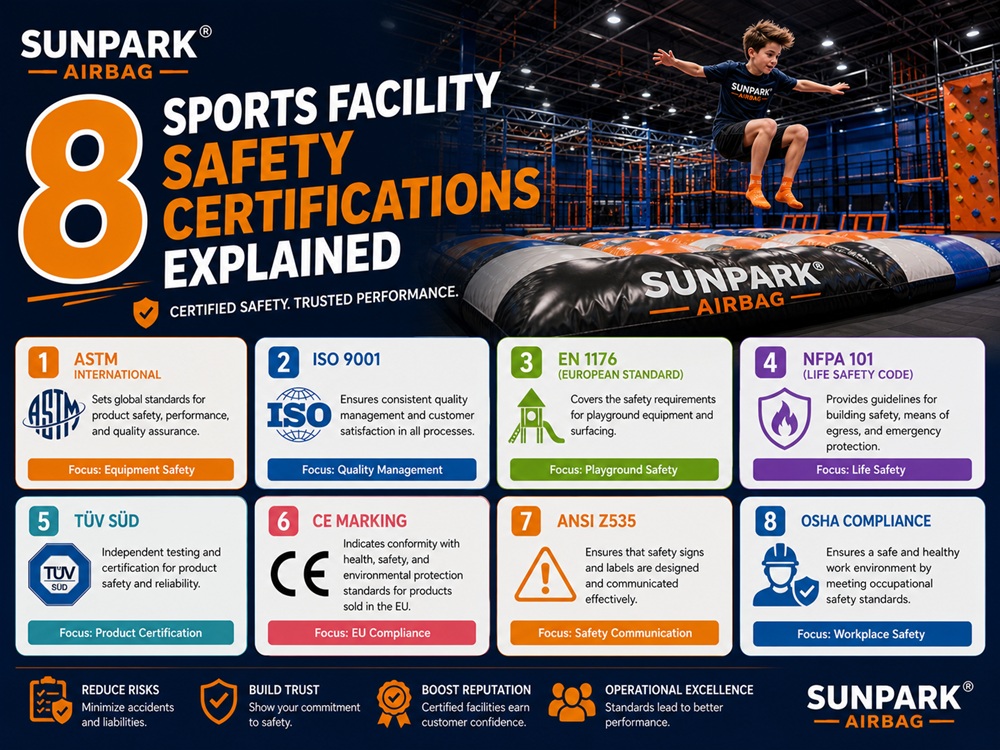
- ASTM International: The global standards organization that develops and publishes the rigorous consensus technical standards (such as ASTM F2374) outlining the design, manufacture, and operation of inflatable amusement and sports devices. Review ASTM Safety Standards
- Union Cycliste Internationale (UCI): The world governing body for sports cycling, providing guidelines and facility standards for freestyle BMX and mountain bike track constructions to ensure competitive athlete safety. Review UCI Track Regulations
- The Royal Society for the Prevention of Accidents (RoSPA): A leading authority providing peer-reviewed risk assessment frameworks and safety guidelines for the operation of extreme sports parks and inflatable equipment. Review RoSPA Leisure Safety