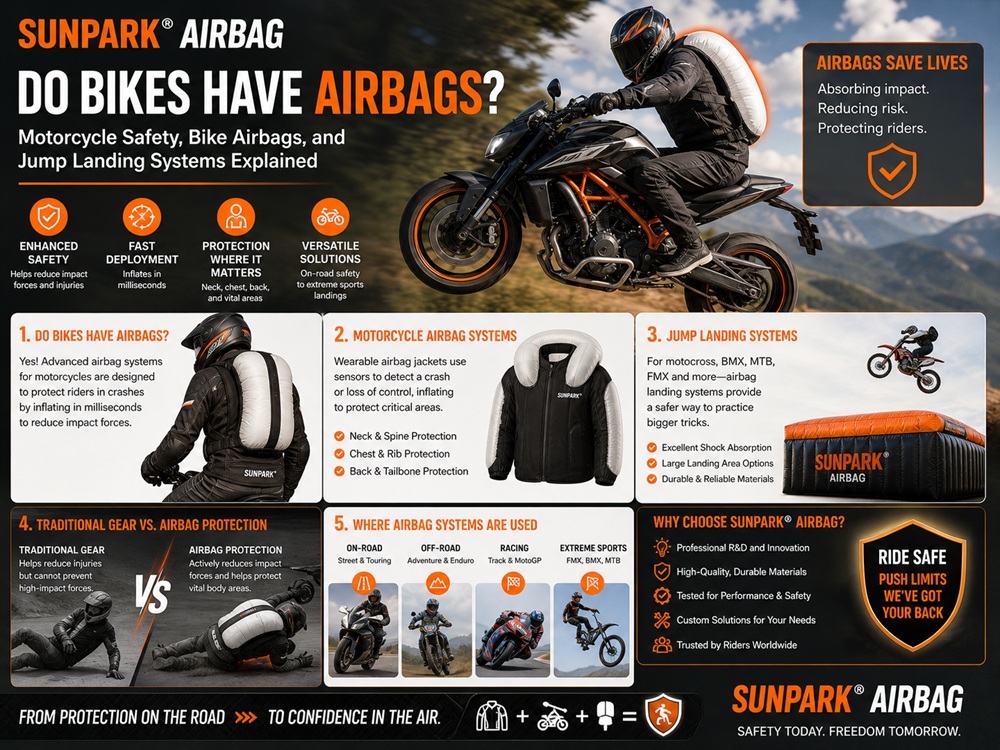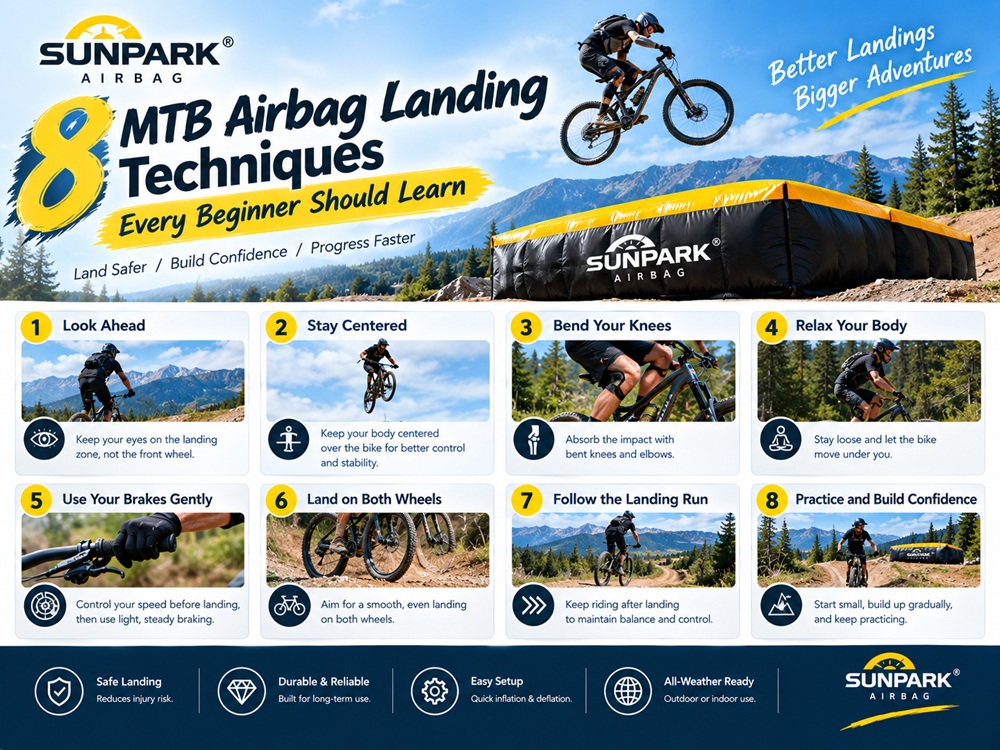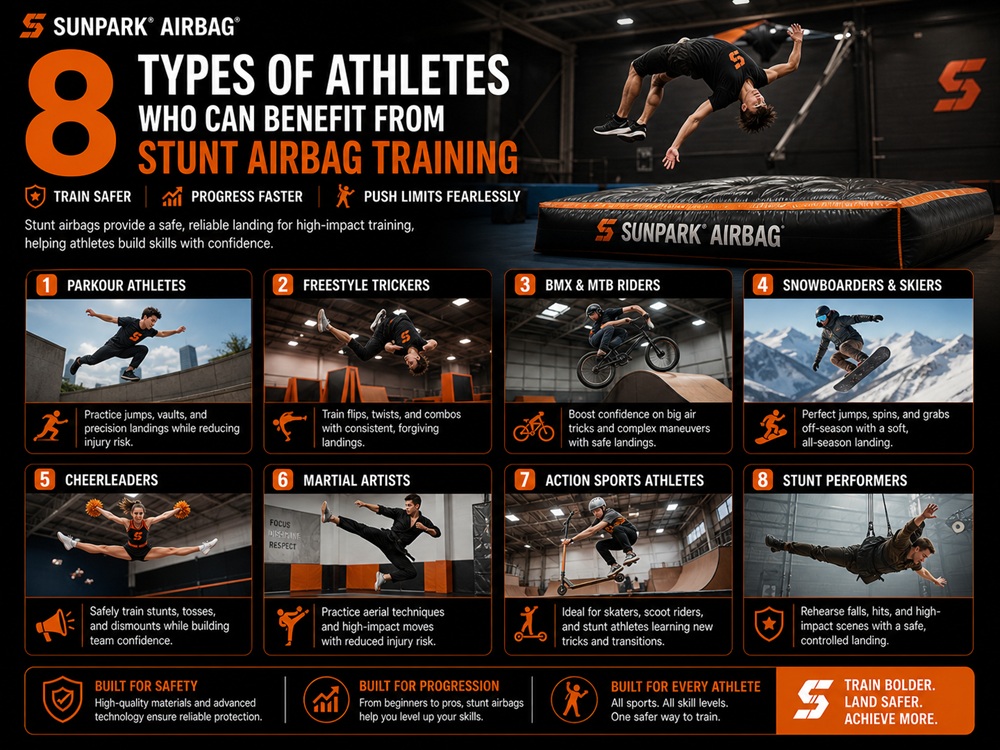
A BMX airbag gives riders a more forgiving place to practise jumps, tricks and new combinations, but it does not make every landing safe. Poor approach speed, incorrect body position, late bike control and careless airbag setup can still produce hard impacts or unexpected falls. The biggest mistake is treating an airbag as permission to ignore technique. It is a training tool, not a guarantee against injury.
Whether you are a rider learning to clear a jump or a facility operator managing a progression area, understanding common BMX airbag landing mistakes helps you get more value from every session. The goal is not simply to land on the inflatable surface. It is to develop repeatable control while using equipment that is correctly selected, installed and maintained.
Quick Answer: What Are the Most Common BMX Airbag Landing Mistakes?
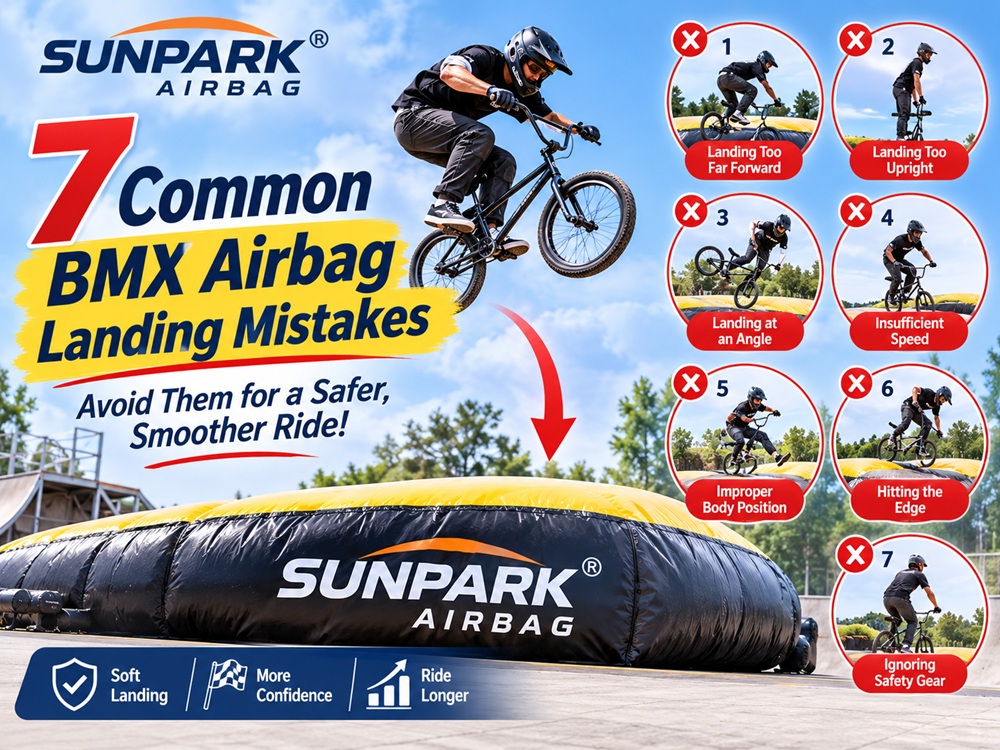
The seven common BMX airbag landing mistakes are approaching at the wrong speed, using poor body position, losing control of the bike in the air, aiming for the wrong landing zone, attempting tricks beyond current ability, ignoring airbag conditions, and failing to follow a safe progression plan.
To reduce risk, start with basic straight jumps, use a suitable BMX-specific landing system, check the surface and inflation before riding, and increase trick difficulty only when basic landings are consistent. An airbag should support controlled progression rather than replace coaching, protective equipment or sound riding judgment.
Why BMX Airbag Landing Mistakes Matter
A BMX airbag is designed to provide a more forgiving landing environment than many hard or compacted surfaces. It can help riders repeat jumps, practise body movement and build confidence before attempting selected skills in more demanding environments. However, the landing experience depends on more than the presence of an inflatable surface.
Air pressure, landing geometry, rider speed, impact angle, bike orientation and the rider’s ability to separate from or control the bike all influence the outcome. A landing that feels manageable on one system may behave differently on another. This is why experienced coaches and facility operators assess the complete jump and landing arrangement rather than judging safety by the airbag alone.
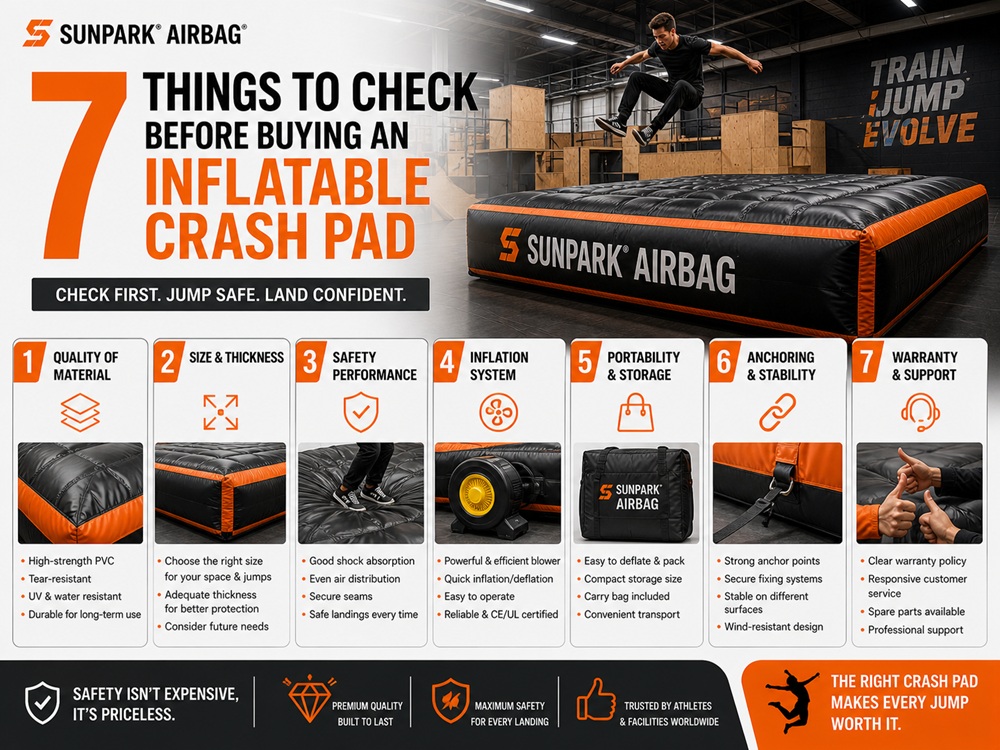
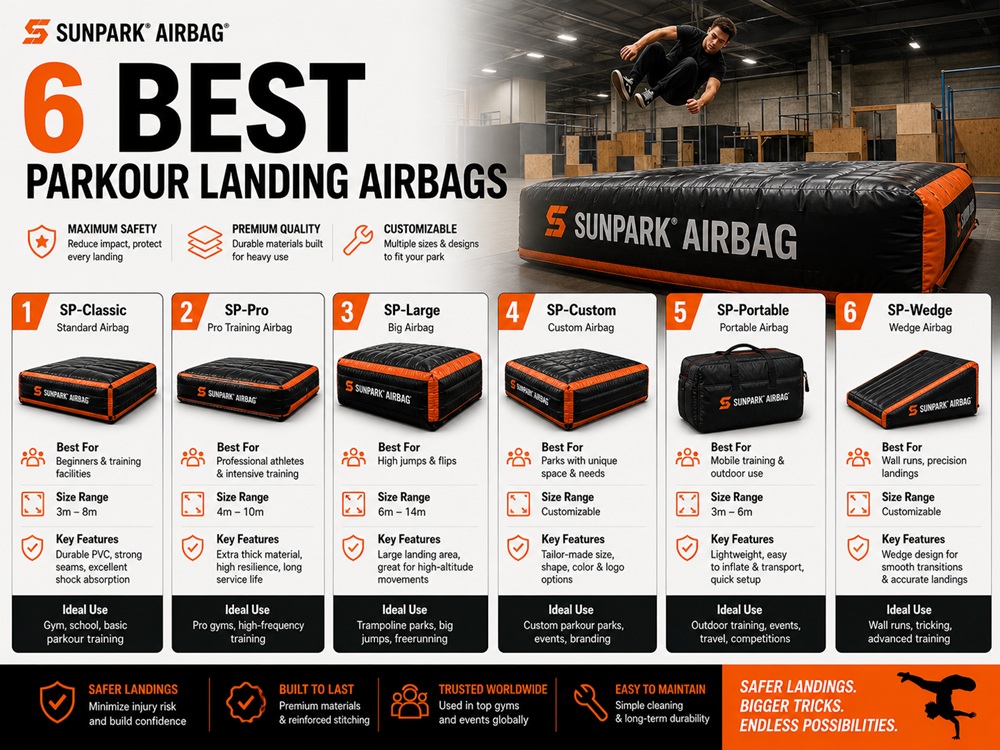
For beginners, the priority should be predictable, low-complexity jumps. For commercial users, the priority is a controlled training environment with clear operating rules, suitable supervision and a documented inspection routine. Our BMX airbag landing system is relevant to facilities evaluating a dedicated setup, but equipment selection must always match the intended riding style, jump geometry and user level.
1. Approaching the Jump with the Wrong Speed
Incorrect approach speed is one of the most common BMX airbag landing mistakes. Riders often assume that more speed automatically produces a better jump. It does not. Excessive speed can create greater airtime, overshooting and a landing position that is difficult to control. Too little speed can also be a problem if the rider cannot clear the takeoff correctly or reaches the landing surface in an unstable position.
Why it happens
Riders frequently copy another person’s run-up without considering differences in body weight, bike setup, ramp profile or riding ability. A speed that works for an experienced rider may be inappropriate for someone still learning basic jumping technique.
How to avoid it
- Begin with a speed range recommended by the coach or facility operator for that specific jump.
- Practise repeatable straight jumps before adding rotations or other tricks.
- Change speed gradually rather than making large adjustments between attempts.
- Stop if the takeoff repeatedly produces an unstable trajectory or an overshoot.
Our recommendation: Consistency is more valuable than maximum distance. A rider who can reproduce a controlled trajectory has a better foundation for progression than someone who occasionally reaches the centre of the airbag at high speed.
2. Using Poor Body Position During Takeoff and Landing
Body position determines how the rider and bike move together. A stiff posture, locked arms, excessive leaning or an uncontrolled change in hip position can make the landing unpredictable. Even when the airbag absorbs part of the impact, poor alignment can place unnecessary stress on the rider or cause the bike to move awkwardly.
Common positioning errors
- Locking the elbows and knees instead of maintaining controlled flexibility.
- Leaning too far forward or backward during the flight phase.
- Looking down at the landing surface instead of maintaining visual awareness of the intended landing area.
- Allowing the bike to rotate or drift away from the rider unintentionally.
How to improve body control
Work on basic posture on the ground before attempting more complex jumps. Practise maintaining a balanced stance, keeping the bike aligned with the intended direction and making small, deliberate adjustments. A qualified BMX coach can identify movement patterns that are difficult for a rider to recognise independently.
3. Losing Control of the Bike in the Air
Another frequent BMX airbag landing mistake is allowing the bike to move independently without a deliberate recovery plan. The front wheel may turn unexpectedly, the rear end may swing sideways, or the rider may lose contact with the pedals. These situations can lead to awkward contact with the airbag, even if the initial jump looked successful.
Why bike control matters
The rider and bike form one moving system during a jump. If the bike rotates or shifts unexpectedly, the rider’s landing position changes as well. A landing surface cannot guarantee that the bike will remain in a safe position or that the rider will avoid contact with handlebars, pedals or other components.
Practical ways to reduce the problem
- Build confidence with straight jumps before practising spins, flips or complex combinations.
- Check that the bike is mechanically sound, especially the brakes, wheels, headset, pedals and handlebar assembly.
- Practise basic bike control with qualified instruction and suitable progression drills.
- Do not continue a session if a mechanical issue or repeated loss of control is identified.
Facilities planning a dedicated training zone should also consider the approach, takeoff and landing as one system. Our airbag landing ramp system is one equipment category to assess when designing a compatible ramp-to-landing arrangement.
4. Aiming for the Wrong Landing Zone
Landing outside the intended zone can expose riders to edges, transitions or areas where the airbag does not provide the same impact characteristics as its central landing area. A rider may also approach at an angle that increases sideways movement after contact.
What causes inaccurate landings?
Common causes include poor takeoff alignment, inconsistent speed, looking away from the landing area and attempting tricks before the rider can reliably control the bike’s direction. A ramp and airbag that are poorly matched can make accurate landings more difficult, even for capable riders.
How to improve landing accuracy
Start with basic jumps that allow the rider to focus on direction and trajectory. Use clear coaching instructions and a designated landing target appropriate to the system. Facility operators should make the usable landing area easy to understand and prevent access to areas that are not intended for riding.
Do not assume that every part of an inflatable landing surface offers identical performance. Follow the manufacturer’s operating guidance and keep riders within the intended landing zone.
5. Attempting Advanced Tricks Before Building Basic Skills
This mistake is especially common when riders see experienced athletes performing flips, rotations or combinations on social media. They may assume that an airbag makes advanced tricks suitable for immediate practice. That is a poor training decision.
An airbag can support progression, but it cannot provide the timing, spatial awareness, bike control or decision-making required for a complex trick. If a rider has not mastered the basic movement pattern, adding rotation or additional trick elements increases the number of variables that can go wrong.
A better progression strategy
- Establish consistent control on basic jumps.
- Learn the required movement pattern with a qualified coach.
- Introduce one new technical element at a time.
- Repeat the skill only when the rider can maintain control and follow the coach’s instructions.
- Stop when fatigue, fear or inconsistent execution begins to affect performance.
For beginners, structured progression is more useful than chasing a difficult trick. For commercial facilities, written skill-level rules and supervision requirements help reduce pressure on riders to attempt skills beyond their ability.
Our freestyle airbag guide explains how airbag training fits into skill progression. Riders comparing different disciplines may also find our bike airbag landing systems overview useful when evaluating equipment categories.
6. Ignoring Airbag Condition, Inflation and Setup
Not every landing problem is caused by the rider. Equipment condition matters. An airbag that is incorrectly installed, inadequately inflated, damaged or used outside its intended operating conditions may not perform as expected.
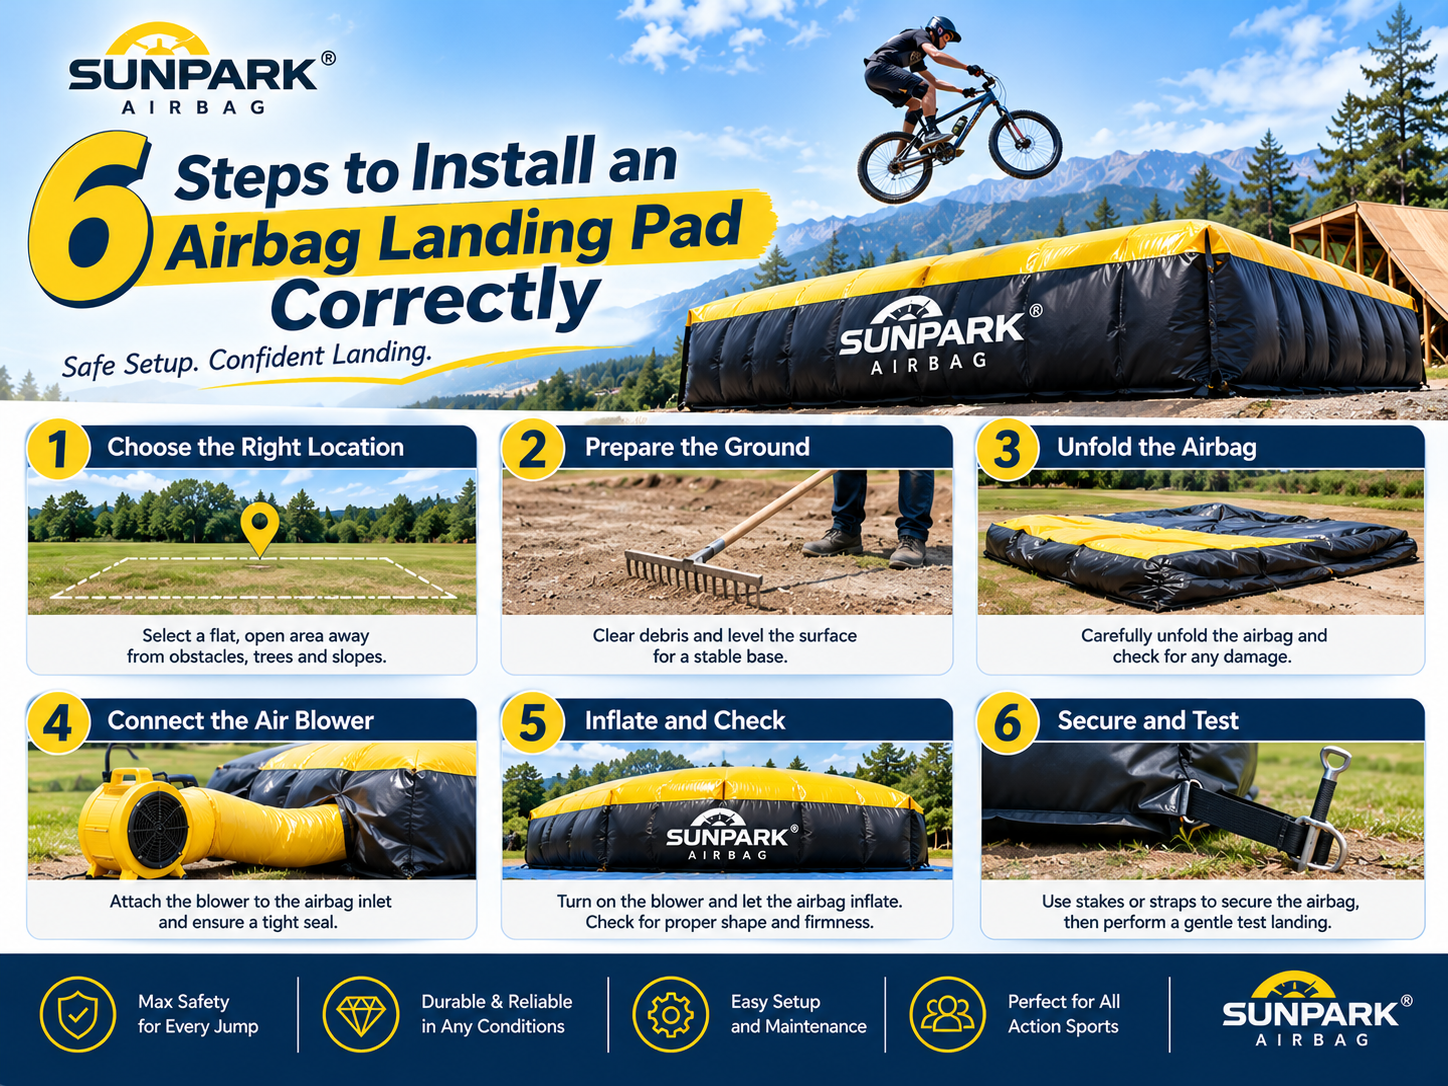
One misconception is that an inflatable landing system is safe as long as it still looks inflated. Visual appearance alone is not enough. Operators need to follow the manufacturer’s specifications for inflation, anchoring, blower operation, inspection and permitted use. The ramp, connection area and surrounding ground also need attention.
What should be checked before a session?
- Inspect the airbag fabric, seams, connections and visible wear.
- Confirm that the blower and inflation system are operating as specified by the manufacturer.
- Check anchoring and the position of the airbag relative to the ramp.
- Look for debris, water accumulation or objects on and around the landing area.
- Confirm that access routes and the landing zone are clear.
- Remove the equipment from service if damage, abnormal deflation or another fault is found.
For commercial facilities, a documented inspection checklist is a sensible operating requirement. It creates consistency between staff shifts and makes it easier to identify developing problems before the next riding session.
When comparing equipment, review the manufacturer’s guidance on expected use, maintenance, repair support and service life. Our airbag lifespan and safety guide discusses why age alone is not a reliable way to judge an inflatable system’s condition.
7. Skipping a Structured Training and Supervision Plan
A BMX airbag session without clear operating rules can quickly become disorganised. Riders may enter the landing area before the previous rider has exited, attempt tricks without a suitable progression plan or continue riding after fatigue has affected their control.
This is not just a beginner problem. Experienced riders can also make poor decisions when sessions become competitive or when several people share one jump line.
What a sensible session plan includes
- A designated coach or responsible operator when required by the facility’s operating rules.
- Clear rider entry, landing and exit procedures.
- Skill-level expectations and restrictions for advanced tricks.
- A rule that only one rider uses the jump line at a time unless the system is specifically designed and managed otherwise.
- Pre-session equipment checks and a process for reporting faults.
- Rest breaks and a clear stop-session policy when conditions become unsuitable.
For commercial users, these procedures are part of the equipment investment. A well-designed landing system still needs competent staff, appropriate supervision and clear rules. The same principle applies when choosing a FMX airbag landing system or a dirt bike airbag landing system: the product must match the sport, jump design and operating environment.
Practical BMX Airbag Landing Checklist
Use this checklist as a starting point for a session procedure. It does not replace the manufacturer’s operating manual, a risk assessment or qualified coaching.
| Stage | What to check | Recommended action |
|---|---|---|
| Before riding | Airbag, blower, seams, anchoring and surrounding area | Complete the facility’s inspection procedure and remove faulty equipment from service |
| Rider preparation | Bike condition, protective equipment and rider readiness | Check the bike and use suitable protective gear |
| Warm-up | Basic movement and riding control | Start with low-complexity drills appropriate to the rider |
| First jumps | Approach speed, alignment and landing direction | Prioritise repeatable, controlled jumps |
| Skill progression | Consistency and ability to follow coaching cues | Introduce new elements gradually under suitable supervision |
| Between runs | Landing zone clear and previous rider has exited | Keep the jump line controlled and prevent premature entry |
| After riding | Equipment condition and any reported incidents | Record issues and follow shutdown, cleaning and storage instructions |
BMX Airbag vs Foam Pit vs Traditional Landing: Which Is Better?
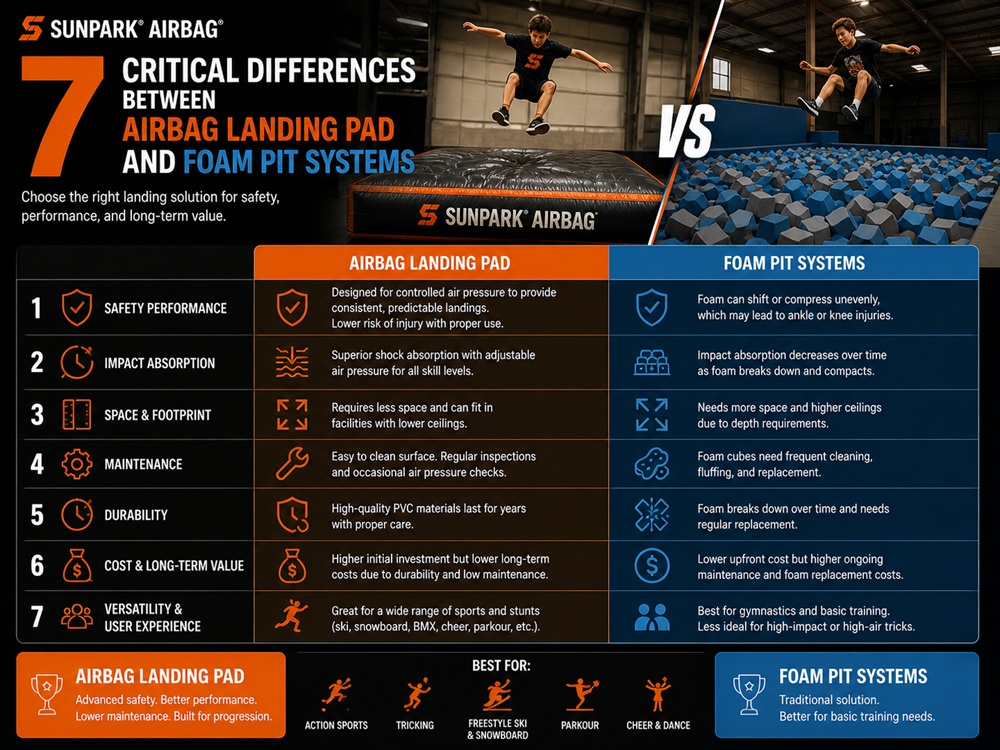
There is no single landing solution that suits every BMX facility. The right choice depends on the skills being practised, available space, operating budget, rider volume and maintenance capability. An airbag is attractive when a facility needs a dedicated landing surface for repeated jump practice, but it should not be selected simply because it is inflatable.
| Factor | BMX Airbag | Foam Pit | Traditional Dirt or Hard Landing |
|---|---|---|---|
| Typical purpose | Progression and controlled jump practice on a designed landing system | Selected aerial skill practice and controlled dismounts | Regular BMX riding and established jump lines |
| Landing feel | Inflatable surface response varies by design and setup | Soft, loose foam that can surround the rider and bike | Firm surface with performance depending on shape and material |
| Maintenance | Requires inspection of fabric, seams, inflation, anchoring and blower | Requires foam condition checks, cleaning and replenishment | Requires surface shaping, compaction and weather-related maintenance |
| Space planning | Needs suitable footprint, ramp alignment and safe access | Needs a pit structure, sufficient depth and controlled access | Needs a suitable outdoor or indoor track layout |
| Commercial consideration | Useful where repeatable airbag-based training is part of the facility offer | Useful for specific indoor training formats | Suitable for established riding environments and regular progression |
| Main limitation | Performance depends on correct design, operation and maintenance | Foam can shift, compress and require regular servicing | Does not offer the same forgiving landing environment as a purpose-designed airbag |
For facilities deciding between inflatable and foam-based training, our foam pit vs airbag comparison provides a useful starting point. The decision should be based on the actual training programme, not on a broad claim that one surface is always safer.
How to Choose a BMX Airbag Landing System
Choosing a BMX airbag is a system-design decision. The lowest purchase price is rarely the best measure of value if the product does not fit the ramp, available space or intended riding level. From our experience, buyers should assess the landing surface, ramp interface, inflation equipment, service support and operating requirements together.
1. Match the system to BMX use
Do not assume that an airbag designed for another discipline is automatically suitable for BMX. FMX, MTB, skiing and BMX have different equipment dimensions, approach speeds, jump profiles and landing requirements. Ask the manufacturer to confirm the intended application and provide technical details for the proposed configuration.
2. Check the ramp and landing geometry
Ask how the landing system is designed to work with the proposed takeoff ramp, landing height and available footprint. The manufacturer should be able to discuss compatibility and installation requirements. Avoid buying a landing product before the complete layout has been reviewed.
3. Evaluate materials and construction
Request information about fabric specifications, seam construction, reinforcement, connection points and repair procedures. Ask which areas are expected to experience the most wear and how damage should be assessed. A supplier that can explain construction and maintenance clearly is more useful than one that relies on vague durability claims.
4. Understand inflation and operating requirements
Confirm the blower configuration, power requirements, inflation procedure, operating conditions and what happens if the system loses pressure. Request written instructions rather than relying on verbal assurances. Operators should know how to identify abnormal performance and when the equipment must be taken out of service.
5. Compare after-sales support, not just quotation prices
For commercial users, the purchase price is only one part of total ownership cost. Include freight, installation, site preparation, staff training, maintenance, spare parts and potential downtime in the comparison. Ask about warranty coverage, exclusions, repair support and the availability of replacement components.
6. Request project-specific evidence
Ask for product drawings, specifications, installation guidance and examples of comparable applications. If the system will be used in a public facility, request documentation that helps your team complete its own risk assessment and operational planning. Do not treat a general product brochure as proof that a particular site layout is suitable.
| Buying factor | Questions to ask the manufacturer | Why it matters |
|---|---|---|
| Application fit | Is this model designed for BMX use and the intended skill level? | Reduces the risk of selecting equipment for the wrong discipline |
| Dimensions | Can you provide drawings and required clearance dimensions? | Helps confirm site and ramp compatibility |
| Materials | What fabric and reinforcement specifications are used? | Allows a meaningful construction comparison |
| Inflation | What blower and operating requirements apply? | Supports correct installation and daily operation |
| Maintenance | What inspection, cleaning and repair procedures are required? | Helps estimate labour and ownership costs |
| Support | What warranty, spare parts and technical support are available? | Reduces uncertainty around downtime and repairs |
Pros and Cons of Using a BMX Airbag
| Pros | Cons and limitations |
|---|---|
| Provides a more forgiving landing environment than many hard surfaces when correctly designed and operated | Does not eliminate the possibility of injury or poor landing outcomes |
| Can support repeated practice of selected jumps and skills | Requires suitable space, inflation equipment and maintenance |
| Can be integrated into a structured progression area | Needs a compatible ramp and landing layout |
| May serve multiple training sessions in a commercial facility | Performance and operating costs depend on design, usage and upkeep |
| Can be a useful alternative to some fixed landing arrangements | Not every airbag is suitable for BMX or every type of trick |
Quick Summary: What Should You Prioritise?
| Buyer or rider | Top priority | Practical recommendation |
|---|---|---|
| Beginner rider | Controlled progression | Start with basic jumps and qualified instruction |
| Experienced BMX rider | Consistent bike control | Use the airbag for selected skills, not as a reason to skip preparation |
| BMX coach | Repeatable training conditions | Set clear skill levels, run procedures and landing-zone rules |
| Indoor action-sports facility | Layout and operating efficiency | Review footprint, rider flow, inspection and staff requirements |
| Commercial buyer | Total cost of ownership | Compare specifications, support, installation and maintenance—not price alone |
Is a BMX Airbag Worth the Investment?
For a commercial facility that regularly runs BMX progression sessions, a purpose-designed airbag can be worth considering when it fits the training programme and the facility can maintain it properly. Its value comes from providing a dedicated environment for selected practice activities and helping coaches structure repeatable sessions.
For an occasional rider with limited space or no suitable ramp, purchasing a complete system may not make financial sense. A supervised facility session may be more practical. For buyers comparing lower-cost equipment, read our guide to cheap MTB airbag options carefully, but do not assume that a lower-priced MTB product is appropriate for BMX.
Used equipment can also look attractive on paper, but its condition, repair history, fabric wear and inflation performance need careful assessment. Our used airbag landing buying tips can help buyers identify the questions worth asking before committing.
SUNPARK® AIRBAG: Choosing Equipment for Safer Skill Progression
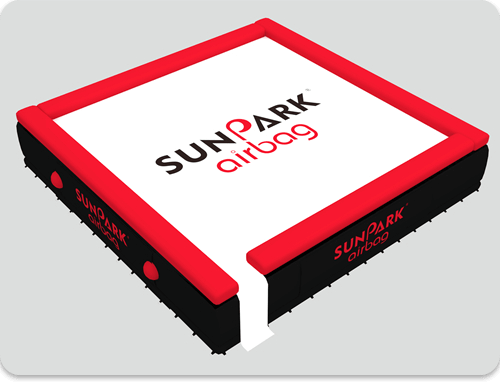
SUNPARK® AIRBAG has more than 10 years of experience providing freestyle airbags for ski resorts, theme parks, sports facilities and gymnastics facilities worldwide. The company focuses on the development of airbag systems for extreme sports and leisure applications, with products intended to support training and skill progression.
For a BMX project, the important question is not simply whether a supplier manufactures airbags. It is whether the proposed system is suitable for the intended BMX application, ramp geometry, rider level and operating environment. We recommend discussing the complete project before selecting a model.
When evaluating SUNPARK® AIRBAG sports airbag solutions, buyers should request application-specific specifications, installation requirements, inflation details and maintenance guidance. A manufacturer should be prepared to explain how its product fits the project rather than relying only on broad claims about safety or durability.
For facilities planning a multi-discipline action-sports area, it may also be useful to compare FMX airbag landing solutions and BMX-specific systems separately. The correct choice depends on the activity and design requirements, not on whether the products look similar in photographs.
Frequently Asked Questions About BMX Airbag Landing Mistakes
1. Does a BMX airbag prevent injuries?
No. A BMX airbag can provide a more forgiving landing environment than many hard surfaces, but it cannot eliminate injury risk. Incorrect speed, poor technique, bike contact, unsuitable equipment or improper operation can still result in injury. Riders should use appropriate protective equipment and follow qualified coaching and facility rules.
2. What is the most common BMX airbag landing mistake?
There is no reliable universal ranking, but inconsistent approach speed and poor body or bike control are common problems. Both can make the rider’s trajectory and landing position unpredictable. Beginners should focus on repeatable basic jumps before attempting advanced tricks.
3. Can beginners use a BMX airbag?
Beginners may use a suitable BMX airbag as part of a supervised training programme, provided the equipment, jump design and activity match their ability. They should begin with basic skills and follow the facility’s rules. An airbag is not a substitute for learning fundamental BMX control.
4. How should a BMX airbag be checked before riding?
Follow the manufacturer’s inspection procedure. Typical checks include fabric and seam condition, blower operation, inflation status, anchoring, ramp alignment and the surrounding landing area. If damage, abnormal deflation or another fault is suspected, stop using the system until it has been assessed.
5. Is a BMX airbag better than a foam pit?
Neither is universally better. An airbag may suit facilities that need a dedicated inflatable landing system for selected jump training. A foam pit may suit specific indoor progression activities. Compare the intended skills, space, operating procedures, cleaning, maintenance and total cost before choosing.
6. How much space is needed for a BMX airbag landing system?
There is no single standard footprint for every BMX airbag. Required space depends on the airbag dimensions, ramp profile, approach area, landing geometry, access routes and safety clearances. Request a project drawing from the manufacturer and have the site layout reviewed before installation.
7. How do I choose a reliable BMX airbag manufacturer?
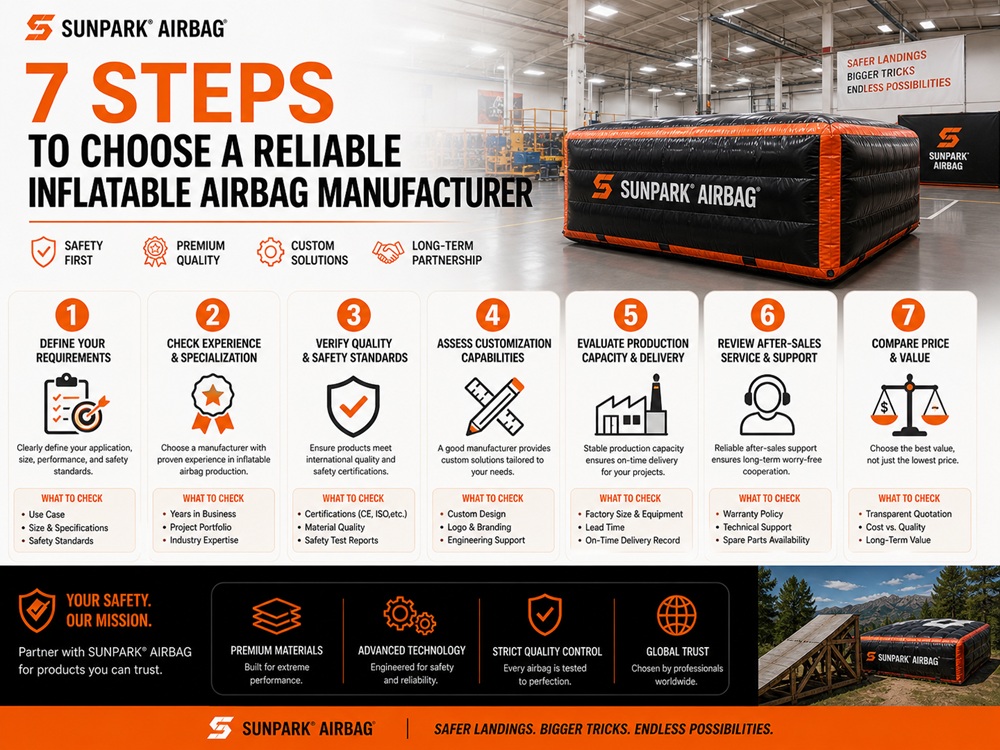
Look for a manufacturer that can explain BMX application suitability, provide detailed product specifications and drawings, describe installation and inflation requirements, and offer clear maintenance and after-sales support. Ask for relevant project experience and documentation rather than relying only on marketing claims.
Final Recommendation: Use the Airbag to Improve Technique, Not Replace It
The seven BMX airbag landing mistakes share one underlying problem: riders or operators assume that a forgiving landing surface can compensate for poor decisions. It cannot. Correct approach speed, balanced body position, controlled bike movement, accurate landing direction, gradual progression, equipment inspection and clear session procedures all matter.
For riders, the best approach is to master basic jumps and work with qualified instruction before progressing to advanced tricks. For facility owners, choose a BMX-appropriate system, check the full ramp-to-landing layout and make maintenance and supervision part of the operating plan.
A well-selected airbag can be a valuable training asset. Its real value comes from how well the equipment, rider technique and facility procedures work together.
References
- U.S. Consumer Product Safety Commission – Bicycle Safety. General bicycle safety guidance, equipment checks and rider precautions.
- U.S. Centers for Disease Control and Prevention – HEADS UP. Concussion recognition and response information relevant to sports participation.
- ASTM International. Standards development resources relevant to evaluating product and facility safety requirements.
Safety note: This article provides general riding and equipment-selection guidance. It is not a substitute for the airbag manufacturer’s instructions, a site-specific risk assessment, qualified coaching or professional medical advice.