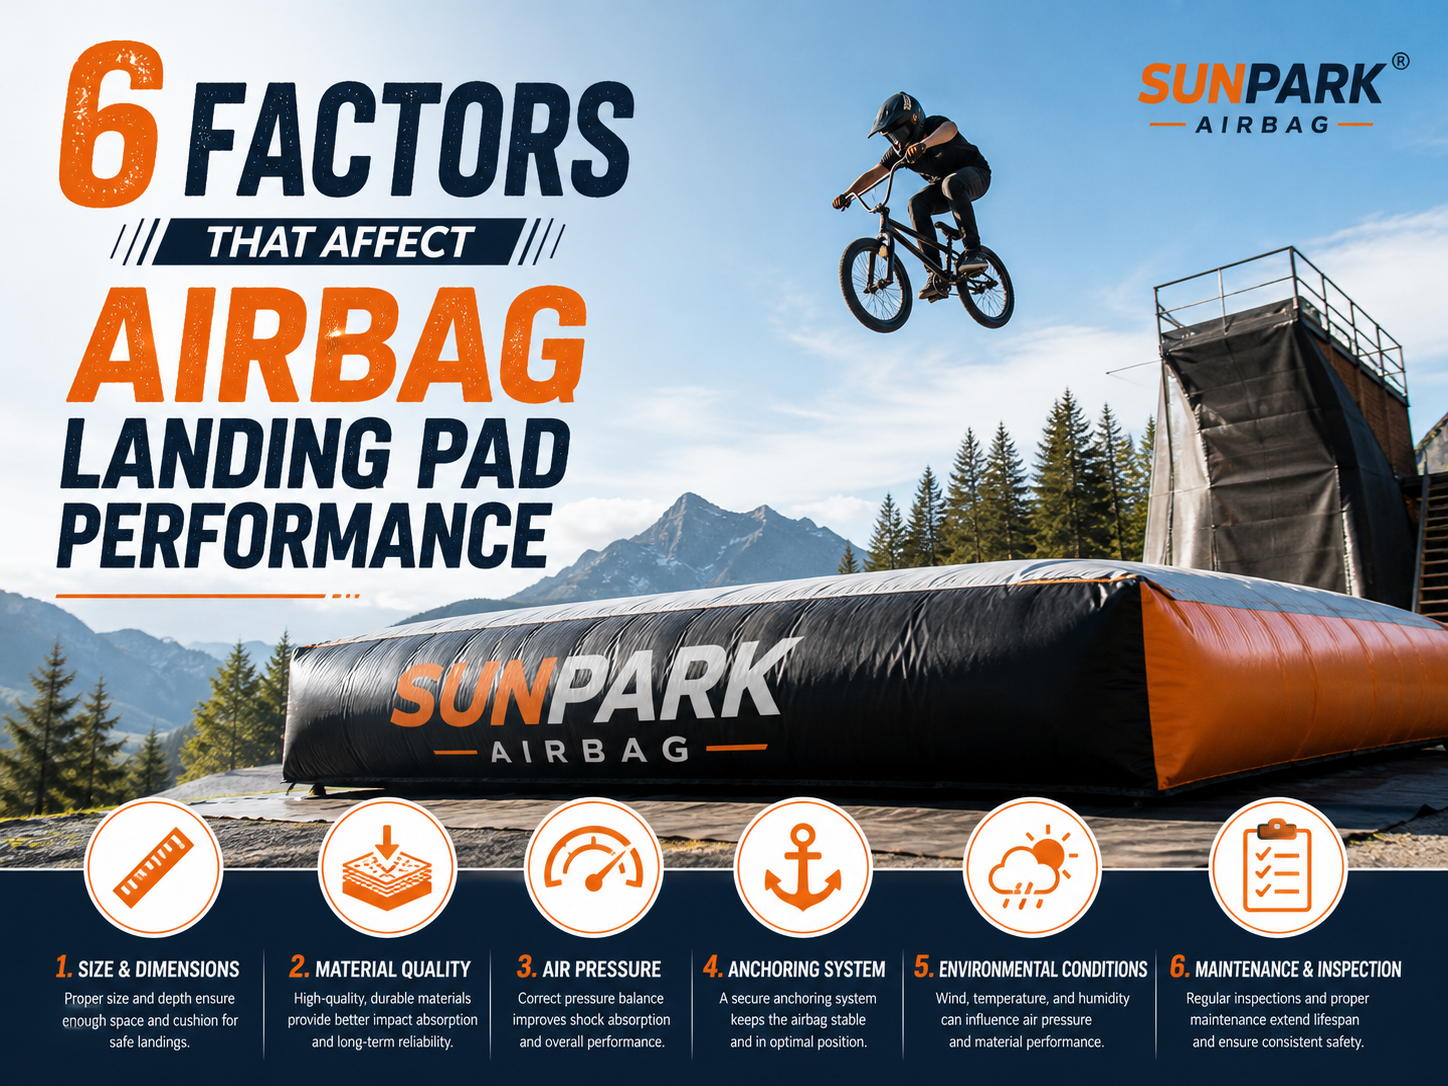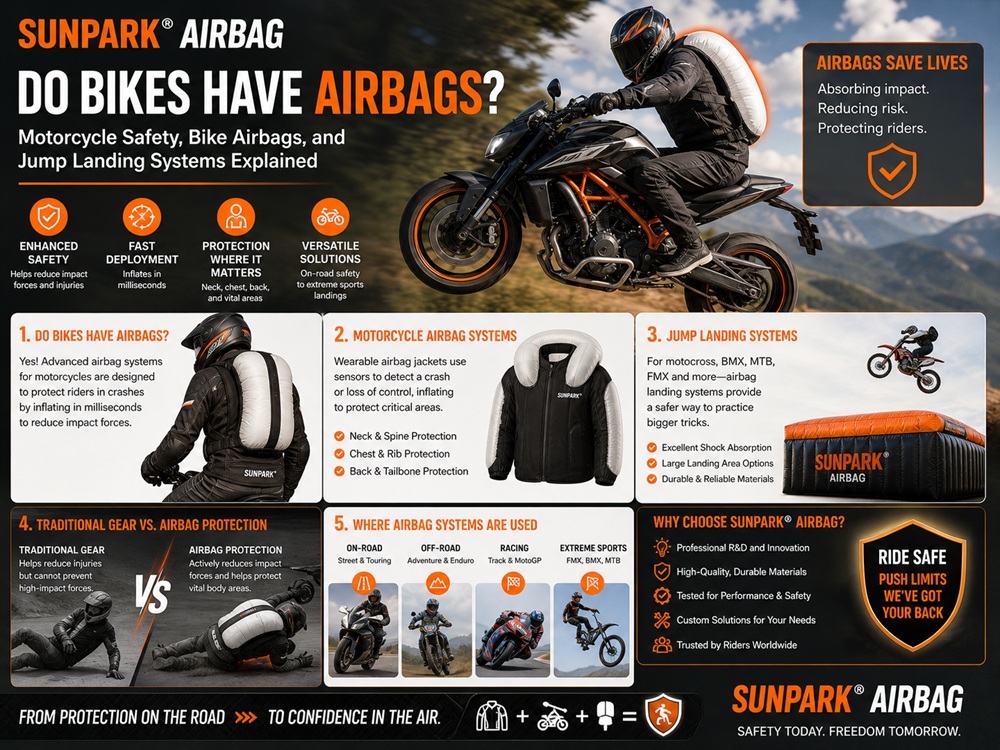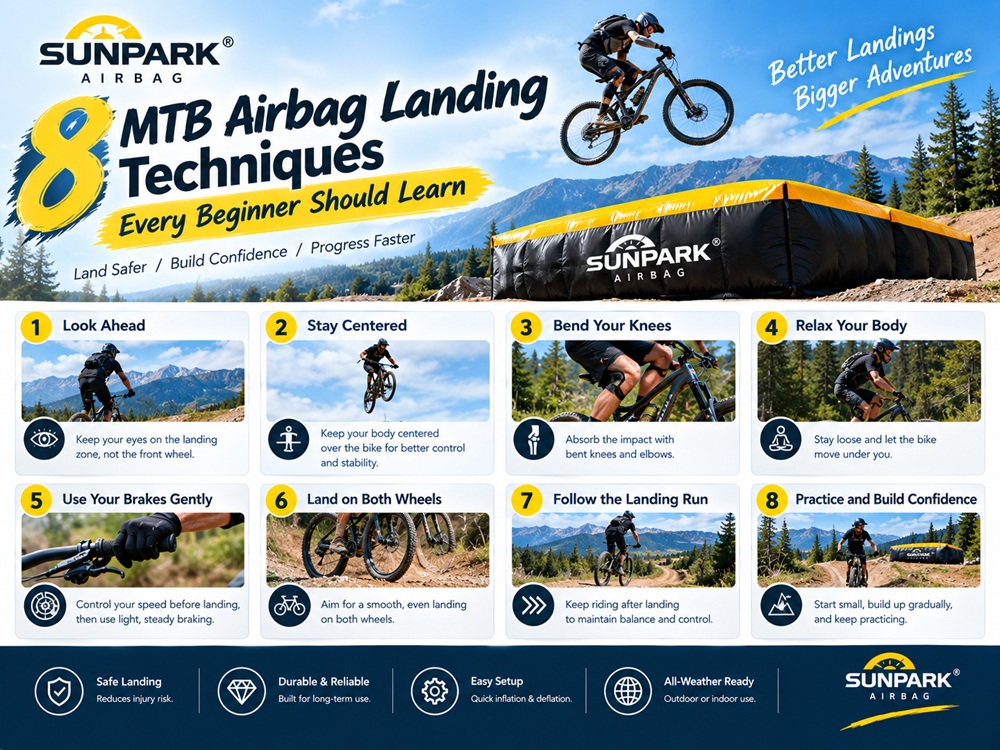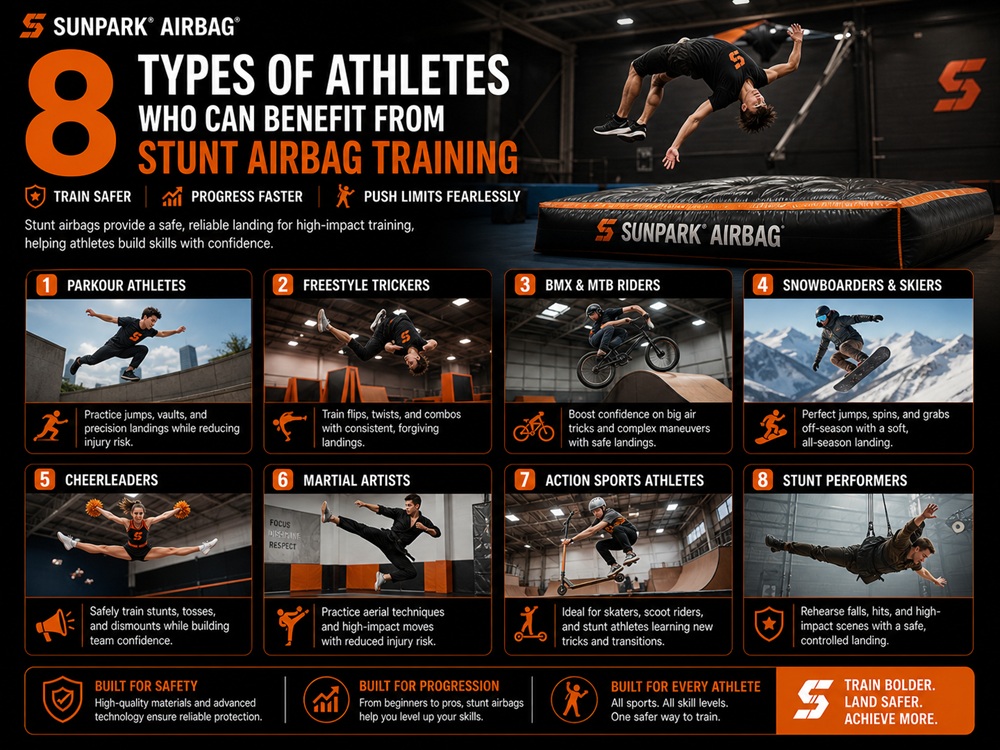
Installing an airbag landing pad correctly is essential for creating a stable, predictable landing area for action sports training. A landing airbag is not simply an inflatable cushion that can be placed on any flat surface and switched on. Its position, ground preparation, anchoring, inflation system, landing geometry, and inspection routine all affect how it performs.
For ski resorts, MTB facilities, trampoline parks, stunt training centers, and private training venues, installation should be treated as a planned equipment project. A poorly positioned or inadequately secured airbag can shift, deform, lose pressure, or create unexpected landing conditions. The right approach is to follow the manufacturer’s installation manual, assess the site, and verify the complete system before allowing riders to use it.
Quick Answer: How Do You Install an Airbag Landing Pad Correctly?
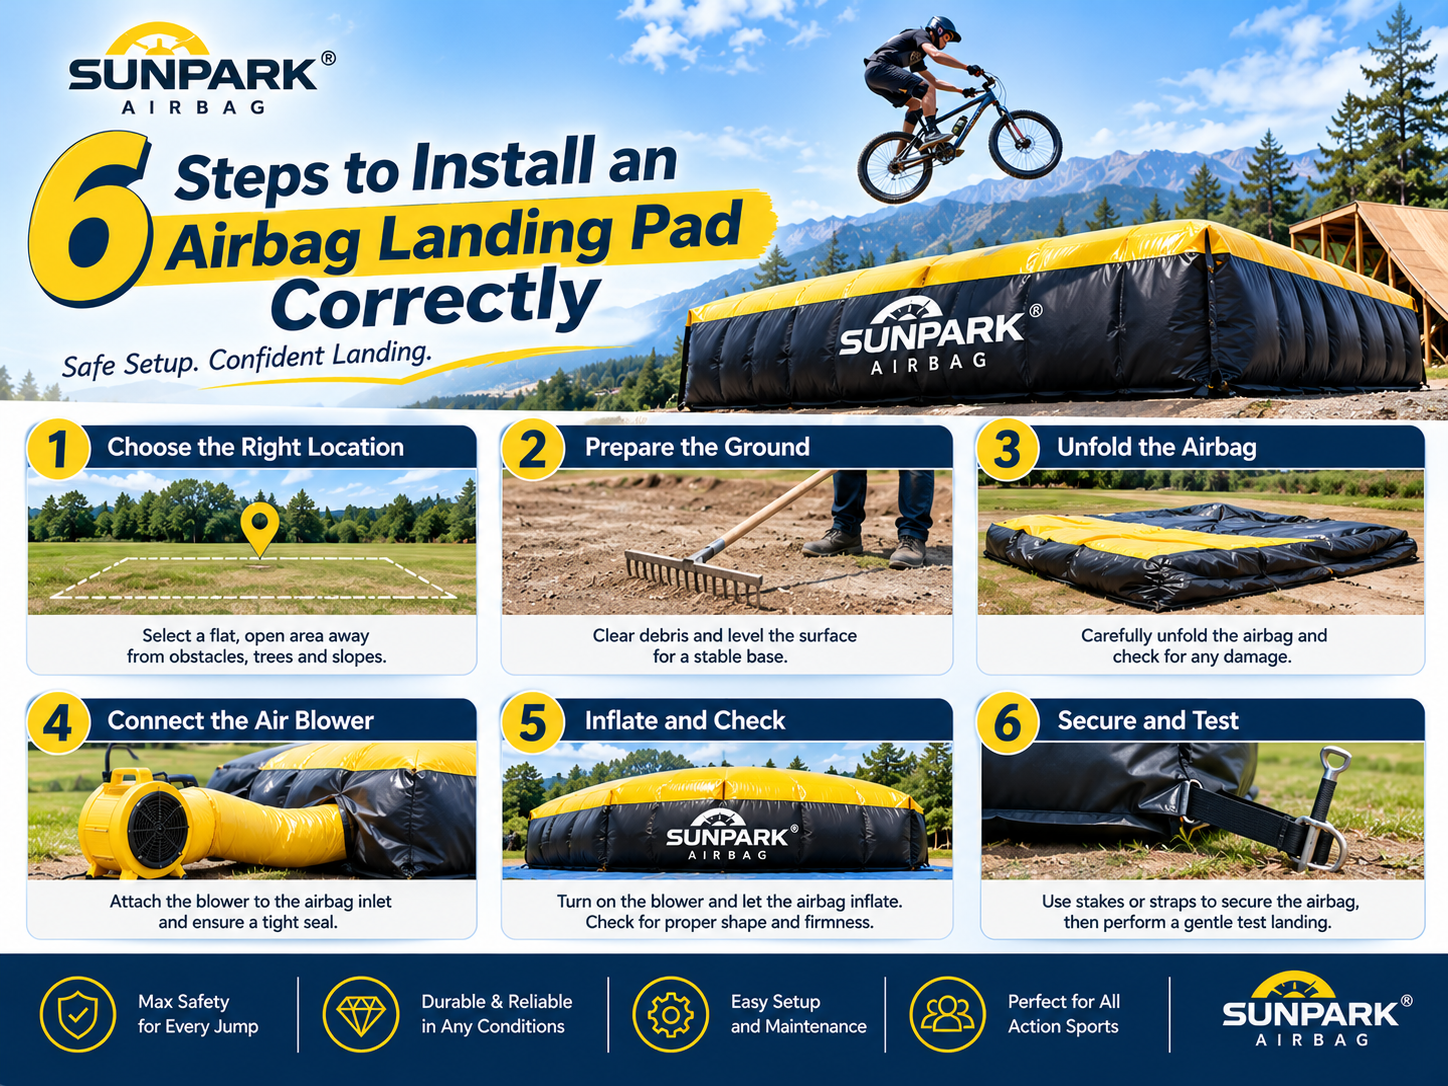
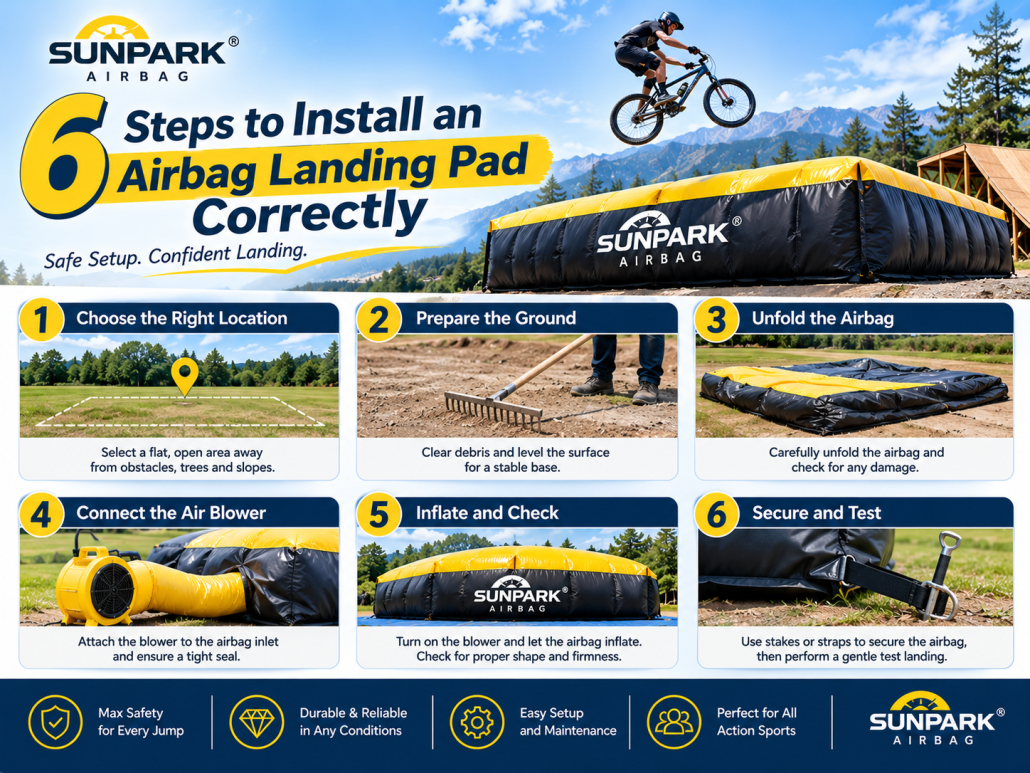
To install an airbag landing pad correctly, follow six main stages: assess and prepare the site, position the airbag, secure the system, connect and verify the inflation equipment, inspect the landing geometry, and complete a controlled commissioning check.
The airbag must be installed on a suitable surface, with adequate clearance around the landing zone and all required anchoring and blower connections installed according to the manufacturer’s instructions. Do not improvise anchor points, alter inflation settings, or open the landing area before inspection.
Our recommendation: Use a site-specific installation plan and the exact instructions supplied with the airbag model. Product dimensions, anchor arrangements, blower requirements, and operating pressures vary between systems. There is no universal installation specification that safely applies to every airbag.
1. What Is an Airbag Landing Pad?
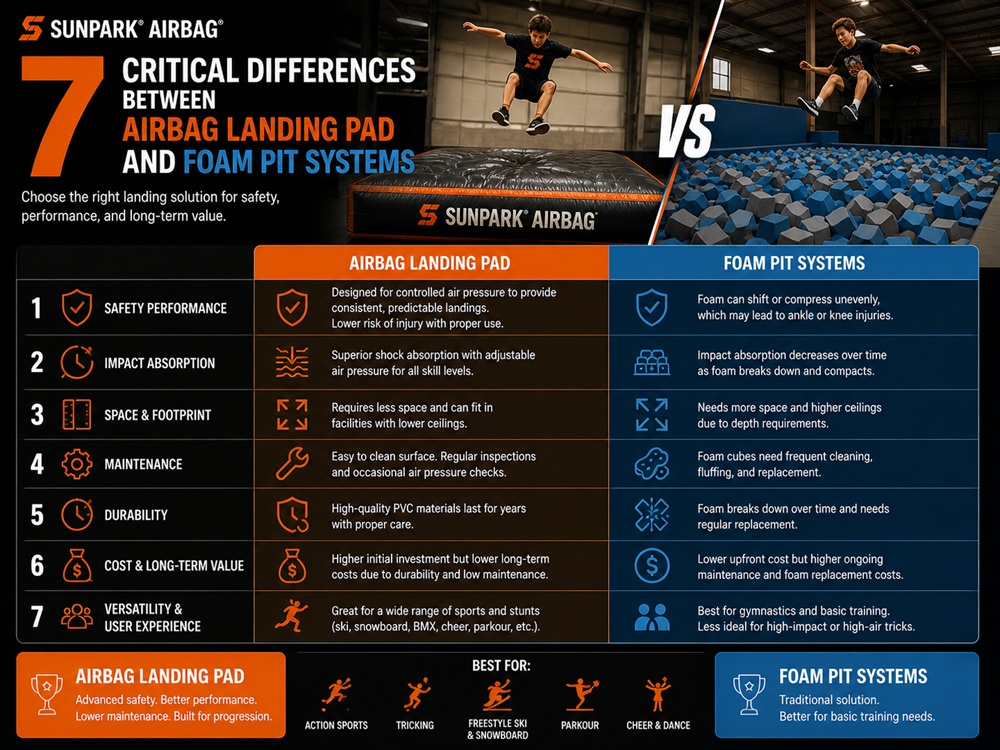
An airbag landing pad is an inflatable landing structure designed to receive riders or performers after a jump, trick, or controlled fall. It is used in sports such as mountain biking, freestyle skiing, snowboarding, BMX, motocross, gymnastics, and stunt training.
Unlike a conventional foam pit or fixed impact surface, an airbag uses an engineered inflatable structure to provide a landing environment. Depending on the design, it may use multiple air chambers, internal baffles, controlled air release, dedicated blowers, and a shaped landing surface.
The purpose is to provide a more forgiving training environment while athletes practice movements and develop technique. It does not eliminate injury risk. Landing position, approach speed, jump design, rider ability, equipment condition, and supervision remain important safety factors.
How Does an Airbag Landing Pad Work?
Most sports airbags use an inflation system to maintain their designed shape. Internal construction helps distribute the load when an athlete lands. Some systems use continuous airflow, while others use different chamber arrangements or controlled ventilation to manage air movement during impact.
The exact design matters. A mountain bike landing airbag, a snowboard freestyle airbag, and a gymnastics training airbag may have very different dimensions, landing profiles, internal structures, and operating requirements.
For example, a dedicated MTB airbag landing system should be selected and installed around the intended bicycle approach, takeoff geometry, and landing trajectory. A general-purpose inflatable pad should not be assumed to provide equivalent performance.
2. What Should You Check Before Installing an Airbag Landing Pad?
Most installation problems begin before the airbag is inflated. A site that looks large enough may still have poor access, an unsuitable foundation, insufficient clearance, or no practical location for the blower and electrical supply.
Confirm the Airbag Model and Installation Manual
Start by checking the exact model, dimensions, intended sport, approved use conditions, and manufacturer instructions. Confirm the required blower type, electrical specifications, anchoring method, ground protection, and operating procedure.
Do not apply the instructions for a different airbag simply because the products look similar. Internal construction and attachment systems can vary considerably.
Measure the Complete Installation Area
Measure more than the airbag footprint. Include the approach or run-up area, takeoff structure, landing zone, side clearance, rear clearance, access paths, and space needed for inspection and maintenance.
For commercial facilities, consider how users enter and leave the landing area. The installation should not create an obstruction for staff, emergency access, or other activities.
Assess the Ground and Surrounding Environment
Check the surface for sharp objects, debris, exposed hardware, uneven areas, drainage problems, and anything that could damage the airbag fabric. Outdoor sites also need an assessment of wind exposure, rainwater management, and the potential for surface movement.
Plan Power and Blower Placement
Confirm that the electrical supply is compatible with the blower specification. Protect cables from rider traffic, water, moving equipment, and accidental disconnection. The blower should be positioned and protected as instructed by the manufacturer, with appropriate access for inspection.
3. Six Steps to Install an Airbag Landing Pad Correctly
The following sequence provides a practical installation framework. It does not replace the manufacturer’s technical manual or site-specific engineering requirements. If the supplier specifies a different sequence or additional procedures, follow the supplier’s instructions.
Step 1: Prepare and Inspect the Installation Site
Begin by clearing the entire installation area. Remove stones, branches, metal fragments, glass, sharp tools, and other objects that could puncture or abrade the airbag. Check the ground for protrusions, drainage channels, uneven transitions, and areas that may settle under load.
Where the manufacturer requires a protective groundsheet or underlay, install the specified material before positioning the airbag. Do not substitute a random sheet or improvised padding without approval. The ground protection must be compatible with the product and site conditions.
For outdoor installations, assess water runoff and wind exposure. Water collecting beneath the airbag can complicate inspection and may affect the site. Wind can create significant movement or uplift forces, so outdoor anchoring and weather operating limits must be addressed in the installation plan.
Professional check: Walk the full footprint and surrounding clearance area before unloading the airbag. It is much easier to correct site problems before the product is positioned.
Step 2: Position the Airbag in the Correct Orientation
Move the deflated airbag into the designated installation area using the handling method recommended by the manufacturer. Avoid dragging it across rough ground, sharp edges, or concrete surfaces unless the product instructions explicitly allow the method.
Identify the correct front, rear, sides, inflation ports, access panels, and anchor locations. Align the landing surface with the planned approach and takeoff arrangement. Check that the airbag is not twisted, folded under itself, or positioned so that connection points are inaccessible.
For an MTB installation, the landing zone must be aligned with the intended bicycle trajectory. For a snowboard or ski setup, the slope, takeoff, and landing direction must be evaluated as one system. A landing pad placed at the wrong angle can create an unsuitable approach or landing transition.
Do not decide the final position based only on visual appearance. Use the approved layout drawing and confirm the geometry with the supplier or a qualified installation professional.
Step 3: Secure the Airbag Using the Approved Anchoring System
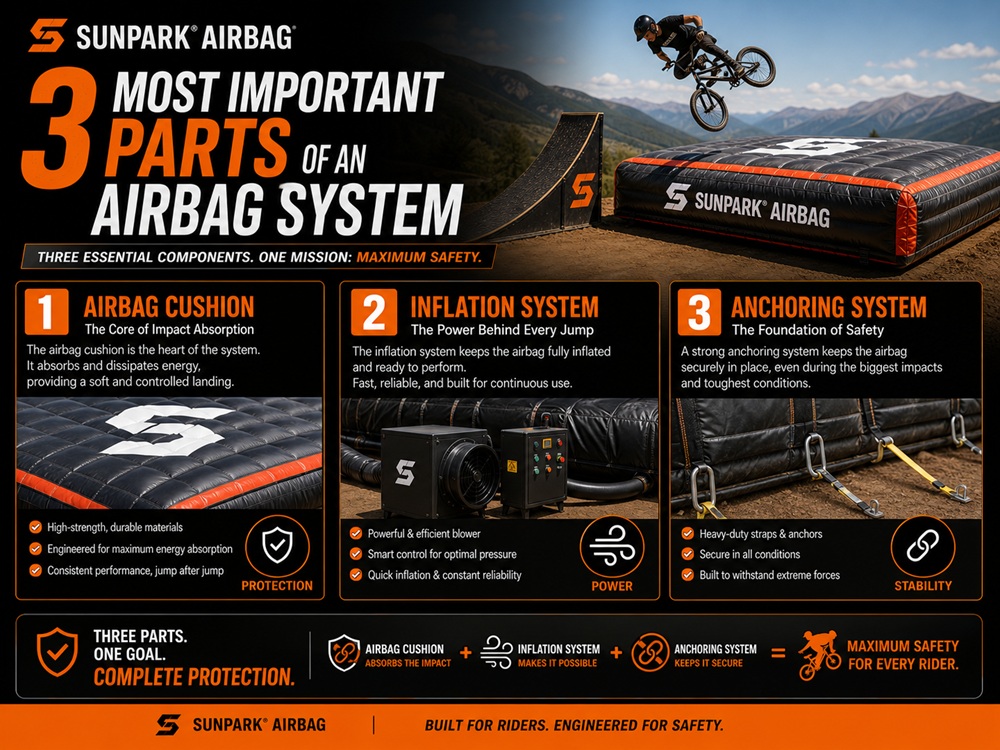
Once the airbag is correctly positioned, install the specified anchoring system. Depending on the model and location, this may involve designated anchor loops, straps, ground anchors, ballast, or engineered attachment points.
Use only the anchor locations and hardware approved for the product. Anchoring must account for the installation surface and expected environmental loads. A ground anchor suitable for one soil condition may not be suitable for another. Concrete, asphalt, timber platforms, and natural ground all require different assessments.
Check that straps and attachment points are correctly connected and do not rub against sharp edges. Keep anchors clear of rider paths and make sure they cannot create trip hazards or interfere with emergency access.
Important: Never drill through the airbag fabric, attach straps to unapproved seams, or improvise anchor points. If the supplied anchoring arrangement does not suit the site, consult the manufacturer before proceeding.
Step 4: Connect the Blower and Inflation System
Position the blower in the location specified by the manufacturer. Connect the inflation duct or hose to the correct port and check that the connection is secure. Inspect the duct for twisting, crushing, sharp bends, or obstructions that could restrict airflow.
Verify the electrical supply, plug, cable protection, and any required weather protection. Electrical connections should be suitable for the installation environment and handled by qualified personnel where applicable. Keep cables away from moving equipment and areas where riders or staff may trip over them.
Before inflation, inspect the airbag for visible damage, open zippers, unsecured access panels, or loose components. Confirm that all required valves and closures are in their specified operating positions.
Start the blower only in accordance with the manufacturer’s procedure. Do not increase pressure or modify airflow to compensate for a suspected leak or poor fit. If the airbag does not reach its specified operating condition, stop and investigate the cause.
Step 5: Inflate and Inspect the Landing Geometry
Allow the airbag to inflate according to the manufacturer’s instructions. During inflation, observe the fabric, seams, chamber shape, anchor points, ducts, and surrounding area. Look for unusual bulges, twisting, uneven expansion, excessive movement, or unexpected air leakage.
Once the system reaches its specified operating condition, inspect the landing surface and transitions. Check that the surface profile matches the approved design and that the airbag has not shifted during inflation.
Pay particular attention to the relationship between the takeoff, flight path, and landing area. A landing airbag should not be treated as a standalone cushion. Its geometry must be appropriate for the intended activity and the skill level of the users.
For commercial facilities, record the initial inspection and any adjustments made. If the shape or operating condition does not match the supplier’s requirements, do not open the installation to users.
Step 6: Complete Commissioning and Controlled Opening
Before the first training session, complete the manufacturer’s commissioning checklist. Confirm that the blower operates correctly, connections remain secure, anchoring is stable, the landing surface is in the approved condition, and access areas are clear.
Check emergency procedures, staff responsibilities, user instructions, and operating restrictions. Make sure the facility team knows how to shut down the equipment, isolate the power supply, report damage, and prevent use when the airbag is not in its required condition.
Any initial functional test or trial use must follow the manufacturer’s commissioning procedure and be conducted by competent personnel. Do not use an unapproved person or an improvised jump as a substitute for a technical inspection.
Only open the landing area when the installation has passed the required checks and the facility’s operating procedures are in place.
4. How to Prepare the Surface and Landing Area
Ground preparation is one of the most overlooked parts of installing an airbag landing pad correctly. Even a well-designed airbag can be damaged by a poor installation surface.
Choose a Suitable Foundation
The foundation should be stable, reasonably level for the approved installation design, free of sharp objects, and suitable for the expected loads. The required surface may differ between temporary event installations and permanent sports facilities.
Do not assume that grass, sand, concrete, or a timber platform is automatically suitable. Each surface has different drainage, friction, movement, and anchoring characteristics. Follow the product-specific site requirements.
Allow Adequate Clearance
Keep the required clearance around the landing area. Remove nearby equipment, furniture, barriers, loose objects, and other hazards that could interfere with the landing zone or access routes.
Clearance must be determined by the airbag design, sport, jump geometry, local safety requirements, and the manufacturer’s instructions. There is no single universal distance suitable for every landing airbag.
Manage Weather and Outdoor Conditions
Outdoor installations need a defined weather policy. Wind, rain, lightning, and changing ground conditions can affect safe operation. Establish who monitors conditions and who has authority to close the landing area.
For ski resorts and outdoor action-sports parks, the installation plan should also address snow, ice, drainage, and seasonal storage. A dedicated halfpipe airbag requires a site layout designed around the intended snowboarding or skiing application rather than a generic flat-ground arrangement.
5. Airbag Anchoring, Blower Setup, and Inflation Checks
Anchoring and inflation are two separate parts of the installation. Both must be correct. A stable anchor arrangement does not compensate for incorrect inflation, and correct inflation does not make an unsecured airbag safe.
Anchoring Considerations
- Use only the manufacturer’s designated anchor points.
- Confirm that the anchor type is suitable for the actual ground or supporting structure.
- Inspect straps, loops, hardware, and connection points for damage.
- Keep anchor hardware away from landing and pedestrian routes.
- Check for movement after inflation and during the approved inspection process.
- Reinspect after relocation, severe weather, or any event that may have affected the anchors.
Blower and Airflow Considerations
Use the blower specified for the airbag model. A blower with a different capacity or pressure characteristic may not provide the intended operating condition. The duct connection should be secure, and the airflow path should remain unobstructed.
Some airbags require continuous blower operation. Others use a different system design. Operators must know whether the system is intended to remain powered during use and what to do if power is interrupted.
Never disconnect, cover, restrict, or modify an inflation port while the airbag is in operation unless the manufacturer explicitly instructs the operator to do so.
6. How to Test an Airbag Landing Pad After Installation
Installation is not complete when the airbag looks inflated. Commissioning should verify that the system is installed as designed and that the facility can operate it consistently.
Visual and Mechanical Inspection
Inspect the full fabric surface, seams, closures, inflation ports, ducts, anchor loops, and exposed hardware. Look for cuts, abrasion, unusual stretching, damaged stitching, loose fasteners, and signs of movement. Check that the airbag remains aligned with the approved layout.
Inflation and Operating Checks
Verify that the blower and air supply operate according to the manufacturer’s requirements. Check the relevant indicators or measurements specified for the model. If the manufacturer provides a pressure, airflow, or operating-condition check, record the result using the approved method.
Do not invent a target pressure or rely on a generic value from another airbag. Different systems can have different internal designs and operating parameters.
Landing Surface and Approach Review
Confirm that the landing surface profile, approach, takeoff relationship, and surrounding clearance match the approved design. For a sports facility, have the relevant coach, technical operator, or competent installation professional review the setup before use.
Document the Commissioning Result
Record the installation date, airbag model, site location, inspection findings, blower details, anchor arrangement, responsible personnel, and any corrective actions. Keep the manufacturer’s manual and maintenance records accessible to operators.
For facilities serving the public, establish a documented pre-opening check and a process for closing the landing area when defects or abnormal conditions are identified.
7. Professional Installation vs DIY Installation: Which Is Better?
Not every airbag installation requires the same level of contractor involvement. A small training product installed on an approved indoor surface may be relatively straightforward. A large outdoor MTB or freestyle landing system can involve ground works, anchoring design, electrical supply, weather exposure, and complex jump geometry.
| Installation approach | Best suited for | Advantages | Limitations | Our recommendation |
|---|---|---|---|---|
| Manufacturer-led installation | Large commercial airbags and complex sports facilities | Product-specific expertise, setup guidance, and commissioning support | May involve additional service and travel costs | Preferred for major or permanent installations |
| Qualified local installer with manufacturer guidance | Facilities with competent local contractors | Local site knowledge and potentially lower logistics costs | Requires clear technical documentation and coordination | Good option when the supplier approves the installation plan |
| Owner-managed installation | Smaller products specifically designed for straightforward setup | Can reduce installation labor and simplify relocation | Risk of missed site, anchoring, or electrical requirements | Use only when the manual explicitly permits it and trained staff are available |
| Improvised installation | None | No reliable operational advantage | Unverified anchors, positioning, inflation, and safety conditions | Do not use |
For commercial users, we recommend manufacturer-led installation or a qualified installer working from an approved plan. The cost of proper commissioning is generally easier to justify than the operational risk of opening an incorrectly installed landing system.
8. Pros and Cons of Installing an Airbag Landing Pad
| Advantages | Limitations and responsibilities |
|---|---|
| Creates a dedicated training landing environment for selected action sports | Does not eliminate injury risk or replace coaching and supervision |
| Can support progression and repeated skill practice | Requires correct setup for the specific sport and user level |
| Inflatable construction can support temporary or relocatable installations, depending on model | Relocation requires inspection and correct reinstallation |
| Can be integrated into commercial sports and leisure facilities | Requires staff training, maintenance, and documented operating procedures |
| Different designs serve MTB, snow, gymnastics, and stunt applications | One airbag design is not automatically suitable for every sport |
| Can provide a visually distinctive training attraction | Site planning, blower power, weather, and storage must be considered |
The practical benefit is not simply having an inflatable landing surface. It is having a system that is correctly matched to the activity, installed consistently, and operated under controlled conditions.
9. Common Mistakes When Installing an Airbag Landing Pad
Mistake 1: Installing on an Unprepared Surface
Small stones, sharp debris, uneven ground, and exposed hardware can damage the airbag. Prepare and inspect the full footprint before positioning the product.
Mistake 2: Ignoring the Landing Direction
An airbag positioned at the wrong angle can disrupt the intended approach and landing geometry. Confirm orientation against the approved site plan.
Mistake 3: Using Improvised Anchors
Unapproved stakes, ropes, weights, or attachment points may not provide the required stability. Use the specified anchoring method and consult the supplier when the site is unusual.
Mistake 4: Choosing an Incompatible Blower
A blower that does not meet the product specification may fail to maintain the intended operating condition. Confirm model compatibility before connecting power.
Mistake 5: Assuming Inflation Means Installation Is Complete
An inflated airbag can still be incorrectly positioned, inadequately anchored, damaged, or unsuitable for the planned jump. Complete the full inspection and commissioning process.
Mistake 6: Opening Without Staff Procedures
Commercial operators need clear responsibilities for pre-use inspection, access control, supervision, shutdown, and reporting defects. Equipment alone does not create a safe operating environment.
Mistake 7: Ignoring Weather and Relocation
Outdoor conditions can change after installation. Wind, rain, ground movement, and repeated relocation can affect the system. Reinspect whenever conditions or installation arrangements change.
10. Airbag Landing Pad Inspection and Maintenance After Installation
Correct installation is only the first stage of equipment management. An airbag used regularly in a commercial facility needs a maintenance plan that reflects its frequency of use, environment, and manufacturer’s requirements.
Before Each Operating Session
- Check the landing surface for visible cuts, abrasions, or unusual deformation.
- Confirm the airbag is correctly positioned and has not shifted.
- Inspect visible anchor connections and straps.
- Check the blower, duct, electrical supply, and required operating indicators.
- Remove foreign objects from the landing and surrounding areas.
- Confirm staff supervision and access-control arrangements are in place.
Periodic Inspection
Follow the manufacturer’s recommended inspection intervals for seams, stitching, fabric, internal components where accessible, valves, zippers, anchor points, and blower equipment. Record defects and repairs. Any repair should use an approved method and compatible materials.
After Heavy Use or Unusual Events
Inspect the system after unusually heavy sessions, relocation, severe weather, suspected impact damage, or any unexpected loss of inflation. If the airbag’s condition is uncertain, close it until the issue has been assessed.
Storage and Seasonal Shutdown
When the airbag is removed from service, clean and dry it according to the manufacturer’s instructions before storage. Protect it from sharp objects, prolonged moisture, excessive heat, and pests. Store the blower and accessories under the specified conditions.
For facilities planning multiple training products, a dedicated gym airbag for training may have different cleaning, storage, and inspection requirements from an outdoor MTB landing system.
11. How to Choose the Right Airbag Landing System Before Installation
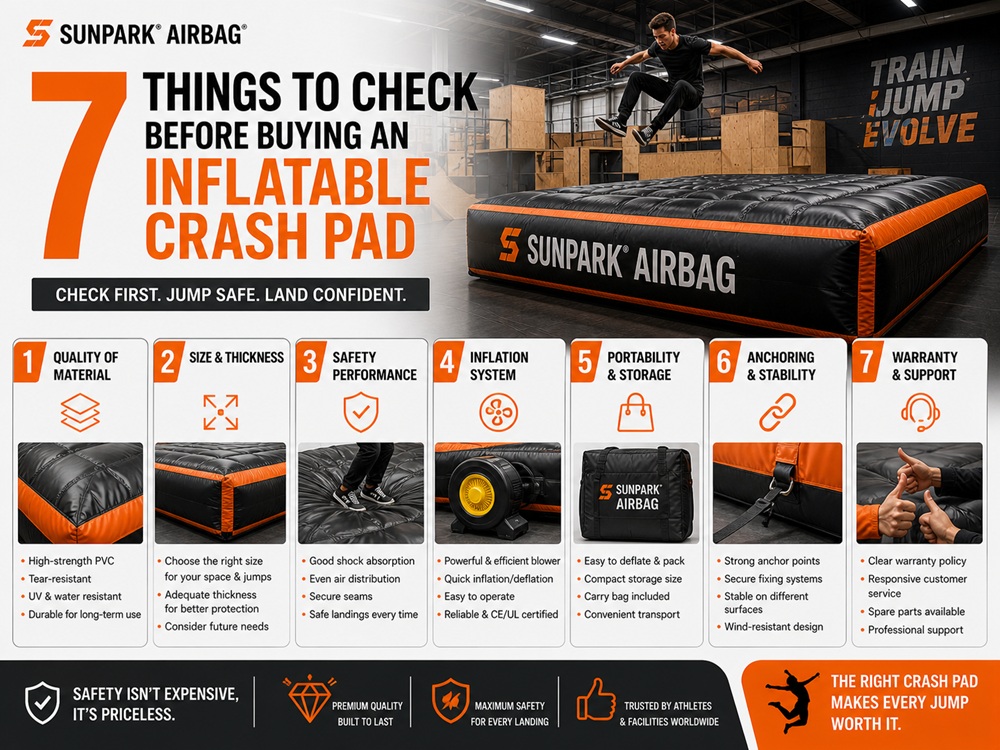
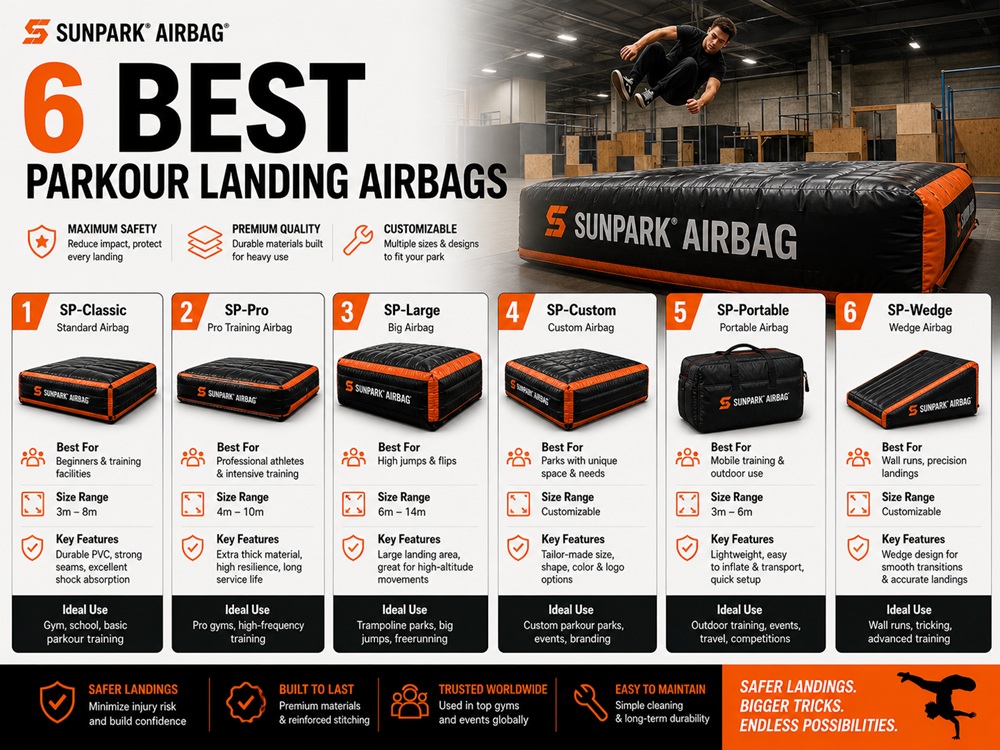
Installation quality cannot compensate for buying the wrong product. Before arranging delivery or preparing the site, confirm that the airbag is designed for the intended sport, jump geometry, user group, and operating environment.
Match the Airbag to the Sport
MTB, BMX, skiing, snowboarding, gymnastics, and stunt applications involve different landing patterns and equipment demands. A product intended for one activity should not be repurposed for another without written manufacturer approval.
For bicycle facilities, compare dedicated inflatable MTB airbag solutions and check how the landing surface is designed to work with the intended takeoff and rider approach.
Compare Dimensions and Landing Geometry
Review the product’s overall dimensions, landing surface, transitions, approach requirements, anchor locations, and clearance recommendations. Ask for a layout drawing when integrating the airbag into a permanent park or commercial training center.
Check Blower and Power Requirements
Confirm the exact blower specification, electrical supply, operating arrangement, and any backup or shutdown requirements. Do not assume that a blower supplied with one model can be used with another model.
Ask About Installation and After-Sales Support
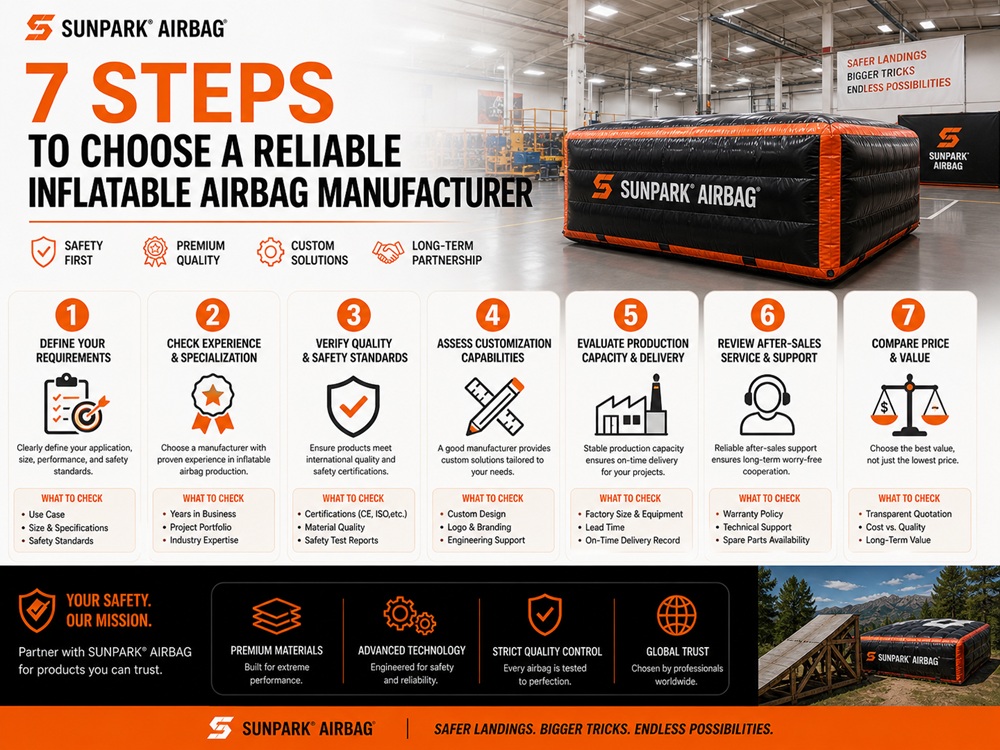
A supplier should explain delivery, setup, commissioning, operator training, repair procedures, replacement parts, and maintenance. Ask whether installation support is included in the quotation or charged separately.
Compare Total Ownership Cost
Consider more than the purchase price. Include site preparation, electrical work, anchoring, installation labor, transport, storage, inspection, maintenance, and eventual repair. For commercial facilities, estimate how much operating time will be lost during setup and maintenance.
Our recommendation is to compare complete operating systems rather than individual inflatable products. A lower-cost airbag may not be the better investment if it requires extensive site modification or lacks practical support.
Related Airbag Solutions
Depending on the facility, a dedicated landing airbag solution may be more appropriate than a general inflatable product. For snow-focused venues, review snowboard airbag park examples to understand how dedicated training environments are planned.
For operators researching other action-sports equipment, the airbag jump locations guide provides additional context on airbag-based training and recreation facilities.
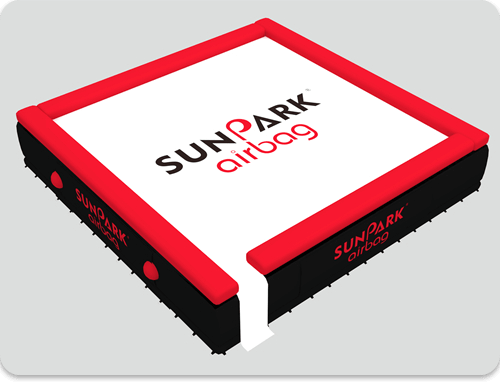
SUNPARK® AIRBAG — Explorer of Airbag Systems for Sports
With over 10 years of experience, SUNPARK® AIRBAG provides freestyle airbag solutions for ski resorts, theme parks, sports facilities, and gymnastics venues around the world.
The company develops airbags for extreme sports and leisure applications, supporting training environments for snowboarders, professional riders, and trampoline park operators.
When planning a new installation, discuss the sport, site dimensions, intended users, takeoff arrangement, landing requirements, and operating environment with the supplier before confirming the product configuration.
12. Who Should Install an Airbag Landing Pad?
Best Use Cases
- Ski resorts: Freestyle training areas and controlled progression facilities.
- MTB and BMX parks: Dedicated landing systems for appropriate bicycle training applications.
- Trampoline parks: Selected inflatable training or attraction areas with suitable supervision.
- Gymnastics facilities: Training products designed for the intended gymnastics activity.
- Stunt and action-sports centers: Specialized landing environments for planned practice activities.
- Sports schools and clubs: Training installations where staff can manage inspection and access.
Who Should Not Install One Without Professional Support?
Facilities with uneven or unstable ground, complex jump geometry, significant outdoor wind exposure, limited electrical capacity, or no trained operating staff should not proceed with an improvised installation.
Private buyers should also check whether their intended use is supported by the product manufacturer. A recreational inflatable product is not automatically suitable for high-speed MTB, snowboard, or stunt training.
13. Airbag Landing Pad Installation Cost: What Should You Budget For?
Installation cost depends on the airbag size and model, site conditions, transport distance, anchoring system, electrical work, ground preparation, installation labor, and commissioning requirements. A temporary training setup and a permanent commercial installation can have very different budgets.
Main Cost Components
- Airbag equipment: The product, inflation system, and included accessories.
- Site preparation: Ground clearing, leveling where required, drainage, protective underlay, and access improvements.
- Anchoring: Approved anchor hardware and any site-specific supporting work.
- Electrical installation: Compatible power supply, cable protection, and qualified electrical work.
- Transport and handling: Delivery, unloading, and movement into the installation position.
- Installation and commissioning: Technical support, inspection, setup, and staff instruction.
- Ongoing operation: Power consumption, routine inspection, maintenance, repairs, and storage.
How to Make the Investment Worthwhile
For a commercial venue, calculate expected operating hours, user capacity, staffing, maintenance downtime, and revenue contribution. A well-planned installation can support repeatable training sessions and a stronger facility offering. However, an airbag that is frequently closed because of poor site planning or inadequate maintenance can become an expensive underused asset.
Before approving the budget, request a complete quotation that identifies equipment, blower, accessories, anchoring, installation scope, commissioning, warranty, and after-sales support. Compare the same scope across suppliers.
14. Quick Summary: Six Steps to Install an Airbag Landing Pad Correctly
| Step | Main task | What to verify |
|---|---|---|
| 1. Site preparation | Clear and inspect the ground | Suitable surface, drainage, no sharp objects, adequate clearance |
| 2. Positioning | Place and orient the deflated airbag | Correct front and rear, alignment, access to ports and anchors |
| 3. Anchoring | Secure designated attachment points | Approved anchors, suitable ground, no trip hazards |
| 4. Inflation setup | Connect the specified blower and power | Compatible equipment, secure duct, protected electrical supply |
| 5. Inflation inspection | Inflate and check the landing surface | Correct shape, stable position, no visible damage or abnormal deformation |
| 6. Commissioning | Complete inspection and operating checks | Documented approval, staff procedures, access control, emergency plan |
15. Expert Recommendation: What Makes an Airbag Installation Successful?
Installing an airbag landing pad correctly is a process of matching the equipment to the site and verifying every part of the system before use. The six steps are straightforward in principle, but each one has technical details that must follow the product-specific instructions.
From our experience in sports airbag applications, the most important decisions happen before inflation: selecting the right model, preparing the ground, confirming landing geometry, and planning the anchoring and blower arrangement. These decisions are difficult and potentially costly to correct after the airbag has been positioned.
For beginners, we recommend using a manufacturer-approved installation plan and having the supplier confirm the site requirements before delivery. For commercial users, professional installation support, documented commissioning, staff training, and routine inspection should be included in the project budget.
SUNPARK® AIRBAG develops freestyle airbag systems for sports and leisure applications. When planning a new project, provide the intended sport, site layout, user level, available space, and expected operating conditions. A technically suitable airbag and a correctly planned installation are more valuable than simply choosing the largest product or the lowest quotation.
16. Frequently Asked Questions About Installing an Airbag Landing Pad
1. How do you install an airbag landing pad correctly?
Prepare the site, position the airbag according to its approved orientation, secure the designated anchor points, connect the specified blower, inflate and inspect the landing geometry, and complete commissioning before use. Always follow the exact manufacturer’s installation instructions.
2. Can I install an airbag landing pad on grass?
Some products may be suitable for selected grass surfaces, but suitability depends on ground stability, drainage, debris, anchoring requirements, and the manufacturer’s site specifications. Do not assume that any grass area is suitable.
3. Does an airbag landing pad need to be anchored?
Anchoring requirements depend on the model and installation environment. Use the manufacturer’s designated anchor points and approved method. Outdoor installations require particular attention to wind exposure and site conditions.
4. What blower should I use for an airbag landing pad?
Use the blower specified or approved for the exact airbag model. Confirm the required airflow, pressure characteristics, electrical supply, and operating arrangement with the manufacturer.
5. How much clearance is needed around an airbag?
Clearance depends on the airbag dimensions, sport, jump geometry, user level, and site layout. Follow the manufacturer’s drawings and applicable local requirements rather than using a universal distance.
6. Can one airbag be used for MTB, skiing, and gymnastics?
Not automatically. Different sports create different landing patterns and equipment demands. Use an airbag only for the activities approved by its manufacturer.
7. How do I know whether an airbag is fully inflated?
Use the operating indicators, measurements, and inspection procedures specified for the model. Visual appearance alone is not enough. Do not apply generic pressure values from another airbag system.
8. Can an airbag landing pad be installed outdoors?
Some systems are designed for outdoor use, but the installation must account for ground conditions, drainage, wind, rain, electrical protection, anchoring, and weather-related operating limits.
9. How often should an airbag landing pad be inspected?
Complete the required pre-use checks and follow the manufacturer’s periodic inspection schedule. Inspect again after relocation, severe weather, unusual use, suspected damage, or abnormal inflation behavior.
10. Is an airbag landing pad completely safe?
No inflatable landing system eliminates injury risk. Correct installation, suitable equipment selection, supervision, rider ability, appropriate jump design, maintenance, and operating procedures all remain essential.
References
Use the following authoritative resources as starting points for planning facility safety, inflatable equipment operation, and risk management. Confirm the standards and legal requirements applicable to the specific product, sport, and country.
- ASTM International: ASTM F2374 — Standard Practice for Design, Manufacture, Operation, and Maintenance of Inflatable Amusement Devices.
- U.S. Consumer Product Safety Commission: Playground Safety Resources.
- UK Health and Safety Executive: Safe Use and Operation of Inflatable Play Equipment.
These references provide general safety and operational context. An airbag landing system for action sports may have requirements beyond those for inflatable amusement or playground equipment. Always follow the product-specific manual, applicable local regulations, and qualified professional advice.