Quick Answer: The Best Dirt to Build Jumps With
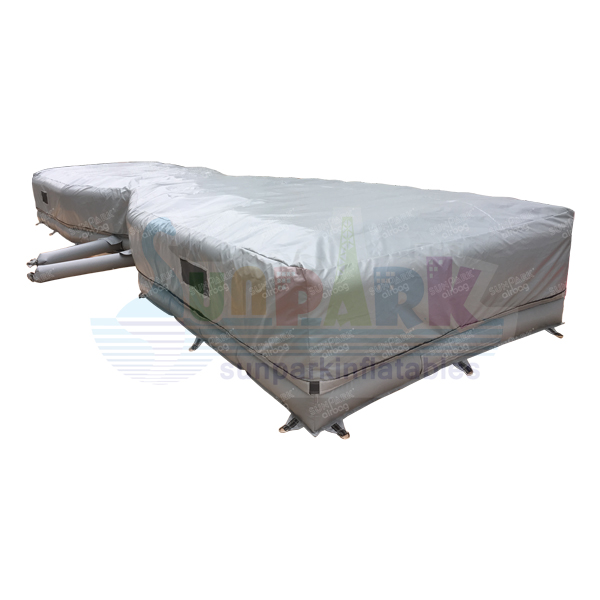
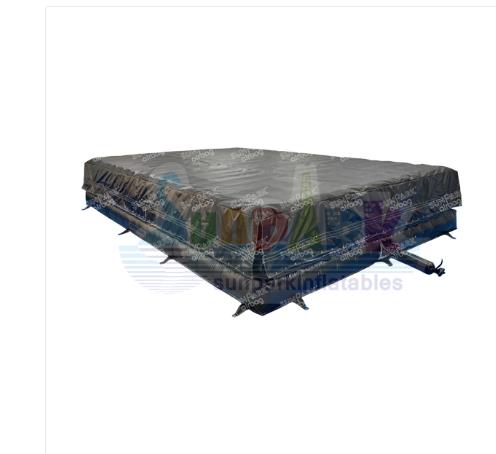
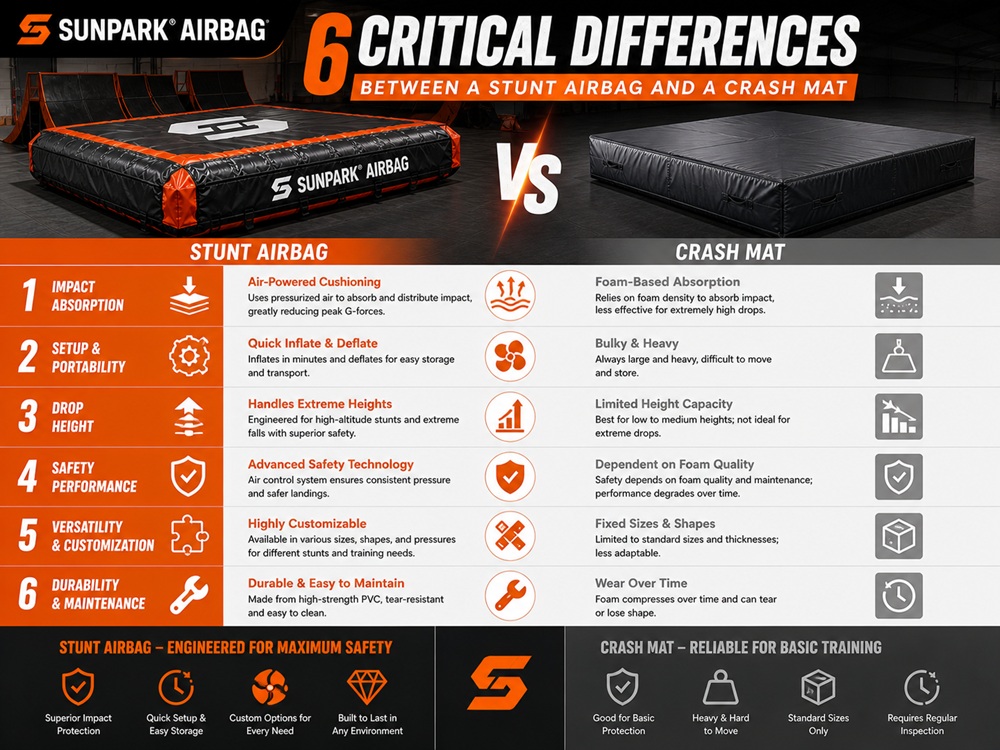
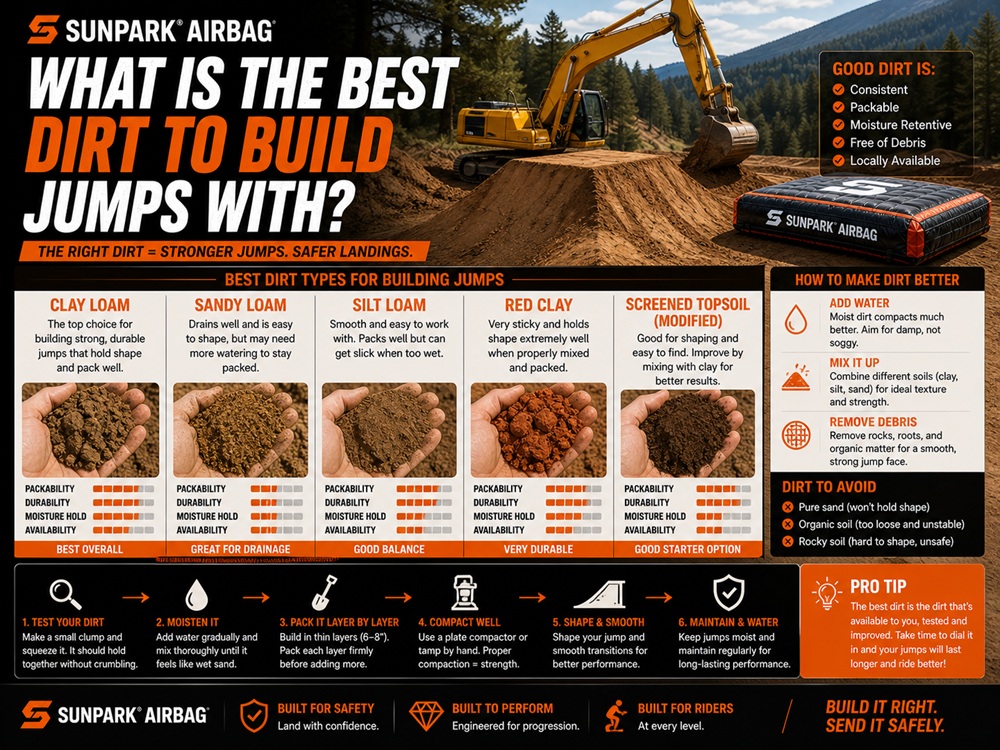
The definitive best dirt to build jumps with is subsoil classified as Sandy Clay Loam or Clay Loam, consisting of approximately 25% to 35% clay, 40% to 50% sharp sand, and 20% to 30% silt. Clean, deep subsoil excavated from beneath the organic root horizon provides the ideal balance: the clay acts as a structural glue that bonds particles into a smooth, brick-hard surface, while the sand provides structural friction and internal drainage that prevents cracking. Pure sand will never pack, pure clay cracks into sharp shards and turns into grease when wet, and organic topsoil is completely unusable. In most professional situations, if your native soil lacks clay, we recommend blending imported subsoil or capping transitions with decomposed granite. For large-scale progression setups where moving hundreds of cubic yards of dirt landing fill is impractical, pairing sculpted clay-loam lips with an engineered MTB airbag landing system provides the ultimate training setup while eliminating catastrophic landing impacts.
Soil Mechanics: What Makes Dirt Pack Rock-Solid
To identify the best dirt to build jumps with, you must understand soil behavior under dynamic tire loads. When a 180-pound rider on a 30-pound mountain bike pumps into the transition of an 8-foot lip at 20 MPH, the downward force (G-out) spikes to multiple times body weight. That pressure concentrates on a contact patch no larger than a credit card. If the soil lacks cohesive strength, the tire pushes the grains outward, creating ruts that catch front wheels.
Soil consists of three primary mineral particle sizes defined by geotechnical engineering standards:
- Sand (0.05 mm to 2.0 mm): Large, gritty, visible particles. Sand provides friction, structural bulk, and open pore space for water drainage. However, sand has zero plastic cohesion; without a binder, dry sand flows like an hourglass.
- Silt (0.002 mm to 0.05 mm): Medium, flour-like particles. Silt fills microscopic gaps between larger sand grains, smoothing the surface texture. In excess, silt becomes powdery dust when dry and slippery muck when wet.
- Clay (Less than 0.002 mm): Microscopic, flat plate-like mineral crystals carrying negative electrical surface charges. When mixed with water, surface tension and ionic bonds bind clay particles together, creating plasticity. When dried, clay cures like fired ceramic brick.
From our experience on trail build sites, soil compaction relies on the Proctor Compaction principle. Soil particles can only achieve maximum dry density when compacted at their Optimum Moisture Content (OMC). When water content is dialed, the moisture film lubricates the mineral plates, allowing them to slide past one another and lock into a dense matrix under shovel slaps and compactor plates. As the water evaporates, capillary tension draws the clay particles together, locking the sand grains in place to produce a smooth, concrete-like riding surface.
Quick Summary Table: Jump Dirt Classifications at a Glance
| Soil Classification | Clay / Sand / Silt Ratio | Compaction & Hardness | Weather Resistance | Builder Verdict |
|---|---|---|---|---|
| Sandy Clay Loam (The Gold Standard) | 25-35% Clay / 45-55% Sand / 15-25% Silt | Cures rock-hard; zero rutting under heavy tires | Excellent; sheds rain without cracking when dry | The absolute best dirt to build jumps with; holds shape for years |
| Heavy Clay (“Gumbo” / Potters Clay) | 50%+ Clay / <25% Sand / <25% Silt | Extremely hard when dry, but shrinks and cracks | Terrible; turns into grease when wet, takes days to dry | Difficult to work by hand; requires sand blending to be rideable |
| Sandy Loam / Coarse Sand | <15% Clay / 65-80% Sand / 10-20% Silt | Poor; crumbles under heavy pump track forces | Drains fast, but erodes and blows away in wind | Unusable for steep lips; requires clay binder or wood kickers |
| Organic Topsoil (Garden Dirt) | Contains rotted roots, leaves, and humus | Spongy; compresses unpredictably under riding | Absorbs water like a sponge; stays soggy for weeks | Completely useless; scrape off and discard before building |
| Decomposed Granite (DG) / Screenings | Crushed aggregate with stone dust binder | Very hard and consistent when compacted wet | Good water shedding; can wash out on steep vertical faces | Excellent for top-capping lips and berms, expensive for full fills |
The Gold Standard Blend: Why Sandy Clay Loam Wins
If you ask veteran trail builders what they look for when scouting a build zone, they will all tell you the same thing: subsoil with balanced clay and sand. Specifically, Sandy Clay Loam hits the ideal mechanical sweet spot that pure soils can never match on their own.
Consider what happens with the alternatives:
- The Pure Clay Problem: Novice builders often think the hardest clay makes the best jumps. That is a mistake. High-plasticity clays (such as bentonite or montmorillonite) experience massive shrink-swell cycles. When wet, pure clay absorbs water between its crystal layers, swelling into slick, sticky muck that cakes tires and clings to shovels. As it bakes in the summer sun, it contracts, forming deep fissures and sharp surface chunks that ruin smooth takeoffs.
- The Pure Sand Problem: Beach sand or riverbed sand has zero cohesion. You can pour hundreds of gallons of water on it and pack it with a flat shovel, but as soon as it dries, the first rider who pumps into the lip will blow the transition apart, leaving deep tire trenches.
Sandy Clay Loam eliminates both failure modes. The 40% to 50% sharp sand acts as an internal aggregate skeleton, stopping shrink cracks and letting water drain out of the soil. Meanwhile, the 25% to 35% clay coats every sand grain, acting like natural cement. In our testing across seasonal freezes and summer droughts, jumps shaped from sandy clay loam require only occasional light sweeping and periodic watering to stay in prime riding condition.
How to Field-Test Your Dirt on Site: 3 Proven Tests
You do not need an expensive geotechnical lab to analyze your dirt. Before ordering 20 dump truck loads of fill dirt or spending days digging in the woods, use these three proven field tests to verify whether you have the best dirt to build jumps with.
1. The Hand Squeeze and Ball Drop Test
Grab a handful of subsoil, remove all roots and pebbles, and add just enough water so it feels like damp modeling clay. Squeeze it firmly into a tight ball in your fist, then open your hand. If the ball crumbles immediately, the soil is too sandy. If the ball holds its shape, hold it out at waist height (roughly 3 to 4 feet above the ground) and drop it onto flat, firm dirt. If the ball shatters into dust, it lacks clay. If it deforms slightly into a flat patty without breaking, it has high clay content. If it splits cleanly into three or four solid chunks, you have near-perfect sandy clay loam.
2. The Hand Ribbon Test (Soil Texture Verification)
Take a walnut-sized ball of moist soil. Roll it between your palms into a uniform cylinder roughly 1/2-inch thick (like a cigar). Using your thumb and forefinger, gently press and squeeze the cylinder outward over your hand, letting it extend like a ribbon until it breaks under its own weight.
- Breaks under 1 inch: Loamy sand or sandy loam (not enough clay; will crumble under tires).
- Forms a ribbon 1 to 2.5 inches long: Sandy clay loam or clay loam (the sweet spot for jump building).
- Forms a flexible ribbon longer than 2.5 to 3 inches: Heavy pure clay (too sticky; needs sand blended in to prevent cracking).
3. The Mason Jar Sedimentation Test
For a precise percentage breakdown, dig up clean subsoil, break up all clumps, and fill a straight-sided glass Mason jar 1/3 full of dirt. Fill the rest of the jar with clean water, add a teaspoon of liquid dish soap (which acts as a surfactant to break soil aggregates), and shake vigorously for 60 seconds until all soil is in suspension. Place the jar on a level table:
- At 1 Minute: The heavy sand grains settle to the bottom. Mark the sand level with a marker.
- At 2 Hours: The medium silt particles settle out above the sand. Mark the silt level.
- At 48 Hours: The microscopic clay particles settle, leaving the water clear. Mark the top clay line.
Measure the height of each layer with a ruler to calculate your percentages. If your jar shows roughly 45% sand, 25% silt, and 30% clay, you have struck gold.
Core Operational Benefits of Proper Jump Dirt
When you take the time to find and shape high-grade sandy clay loam, your jump lines deliver noticeable performance advantages over standard backyard dirt piles:
1. Predictable, Consistent Pop on Every Lap
A soft takeoff absorbs tire energy. When your rear wheel compresses into a spongy lip, your suspension absorbs the rebound, deadening your trajectory and causing you to case the knuckle. A hard-packed clay-loam takeoff provides a firm, predictable launch surface that transfers 100% of your pumping energy into upward and forward momentum.
2. Exceptional Tire Grip and Carving Traction
Berms and curved jump lips require high lateral traction. Sandy clay loam provides a smooth surface with enough micro-texture from exposed sand grains to give rubber tire knobs consistent mechanical grip. You can carve hard into transitions without front-tire washouts or loose gravel slides.
3. Weather Resistance and Reduced Maintenance Hours
Properly packed clay-loam lips shed light rain like a shingled roof. Water runs off the sides into your drainage ditches rather than soaking into the jump core. Instead of spending every sunny afternoon repairing ruts and rebuilding collapsed transitions, you can sweep off loose dust, moisten the surface, and start riding immediately.
Inherent Limitations and Climate Challenges of All-Dirt Jumps
Even when built with the finest sandy clay loam on earth, all-dirt jumps carry real physical limitations that every trail builder must plan around:
Builder Warning: No dirt jump line is permanent without ongoing maintenance. Rain, wind, freeze-thaw cycles, and summer sun break down compacted soil over time. If you do not plan for regular maintenance, tarps, and drainage, nature will reclaim your jumps.
- The Freeze-Thaw Heave Cycle: In cold climates, water trapped inside compacted clay freezes during winter, expanding by roughly 9% and breaking apart your packed surface. In spring, the top two inches thaw into soft mud while the ground below remains frozen, destroying the crisp geometry of your lips.
- Summer Dessication and Dusting: Prolonged heat waves pull all moisture from dirt. Without regular watering from a hose or spray rig, clay binders dry out, and high-wear tires will quickly chew the top layer into powdery dust.
- Enormous Labor and Material Volumes: Moving dirt is exhausting work. Building a proper 6-foot-tall tabletop with a wide safety landing requires between 20 and 35 cubic yards of compacted fill dirt—equivalent to 30 to 50 tons of material. For large progressive features, manual shovel work quickly becomes impractical.
- Zero Margin for Landing Errors: Hard-packed dirt jumps reward precision, but punish mistakes. Casing a gap onto a rock-hard clay knuckle or blowing your pedals on a landing results in brutal impacts. Reviewing common BMX injuries and prevention shows that the vast majority of broken bones and concussions happen on unforgiving dirt landings.
Direct Technical Comparison: Soil Types for Jump Construction
| Performance Attribute | Sandy Clay Loam | Pure Heavy Clay | Sandy Loam / Dirt Mix | Decomposed Granite (DG) |
|---|---|---|---|---|
| Packing Hardness | Exceptional (Brick-hard) | Rock-hard when dry; soft when wet | Moderate to poor; ruts easily | Very high (Pave-like finish) |
| Drying Time After Rain | Fast (2 to 4 hours in sun) | Extremely slow (1 to 3 days) | Fastest (Drains instantly) | Very fast (1 to 2 hours) |
| Crack Resistance | High (Sand stops shrink cracks) | Terrible (Splits into deep cracks) | High (Zero clay shrinkage) | High (Minimal shrinkage) |
| Shaping Workability | Excellent; cuts smoothly with flat shovel | Brutal; sticks to blades like glue | Easy to shovel, hard to shape | Easy to rake and roll wet |
| Material Cost | Low if native; moderate as fill dirt | Low if native; hard to purchase | Low cost | Expensive ($40 to $70 per ton) |
Pros and Cons: Full-Dirt Jumps vs. Dirt Lips with Airbag Landings
| Jump Build Strategy | Riding & Building Advantages | Operational Drawbacks & Trade-Offs |
|---|---|---|
| Traditional All-Dirt Jumps (Dirt Takeoff + Dirt Landing) |
|
|
| Hybrid Setup: Dirt/Wood Lip + Airbag Landing (e.g., Sunparkairbag System) |
|
|
The Modern Progression Shift: Why Commercial Parks Pair Dirt with Airbags
For decades, progression in dirt jumping was an exercise in pain tolerance. If you wanted to learn backflips, 360s, or tailwhips on a mountain bike or BMX, you had two choices: build a smelly foam pit full of damp, soggy foam blocks that rotted outdoors, or send it to a hard-packed dirt landing and accept the consequences. Today, the world’s best bike parks, training compounds, and backyard builders have changed how they build features.
Building an all-dirt takeoff is manageable: a 6-foot lip requires roughly 4 to 6 cubic yards of dirt, which two motivated riders can shape in a weekend. The real problem is the landing. A safe, progressive landing for that same jump must be 8 feet tall, 12 feet wide, and 25 feet long to give riders a safe runoff angle. That requires over 40 cubic yards of soil—dozens of tons of heavy material that will rut, wash out, and require constant repacking.
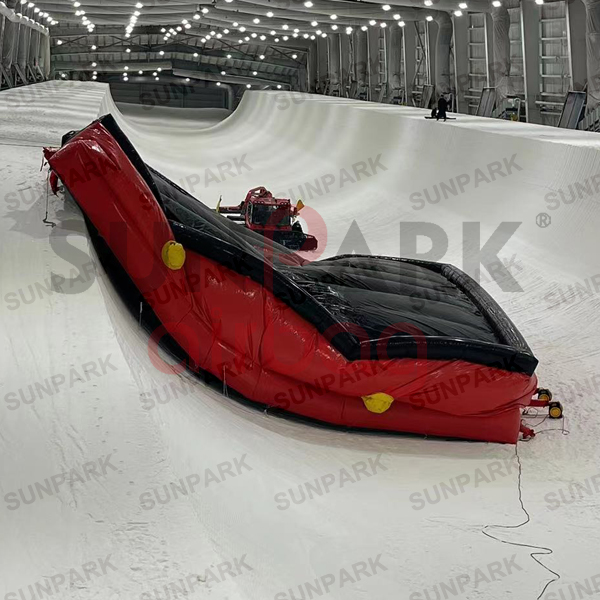
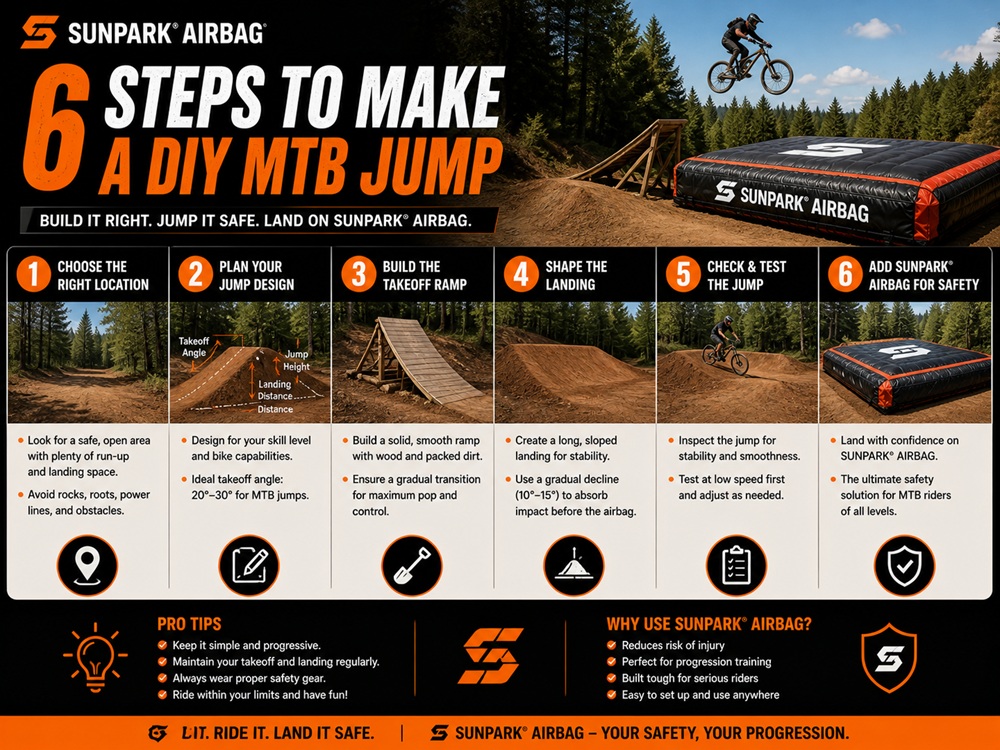
That is why modern action sports facilities deploy airbag landing ramp system setups and dedicated landing airbag solutions. By sculpting a firm, perfectly curved takeoff out of native sandy clay loam and pairing it with a high-durability inflatable landing, riders get the natural pop of real dirt alongside a forgiving landing surface that lets them practice high-consequence tricks safely. Exploring modern bike airbag landing systems shows how commercial operations use this hybrid approach to keep riders progressing without spending all their time pushing shovels.
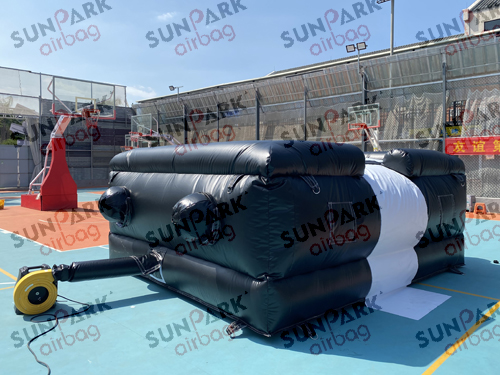
Progression Solution Spotlight: Sunparkairbag Best Bike Jump Airbag
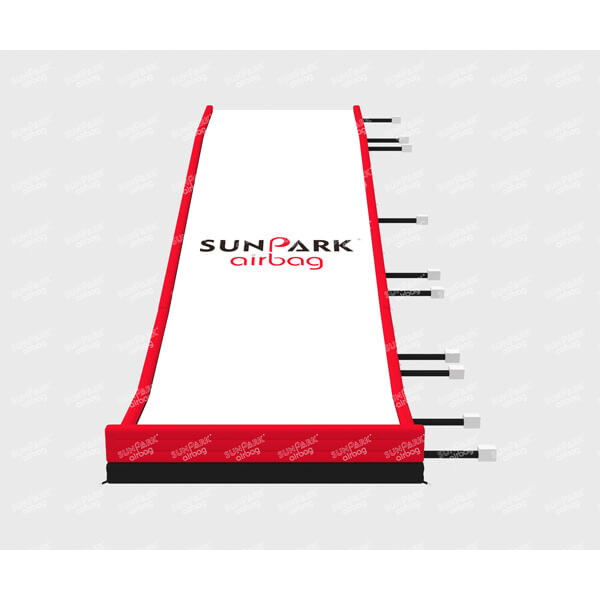
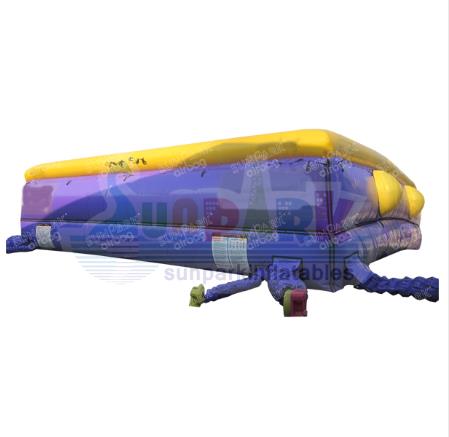
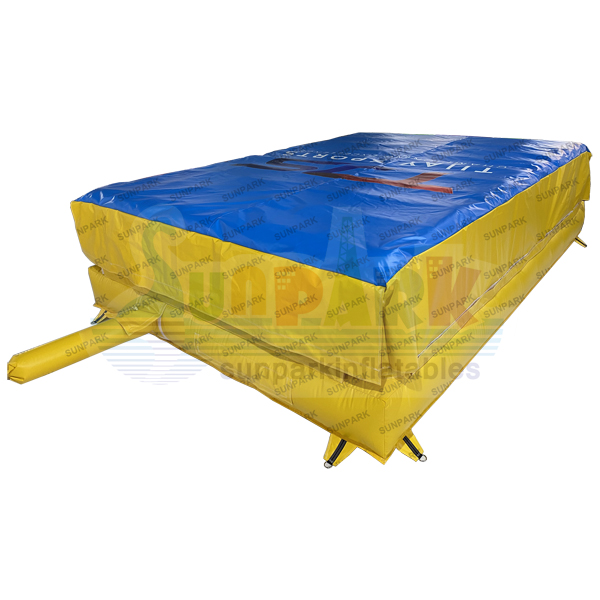
When you want to spend your weekends riding rather than hauling 50 tons of dirt landing fill, Sunparkairbag provides commercial-grade inflatable landing systems built for action sports athletes. Designed to absorb high-speed impacts from mountain bikes and BMX, this system provides safe, repeatable progression for riders of all skill levels.
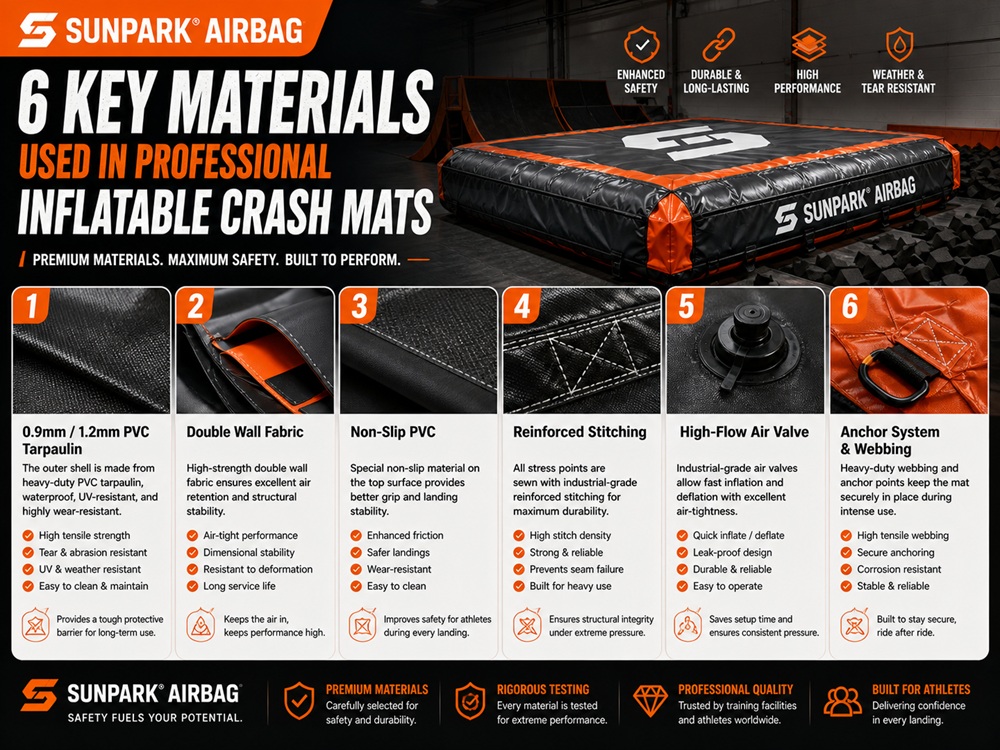
| Chassis Material | 0.55 mm heavy-duty PVC Tarpaulin base for structural durability |
| Top Sheet Material | 0.90 mm reinforced PVC Tarpaulin: waterproof, flame-retardant, UV-protected |
| Chemical Safety | 100% Lead-free and phthalate-free commercial-grade polymer formulation |
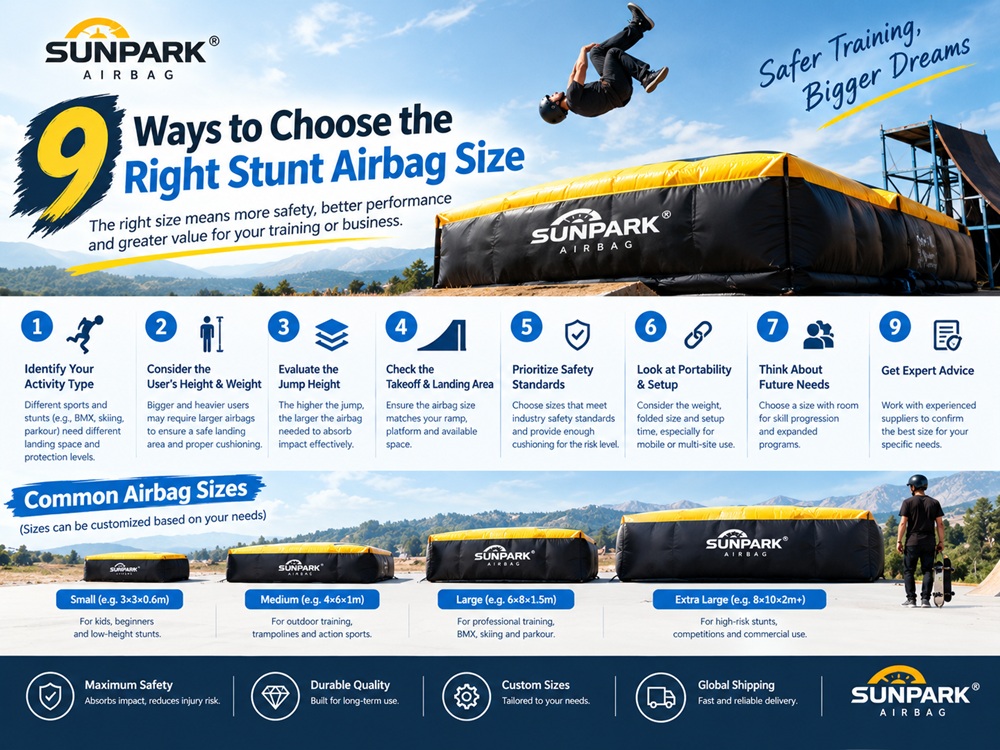
| Dimensions & Sizing | Fully customizable landing angles, widths, and heights to match your takeoff |
| Production & Build | Custom built in roughly 15 working days by technicians with 5+ years experience |
| Included Package | High-output commercial blower, comprehensive repair kit, heavy-duty carry bag |
Builder Recommendation: Learn more about the Best Bike Jump Airbag specifications or explore versatile inflatable MTB airbag solutions to build a safe, low-maintenance training compound in your own backyard.
Who Should Build Full Dirt vs. Who Needs an Airbag Landing
Every trail build should match your available time, site drainage, and rider skill level. Understanding your setup needs ensures you do not waste time digging features you cannot maintain.
Who Should Build Traditional Full-Dirt Jumps:
- Experienced Trail Stewards with Native Sandy Clay Loam: If your land naturally sits on deep subsoil with 30% clay, you have access to a water hose, and you enjoy the weekly ritual of watering, sweeping, and packing lips, nothing beats an all-dirt rhythm line.
- Pump Tracks and Low-Consequence Rollers: Berms, rollers, and small tabletop jumps under 3 feet tall do not require massive soil volumes. Building these features out of native clay-loam is straightforward, rewarding, and cost-effective.
- Dedicated Public Bike Parks with Full-Time Maintenance Crews: Municipal facilities with tracked skid-steers, vibratory rollers, and paid maintenance staff have the resources to keep all-dirt lines groomed and safe for public use.
Who Should Choose an Inflatable Airbag Landing System:
- Riders Learning Advanced Aerial Tricks: If you are working on flips, whips, spins, or cashrolls, practicing on a rock-hard clay landing will eventually lead to injuries. A dedicated BMX airbag landing provides the forgiveness you need to build muscle memory safely.
- Builders with Poor Native Soil: If your property sits on pure sand, rocky gravel, or swampy topsoil, importing 50 truckloads of clean clay fill will cost thousands of dollars. Building a single wood or clay takeoff and pairing it with an airbag landing saves massive excavation costs.
- Private Backyard Builders with Limited Space: A safe dirt landing requires a long, sloping runout that consumes lots of yard space. An inflatable landing provides controlled, progressive deceleration in a compact footprint.
Costly Building Mistakes That Ruin Dirt Jumps
Factory Floor Warning: Never use organic topsoil to build your jump core. Piling black topsoil inside a jump and covering it with a thin layer of clay creates a spongy core that collapses under rider weight. Always build your jump out of clean subsoil from base to lip.
- Building in Thick Layers Without Intermediate Compaction: Dumping 4 feet of loose dirt in a pile and beating the outside surface with a shovel creates a hard crust over loose, uncompacted fill. As soon as a rider lands on it, the crust breaks, sinking deep ruts into the face. Build in 6-inch lifts: spread 6 inches of damp dirt, pack it thoroughly with your boots, a flat tamper, or a compactor plate, and repeat until you reach full height.
- Neglecting Drainage and Water Management: Water is the biggest enemy of dirt jumps. If you build your jumps in a low spot without drainage ditches, rainwater will pool around the base of your landings, turning your transitions into mud pits. Always grade the surrounding ground to direct runoff away from your features.
- Packing Dirt That Is Too Dry or Soaking Wet: Slapping bone-dry dirt with a shovel creates clouds of dust, not compaction. Trying to shape soaking wet mud creates a soupy mess that takes days to dry. Moisten your dirt until it holds together firmly without squeezing water out between your fingers, then pack it down.
- Using Sharp Fill Material with Rocks and Roots: Large stones, decomposing tree branches, and root balls create weak spots inside your jump. Over time, wood rots and leaves empty voids inside the core, causing the jump face to collapse. Sift out all debris larger than a marble before shaping your final riding surface.
Essential Sourcing Checklist: Ordering Truckloads of Fill Dirt
If your property lacks good native dirt, you will need to order commercial fill from an excavation company or local quarry. Use this checklist to make sure you get the right material:
1. Order “Clean Fill Subsoil,” Never Topsoil
Make sure to specify “Clean subsoil fill dirt from below the organic horizon.” Ask the quarry or excavation contractor whether the soil comes from basement digs or road cuts. Tell them you need sandy clay fill with cohesive binding properties. Reject any load that contains dark loam, organic mulch, tree roots, or construction drywall debris.
2. Ask for a Hand Sample Before Ordering 10-Wheeler Loads
Never order 5 dump truck loads based on a phone conversation. Drive to the supplier’s yard or have the driver drop a single bucket sample first. Perform the hand ribbon test on site. If you cannot form a solid 1.5-inch ribbon, reject the pile; it does not have enough clay to hold jump transitions.
3. Calculate Volume with a 30% Compaction Factor
Remember that loose dirt shrinks significantly when packed. One cubic yard of loose fill dirt excavated from a pile will compact down to roughly 0.70 to 0.75 cubic yards once tamped into a dense jump face. If your geometric calculations show you need 20 cubic yards of finished jump volume, order at least 26 to 28 cubic yards of loose fill to account for compaction shrinkage.
4. Sourcing Decomposed Granite for Surface Caps
If your native dirt is slightly too sticky or prone to minor surface cracking, consider ordering a load of Decomposed Granite (DG) with 1/4-inch fines. Spreading a 2-inch layer of damp DG over your clay-loam lip and rolling it smooth creates a durable, weather-resistant cap that rides like asphalt while preserving your underlying jump shape.
Expert Trail Builder’s Verdict
In our professional assessment, spending your weekends riding instead of endlessly repairing damaged lips comes down to soil selection. The best dirt to build jumps with is unambiguously Sandy Clay Loam containing roughly 30% clay and 50% sand. It provides the cohesive strength needed to shape steep, poppy takeoffs, along with the internal drainage and aggregate friction required to prevent surface cracking and weather erosion.
Take the time to test your native dirt using simple hand-ribbon and jar sedimentation tests. If your dirt has the right clay content, build in 6-inch damp lifts and shape your transitions with care. If you plan to build large, progressive jump lines, consider the smart hybrid approach: sculpt clean, poppy takeoff lips from native clay-loam, and pair them with an engineered inflatable landing from Sunparkairbag. You will save dozens of hours of heavy dirt hauling, avoid rain delays, and gain the safe progression platform you need to push your riding to the next level.
Frequently Asked Questions
The best dirt to build jumps with is subsoil classified as Sandy Clay Loam or Clay Loam, containing roughly 25% to 35% clay, 40% to 50% sharp sand, and 20% to 30% silt. This blend provides the cohesive bonding power of clay to sculpt smooth, brick-hard lips alongside the structural drainage and aggregate friction of sand to prevent cracking and crumbling.
No. Organic topsoil contains decomposed leaves, root matter, and spongy humus that traps water and cannot be compacted. Jumps built with topsoil will compress unpredictably under tire pressure, rut out within hours of riding, and erode into mud during the first light rain.
Use the hand ribbon test: moisten a handful of soil, roll it into a 1/2-inch thick snake between your palms, and squeeze it outward over your thumb. If you can push out a continuous ribbon 1.5 to 2.5 inches long before it breaks under its own weight, the soil contains the ideal 25% to 35% clay content for jump construction.
Building a dirt landing for a 20-foot gap requires 40 to 60 dump truck loads of fill dirt, days of heavy compaction, and endless daily watering and maintenance. Inflatable airbag landings eliminate hundreds of hours of dirt moving, provide progressive impact absorption that prevents severe riding injuries, and allow riders to practice high-consequence tricks safely in any weather.
Authoritative References & Civil Engineering Standards
- ASTM International: ASTM D698 Standard Test Methods for Laboratory Compaction Characteristics of Soil Using Standard Effort
- USDA Natural Resources Conservation Service (NRCS): Soil Mechanics and Soil Texture Classification Systems
- International Mountain Bicycling Association (IMBA): Trail Solutions – Guide to Building Sweet Singletrack and Bike Park Features