Table of Contents
-
Introduction — Why airbags are a game changer
-
Benefits of BMX and MTB airbag training
-
Choosing the right BMX airbag or MTB airbag
-
Core skills: approach, speed, and balance
-
Progression framework — from beginner to advanced tricks
-
Safety tips and injury prevention
-
Landing bag setup and maintenance
-
Comparison: airbag training vs. foam pits vs. dirt jumps
-
Case studies & rider experiences
-
Best practices for gyms and parks
-
Buying checklist for the best BMX & MTB airbags
-
Internal resource links (SunparkAirbag)
-
External references & safety standards
-
Conclusion — ride safer, progress faster
1. Introduction — Why airbags are a game changer
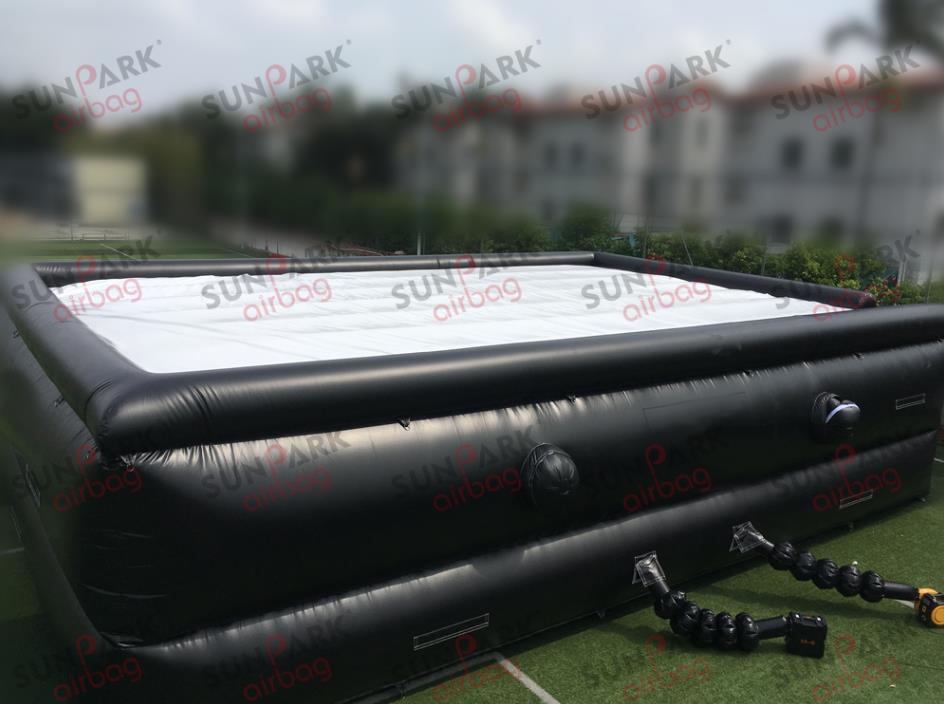
Practicing tricks on a BMX airbag or MTB airbag allows riders to progress in a safer, more predictable environment than dirt jumps or concrete parks. A well-designed landing bag absorbs impact, lets you crash without major injury risk, and resets quickly for high-volume training. This is why athletes at all levels — from weekend riders to pros — integrate airbags into their stunt training.
2. Benefits of BMX and MTB airbag training
-
Reduced risk of injury: airbags minimize the chance of hard landings.
-
Faster progression: riders can attempt tricks repeatedly with lower consequences.
-
Confidence building: helps athletes commit fully to new maneuvers.
-
Higher throughput: multiple riders per session thanks to quick exits and reset.
-
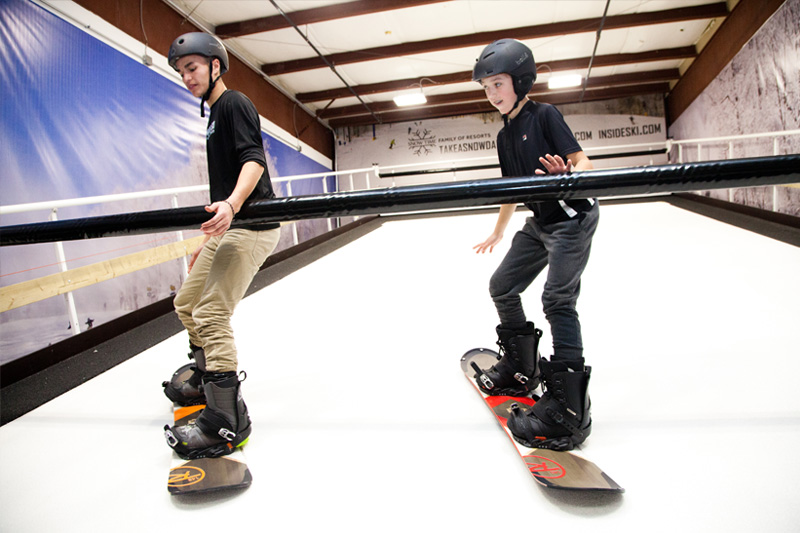
Cross-sport versatility: usable for BMX, MTB, scooters, and freestyle skis.
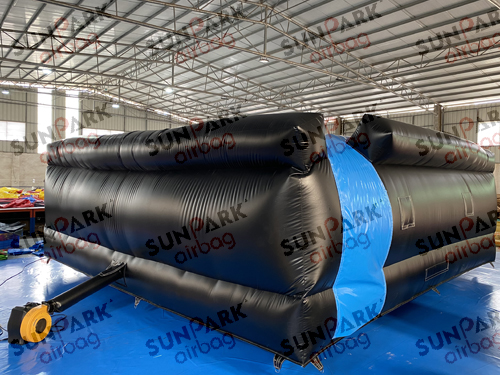
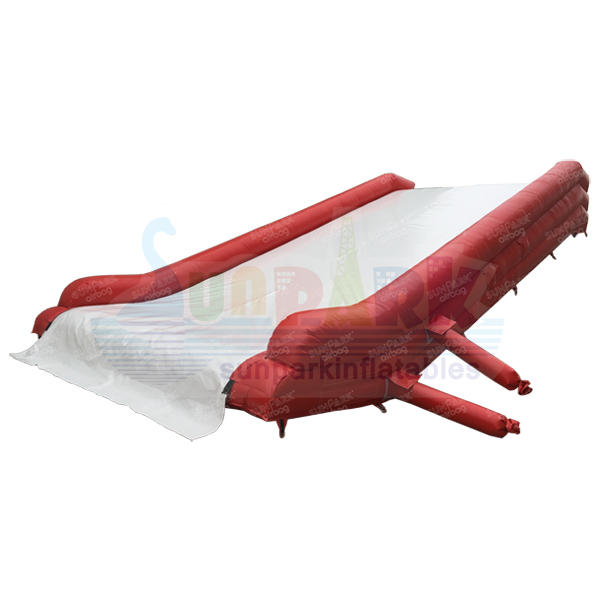
See SunparkAirbag’s MTB Jump Airbag product designed specifically for mountain bikers.
3. Choosing the right BMX airbag or MTB airbag
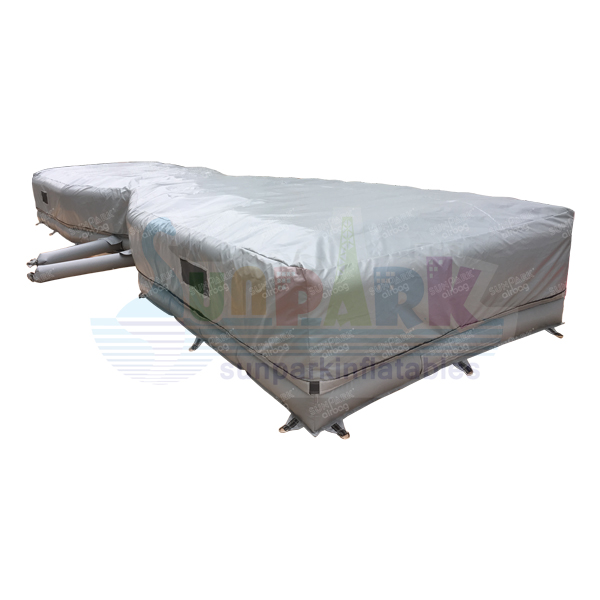
When selecting equipment, factors include size, portability, venting systems, and surface design. Sunpark offers options like:
-
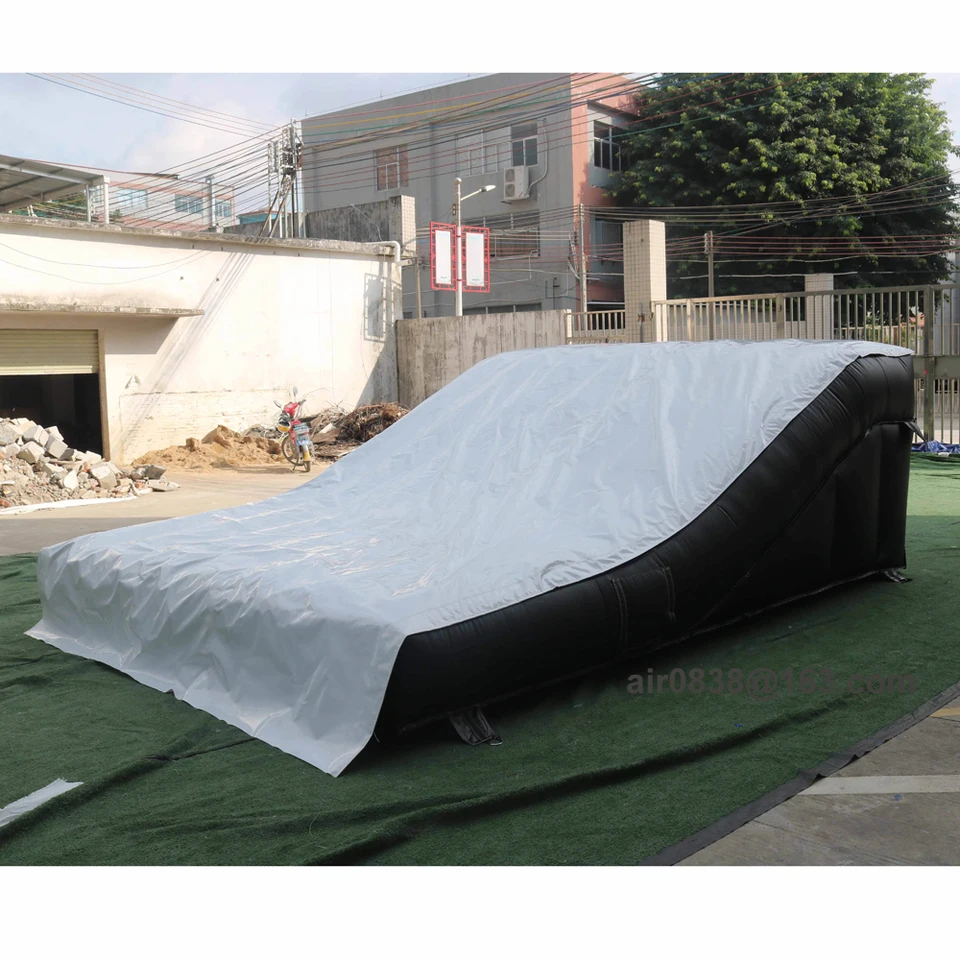
MTB Landing Bag — ideal for dirt jump training.
-
Foam Pit Airbag — for indoor parks and gyms.
-
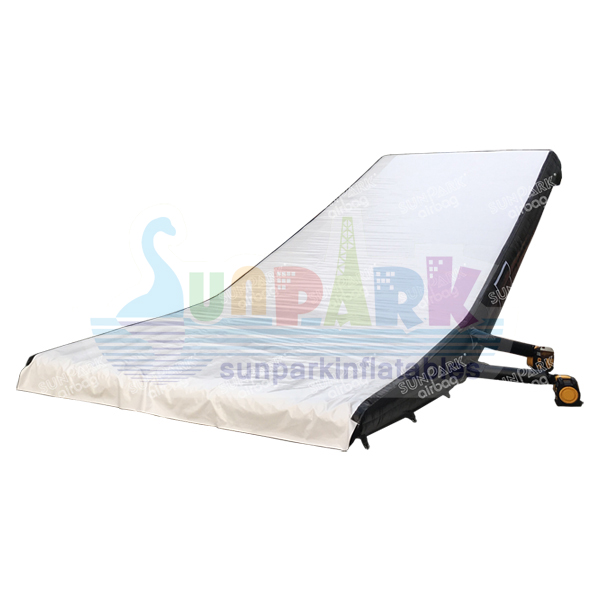
Inflated Landing Bag — for FMX/BMX stunt training at higher speeds.
-
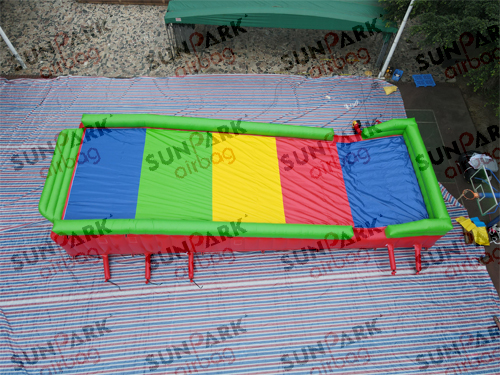
Trampoline Airbag — perfect for low-height progression.
4. Core skills: approach, speed, and balance
-
Approach line: set up a straight, consistent run-in.
-
Speed management: too slow = undershoot, too fast = overshoot. Use markers or coaching cues.
-
Body balance: keep shoulders square, head up, and weight centered.
-
Commitment: airbags reward full commitment — half-hearted attempts often lead to awkward landings.
5. Progression framework — from beginner to advanced tricks
| Rider Level | Tricks to Practice | Recommended Equipment |
|---|---|---|
| Beginner | Straight airs, one-handers, no-footers | safe foam pit |
| Intermediate | Bar spins, tailwhips, 360s | BMX airbag |
| Advanced | Backflips, frontflips, combo tricks | MTB airbag or inflated landing bag |
6. Safety tips and injury prevention
-
Always warm up with basic tricks.
-
Wear a full-face helmet, pads, and gloves.
-
Have a spotter/coach on-site.
-
Check the airbag inflation level before each session.
-
Progress gradually — don’t skip steps in the trick ladder.
7. Landing bag setup and maintenance
A properly set up landing bag makes training safe and efficient:
-
Flat ground & anchors: follow the anchor drawings provided by Sunpark.
-
Blower redundancy: always use backup blowers.
-
Daily inspections: check seams, pressure, and vent operation.
-
Cleaning: wipe down the surface regularly to keep it hygienic.
See Air Landing overview for setup guides.
8. Comparison: airbags vs. foam pits vs. dirt jumps
| Training Method | Pros | Cons |
|---|---|---|
| Airbags | Safe, quick reset, portable | Requires blower & power |
| Foam pits | Soft landings, indoor use | Hygiene issues, slow resets |
| Dirt jumps | Real-world feel | High risk, weather dependent |
For trampoline parks, see trampoline park equipment to compare.
9. Case studies & rider experiences
-
BMX Park Rider: learned a bar spin in 3 days with an airbag — previously avoided for months due to fear of injury.
-
MTB Freerider: transitioned from a gym airbag to dirt jumps safely.
-
Trampoline Park Operator: increased throughput by 30% after installing airbags compared to foam pits.
10. Best practices for gyms and parks
-
Offer progressive platforms (low → high).
-
Post clear rules on usage.
-
Schedule group sessions to reduce crowding.
-
Use colored covers and branding for visibility.
-
Rotate top sheets for hygiene.
See stunt training airbag for commercial setups.
11. Buying checklist for BMX & MTB airbags
-
Size and footprint fit for your site.
-
Pillar/venting design for tunable landings.
-
Spare parts and repair kits included.
-
Certification and safety reports.
-
Branding/customization options.
-
Delivery, installation, and warranty terms.
12. Internal resource links (SunparkAirbag)
13. External references & safety standards
-
UCI BMX Freestyle Safety Guidelines — https://www.uci.org/
-
IMBA (International Mountain Biking Association) trail & safety standards — https://www.imba.com/
-
ASTM F2374 — Inflatable Amusement Device Safety Standard — https://www.astm.org/
These external standards ensure your BMX/MTB airbag training aligns with recognized safety best practices.
14. Conclusion — ride safer, progress faster
Training with a BMX airbag or MTB airbag is one of the fastest and safest ways to learn new tricks, reduce fear, and build confidence. Whether you’re a rider pushing your freestyle progression, or a park owner looking to boost safety and throughput, airbags are the most reliable choice.
👉 Ready to get started? Explore SunparkAirbag’s products hub to find the right airbag solution for your riding style or facility.